公司最近项目是后台管理系统,由我负责,网上找模板发现还需要改很多地方,而且那些模板也没有写代码的实现思路,对于vue项目经验不足者很难看懂,所以就按照自己的思路从零实现一遍,过程讲解还是比较详细的,若是有不足之处还请指正。
整体布局:
登录:

菜单:

准备工作:
1、安装elementui
npm i element-ui -S

import ElementUI from 'element-ui'
import 'element-ui/lib/theme-chalk/index.css'
Vue.use(ElementUI)
2、配置路由
index.js:
import Vue from 'vue'
import VueRouter from 'vue-router'
const Home = () => import('../views/home/Home.vue')
const Login = () => import('../views/login/Login.vue')

Vue.use(VueRouter)

  const routes = [
  {
    path: '/',
    name: 'Login',
    component: Login
  },
  {
    path: '/home',
    name: 'Home',
    component: Home
  },
]

const router = new VueRouter({
  mode: 'history',
  base: process.env.BASE_URL,
  routes
})

export default router
3.开始写组件
一、登录login
<template>
  <div class="login-wrap">
    <el-form
      class="login-form"
      label-position="top"
      label-width="80px"
      :model="formdata"
    >
      <h2>用户登录</h2>
      <el-form-item label="用户名">
        <el-input v-model="formdata.username"></el-input>
      </el-form-item>
      <el-form-item label="密码">
        <el-input v-model="formdata.password"></el-input>
      </el-form-item>
      <el-button class="login-btn" type="primary">登录</el-button>
    </el-form>
  </div>
</template>
<script>
export default {
  name: "Login",
  data() {
    return {
      formdata: {
        username: "",
        password: "",
      },
    };
  },
};
</script>
使用el-form表单进行布局,label-position="top"表示表单域标签的位置是上下对齐,:model="formdata"表示我们要绑定的数据
看渲染效果

调整样式:
<style scoped>
.login-wrap {
  height: 100%;
  background: #324152;
  display: flex;
  justify-content: center;
  align-items: center;
}
.login-form {
  width: 400px;
  background: #fff;
  border-radius: 5px;
  padding: 30px;
}
.login-btn {
  width: 100%;
}

样式调整好之后开始用aioxs发送登录请求
安装axios,
npm i axios -s
在main.js中引入
login.vue中使用:
  methods:{
     handleLodin(){
         //测试版本
        //  if(this.formdata.username !== '' && this.formdata.password !== ''){
        //      this.$router.push({path:'/home'})
        //         //  2.提示成功
        //         this.$message({
        //         showClose: true,
        //         message: '登录成功',
        //         type: 'success'
        //         });
        //  }else {
        //      this.$message({
        //         showClose: true,
        //         message: '用户名和密码不能为空',
        //         type: 'error'
        //         });
        //  }
         //正式版本需要发送请求
         //url是要发送请求的地址
         this.$http.post('url',this.formdata).then(res => {
             //请求返回来的数据
             console.log(res)
            //  保存token:
            localStorage.setItem('token',res.data.token)
            //  登录成功
            if(res.data.status === 200){
                //  1.跳转home页面
                this.$router.push({path:'/home'})
                //  2.提示成功
                this.$message({
                showClose: true,
                message: '登录成功',
                type: 'success'
                });
            }else { //  登录失败
                this.$message({
                showClose: true,
                message: '用户名或密码错误',
                type: 'error'
                });
            }
         })
     }
  }
当点击登录按钮的时候会触发handleclick事件,然后发送axios请求,如果登录成功就跳转到下一个页面,显示登录成功的提示消息,如果失败就抛出错误提示消息。这里我写了两个版本,一个是正式发送请求,一个是测试版本,在没有后端接口的时候可以通过这个测试版本测试抛出的登录成功和失败消息提示。
对于灯枯成功和失败的条件可以根据实际项目情况进行修改。
二、菜单menu
首先:布局分为三部分,头部header,侧边栏aside,右边主体,用elementui布局如下
<template>
  <el-container>
    <el-header>Header</el-header>
    <el-container>
      <el-aside width="200px">Aside</el-aside>
      <el-main>Main</el-main>
    </el-container>
  </el-container>
</template>

<script>
export default {
  name: 'Home'
};
</script>

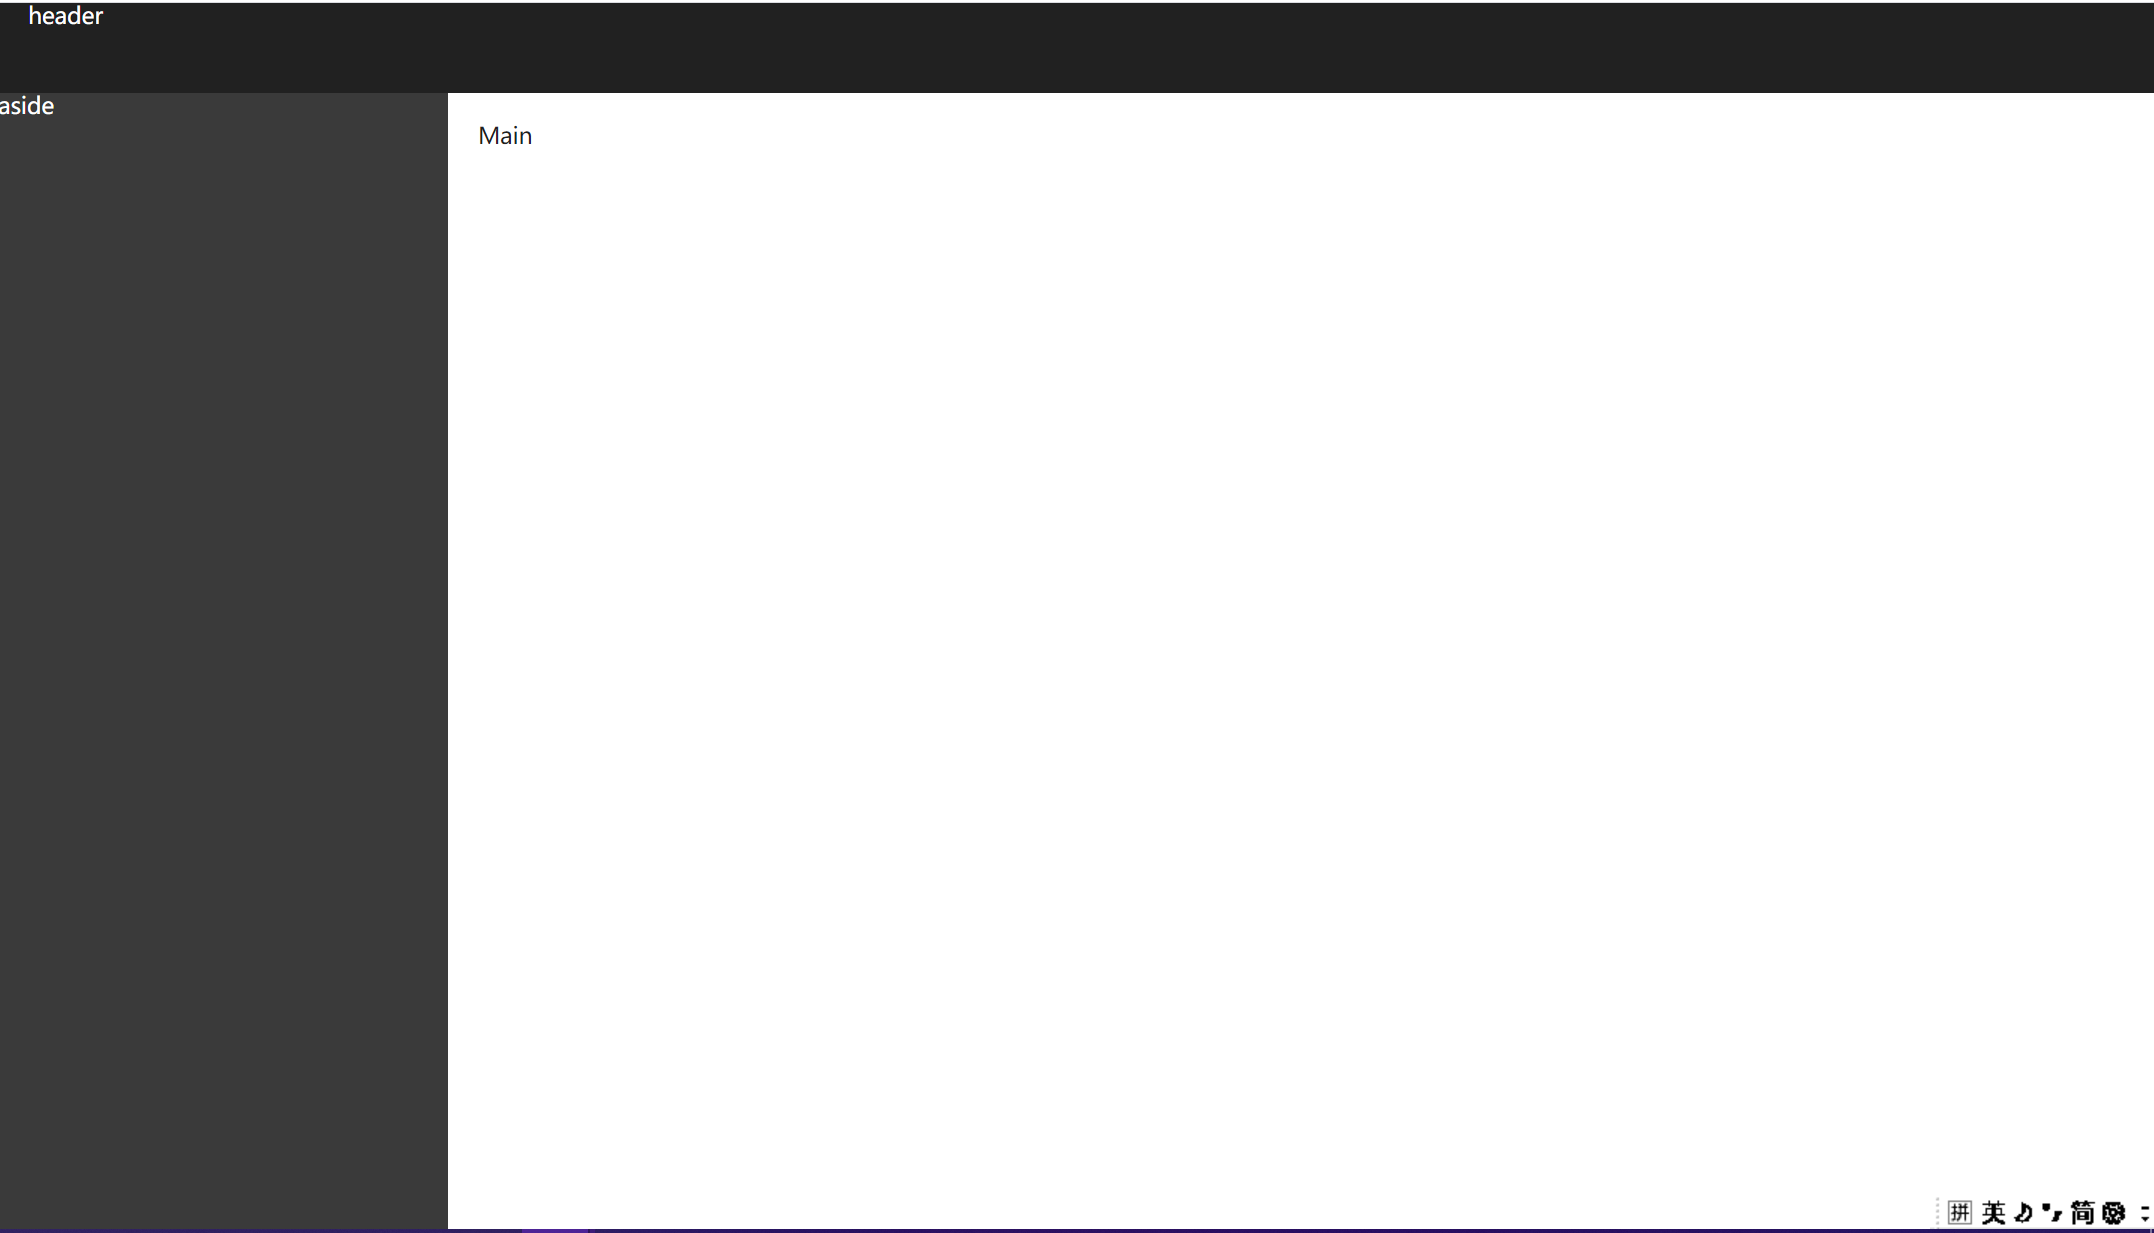
接下来我们给页面加样式:
<template>
  <el-container class="container">
    <el-header class="header">
      header
    </el-header>
    <el-container>
      <el-aside class="aside">
        <!-- 侧边栏导航  -->
        aside
      </el-aside>
      <el-main class="main">Main</el-main>
    </el-container>
  </el-container>
</template>

<script>
export default {
  name: "Home"
};
</script>
<style scoped>
.container {
  height: 100vh;
  font-size: 15px;
}
.header {
  background: #212121;
  color: #fff;
}
.aside {
  background: #3a3a3a;
  color: #fff;
  /* height: 100%; */
}
.main {
  /* height: 100%; */
  color: #212121;
}</style>
看看效果:
接着头部样式布局:通过24分栏进行布局。
将头部分为两部分,左边占16栏,右边占8栏el-row表示一行,el-col表示列
     <el-row>
        <el-col :span="16" class="headerlogo">
          <div class="grid-content bg-purple">
            <img
              style="400px;height: 30px"
              src="../../assets/img/top.png"
              alt="无法显示图片"
            />
          </div>
        </el-col>
        <el-col :span="8" class="rightsection">
          <div class="grid-content bg-purple-light">
            <span class="el-dropdown-link userinfo-inner">欢迎您,管理员</span>
            <span class="userinfo-inner" @click="signout">退出</span>
          </div>
        </el-col>
      </el-row>
侧边栏布局:侧边栏是菜单menu,在elementui中用el-menu标签来布局:
el-menu定义了当前的导航菜单及属性,el-submenu定义了子菜单栏,el-menu-item-group定义了菜单分组,el-menu-item为具体的菜单项,组件从上到下分别是:el-menu, el-submenu, el-menu-item-group, el-menu-item。
        <el-menu
          default-active="2"
          class="el-menu-vertical-demo"
          @open="handleOpen"
          @close="handleClose"
          background-color="#545c64"
          text-color="#fff"
          active-text-color="#ffd04b"
        >
          <el-submenu index="1">
            <template slot="title">
              <i class="el-icon-location"></i>
              <span>导航一</span>
            </template>
            <el-menu-item-group>
              <template slot="title">分组一</template>
              <el-menu-item index="1-1">选项1</el-menu-item>
              <el-menu-item index="1-2">选项2</el-menu-item>
            </el-menu-item-group>
            <el-menu-item-group title="分组2">
              <el-menu-item index="1-3">选项3</el-menu-item>
            </el-menu-item-group>
            <el-submenu index="1-4">
              <template slot="title">选项4</template>
              <el-menu-item index="1-4-1">选项1</el-menu-item>
            </el-submenu>
          </el-submenu>
          <el-menu-item index="2">
            <i class="el-icon-menu"></i>
            <span slot="title">导航二</span>
          </el-menu-item>
          <el-menu-item index="3" disabled>
            <i class="el-icon-document"></i>
            <span slot="title">导航三</span>
          </el-menu-item>
          <el-menu-item index="4">
            <i class="el-icon-setting"></i>
            <span slot="title">导航四</span>
          </el-menu-item>
        </el-menu>
合并代码:
<template>
  <el-container class="container">
    <el-header class="header">
      <el-row>
        <el-col :span="16" class="headerlogo">
          <div class="grid-content bg-purple">
            <img
              style="400px;height: 30px"
              src="../../assets/img/top.png"
              alt="无法显示图片"
            />
          </div>
        </el-col>
        <el-col :span="8" class="rightsection">
          <div class="grid-content bg-purple-light">
            <span class="el-dropdown-link userinfo-inner">欢迎您,管理员</span>
            <span class="userinfo-inner" @click="signout">退出</span>
          </div>
        </el-col>
      </el-row>
    </el-header>
    <el-container>
      <el-aside class="aside">
        <el-menu
          default-active="2"
          class="el-menu-vertical-demo"
          @open="handleOpen"
          @close="handleClose"
          background-color="#545c64"
          text-color="#fff"
          active-text-color="#ffd04b"
        >
          <el-submenu index="1">
            <template slot="title">
              <i class="el-icon-location"></i>
              <span>导航一</span>
            </template>
            <el-menu-item-group>
              <template slot="title">分组一</template>
              <el-menu-item index="1-1">选项1</el-menu-item>
              <el-menu-item index="1-2">选项2</el-menu-item>
            </el-menu-item-group>
            <el-menu-item-group title="分组2">
              <el-menu-item index="1-3">选项3</el-menu-item>
            </el-menu-item-group>
            <el-submenu index="1-4">
              <template slot="title">选项4</template>
              <el-menu-item index="1-4-1">选项1</el-menu-item>
            </el-submenu>
          </el-submenu>
          <el-menu-item index="2">
            <i class="el-icon-menu"></i>
            <span slot="title">导航二</span>
          </el-menu-item>
          <el-menu-item index="3" disabled>
            <i class="el-icon-document"></i>
            <span slot="title">导航三</span>
          </el-menu-item>
          <el-menu-item index="4">
            <i class="el-icon-setting"></i>
            <span slot="title">导航四</span>
          </el-menu-item>
        </el-menu>
      </el-aside>
      <el-main class="main">Main</el-main>
    </el-container>
  </el-container>
</template>

<script>
export default {
  name: "Home",
  methods: {
    //退出
    signout() {
      this.$confirm("退出登录, 是否继续?", "提示", {
        confirmButtonText: "确定",
        cancelButtonText: "取消",
        type: "warning",
      }).then(() => {
        this.$router.push({ path: "/" });
      });
    },
  },
};
</script>
<style scoped>
.container {
  height: 100vh;
  font-size: 15px;
}
.header {
  background: #212121;
  color: #fff;
}
.aside {
  background: #3a3a3a;
  color: #fff;
  /* height: 100%; */
}
.main {
  /* height: 100%; */
  color: #212121;
}
.headerlogo {
  line-height: 60px;
  margin-top: 10px;
}
.rightsection {
  line-height: 60px;
  text-align: center;
}
</style>
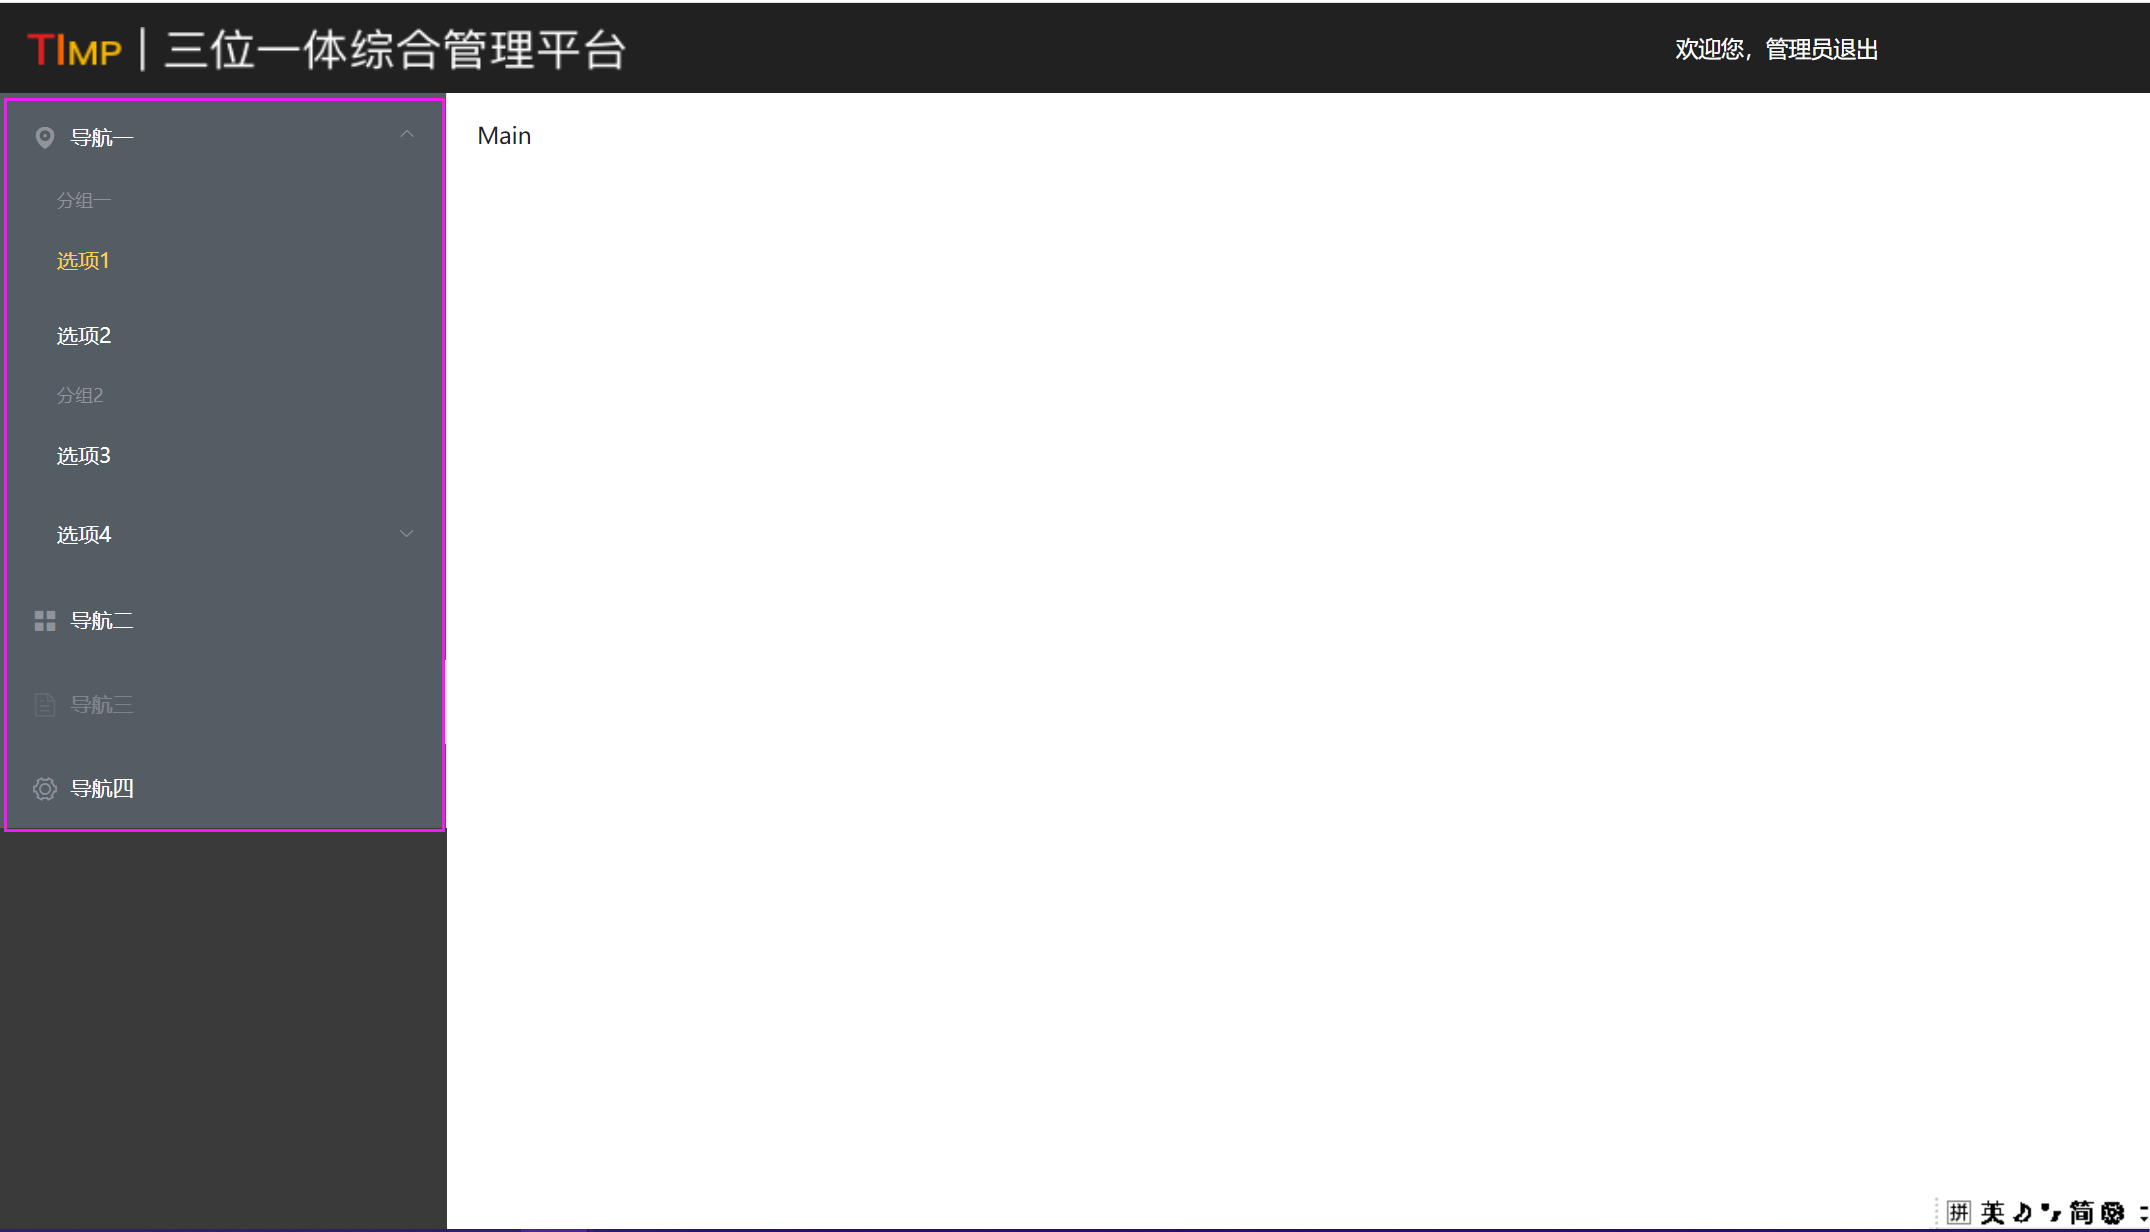
看效果:
但是我们的项目并没有分组,所以不需要el-menu-item-group,进行修改:
    <el-aside class="aside">
        <!-- unique-opened只展开一个 -->
        <!-- router开启路由模式 -->
        <el-menu
          :unique-opened="true"
          :router="true"
          background-color=" #3A3A3A"
          text-color="#fff"
          active-text-color="#ffd04b"
        >
        <!-- index 唯一标志 -->
          <el-submenu index="1">
            <template slot="title">
              <i class="el-icon-location"></i>
              <span>企业信息管理</span>
            </template>
            <!-- index 表示跳转路径 后面需要改成路径-->
            <el-menu-item index="1-1">企业信息</el-menu-item>
          </el-submenu>
          <el-submenu index="2">
            <template slot="title">
              <i class="el-icon-location"></i>
              <span>岗位信息管理</span>
            </template>
            <el-menu-item index="1-1">岗位信息</el-menu-item>
          </el-submenu>
          <el-submenu index="3">
            <template slot="title">
              <i class="el-icon-location"></i>
              <span>订单信息管理</span>
            </template>
            <el-menu-item index="1-1">订单信息</el-menu-item>
          </el-submenu>
          <el-submenu index="3">
            <template slot="title">
              <i class="el-icon-location"></i>
              <span>数据字典</span>
            </template>
            <el-menu-item index="1-1">岗位类型</el-menu-item>
          </el-submenu>
        </el-menu>
      </el-aside>
- el-submenu index="1" 这个index表示每一组的唯一标志,当我们定义了 unique-opened=true的时候会根据这个表示展示相应的选项。自己可以测试一下把所有的选项组的index都设置成同一个值得时候是什么效果就明白了这个标志得作用。
- el-menu-item index="1-1",这个index值会被作为跳转路径进行跳转,我们需要把这个值和页面路径对应起来。所以需要开启路由模式,点击那个页面的时候左侧就会显示哪个页面内容信息。
  data() {
    return {
      menuData: [
        {
          name: "企业信息管理",
          order: "1",
          path:'componyinfomanage',
          children: [
            {
              path: "componyinfomanage",
              name: "企业信息",
            },
          ],
        },
        {
          path: "postinfomange",
          name: "岗位信息管理",
          order: "2",
          children: [
            {
              path: "postinfomange",
              name: "岗位信息",
            },
          ],
        },
        {
          path: "orderinfomange",
          name: "订单信息管理",
          order: "3",
          children: [
            {
              path: "orderinfomange",
              name: "订单信息",
            },
          ],
        },
        {
          path: "datamangeinfo",
          name: "数据字典",
          order: "4",
          children: [
            {
              path: "datamangeinfo",
              name: "岗位类型",
            },
          ],
        },
      ],
    };
  },
v-for循环显示menuData
      <el-aside class="aside">
        <!-- 侧边栏导航  -->
        <!-- unique-opened只展开一个 -->
        <!-- router开启路由模式 -->
        <el-menu :unique-opened="true" :router="true" class="menu"
          background-color=" #3A3A3A"
          text-color="#fff"
          active-text-color="#ffd04b"
          >
          <el-submenu :index="' '+item1.order" v-for="(item1,index) in menuData" :key="item1.path">
            <!--表示可以展开的一组 -->
            <template slot="title" @click="clickTitle">
              <!--图标 -->
              <i class="el-icon-location"></i>
              <!--文字 -->
              <span>{{item1.name}}</span>
            </template>
            <el-menu-item
              class="menuItem"
              @click="clickMenuItem"
              v-for="(item2,index) in item1.children"
              :key="item2.path"
              :index="item2.path"
            >
              <i class="el-icon-location"></i>
              <!--图标 -->
              <span>{{item2.name}}</span>
            </el-menu-item>
          </el-submenu>
        </el-menu>
      </el-aside>
上面说过 el-menu-item 的index会替换成我们实际需要跳转的路径,那么就需要进行路由配置:
import Vue from 'vue'
import VueRouter from 'vue-router'
const Home = () => import('../views/home/Home.vue')
const Login = () => import('../views/login/Login.vue')

const ComponyInfoManage = () => import('../../src/views/componyinfo/ComponyInfoManage.vue')
const PostInfoManage = () => import('../../src/views/postinfo/PostInfoManage.vue')
const OrderInfoManage = () => import('../../src/views/orderinfo/OrderInfoManage.vue')
const PostType = () => import('../views/datadictionary/DataDictionary.vue')
Vue.use(VueRouter)

  const routes = [
  {
    path: '/',
    name: 'Login',
    component: Login
  },
  {
    path: '/home',
    name: 'Home',
    component: Home,
    children:[
      {
        path: '/componyinfomanage',
        name: '企业信息',
        component: ComponyInfoManage,
      },
      {
        path: '/postinfomange',
        name: '岗位信息',
        component: PostInfoManage,
      },
      {
        path: '/orderinfomange',
        name: '订单信息',
        component: OrderInfoManage,
      },
      {
        path: '/datamangeinfo',
        name: '订单信息',
        component: PostType,
      },
    ]
  },
]

const router = new VueRouter({
  mode: 'history',
  base: process.env.BASE_URL,
  routes
})

export default router
注意,menuData中的path要和路由跳转的path相同,不然跳转的时候会找不到对应的页面。
此时显示如下:
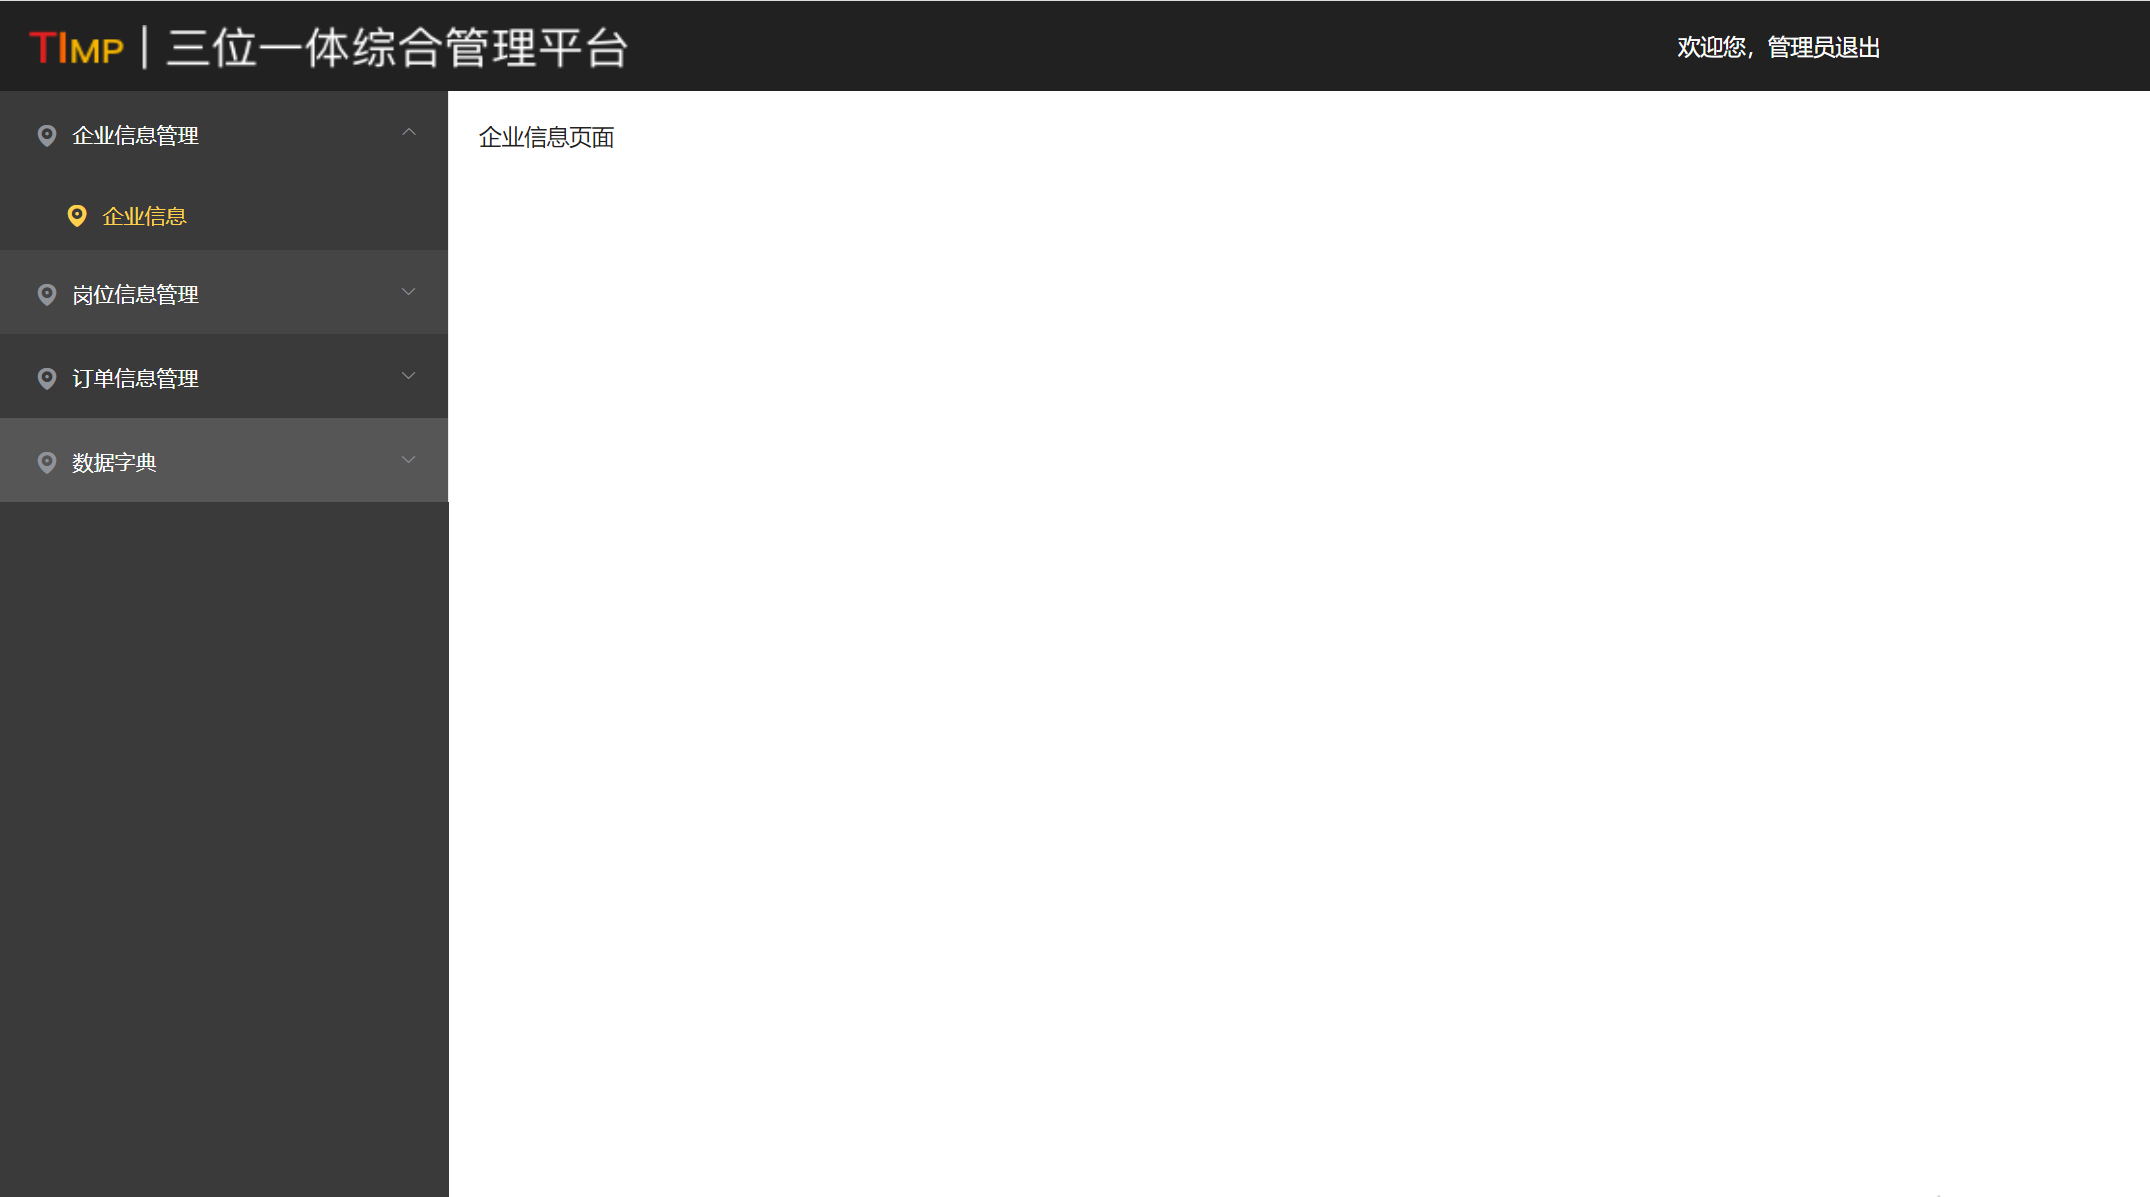
至此,登录+侧边菜单栏全部实现。
项目整体代码放到了我的github上面,若是对你有一点帮助,还请赏个star[抱拳]