nginx下证书配置
nginx 下 配 置 CA 认 证
为nginx配置https并自签名证书 开启443端口
实验环境: centos6.5 192.168.16.14
[root@localhost nginx]# rpm -qa | grep openssl
openssl-devel-1.0.1e-15.el6.x86_64
openssl-1.0.1e-15.el6.x86_64
一.准备证书
1.制作CA证书
ca.key CA私钥:
步骤与使用OpenSSL自签发服务器https证书所述大同小异。在这里再重复一次。
[root@localhost zhengshu]# pwd
/root/zhengshu
[root@localhost zhengshu]# openssl genrsa -des3 -out ca.key 2048 //制作ca.key 私钥
Generating RSA private key, 2048 bit long modulus
...............................+++
............................................................................................................+++
e is 65537 (0x10001)
Enter pass phrase for ca.key: //输入ca.key私钥 tfo0zQ1JiP3PeZQVAzMy
Verifying - Enter pass phrase for ca.key: //再次输入ca.key私钥 tfo0zQ1JiP3PeZQVAzMy
制作解密后的CA私钥(一般无此必要):
[root@localhost zhengshu]# openssl rsa -in ca.key -out ca_decrypted.key
Enter pass phrase for ca.key: //输入ca.key私钥 tfo0zQ1JiP3PeZQVAzMy
writing RSA key
[root@localhost zhengshu]# ls
ca_decrypted.key ca.key //解密后的ca私钥和ca私钥
ca.crt CA根证书(公钥):
[root@localhost zhengshu]# openssl req -new -x509 -days 7305 -key ca.key -out ca.crt
Enter pass phrase for ca.key: //输入ca.key私钥 tfo0zQ1JiP3PeZQVAzMy
You are about to be asked to enter information that will be incorporated
into your certificate request.
What you are about to enter is what is called a Distinguished Name or a DN.
There are quite a few fields but you can leave some blank
For some fields there will be a default value,
If you enter '.', the field will be left blank.
-----
Country Name (2 letter code) [XX]: //输入一个国家的名字,两字母代码 可为空
State or Province Name (full name) []: //州或省名称 ,全名 可为空
Locality Name (eg, city) [Default City]: //地区名称,如城市 可为空
Organization Name (eg, company) [Default Company Ltd]: //组织名称,默认有限公司 可为空
Organizational Unit Name (eg, section) []: //组织单元名称 ,可为空
Common Name (eg, your name or your server's hostname) []:www.amber.com //常见的名字(例如你的名字或你的服务器的主机名),输入该网址的域名,必填
Email Address []: //邮件地址,可为空
[root@localhost zhengshu]# ls
ca.crt ca_decrypted.key ca.key //ca公钥
2、制作生成网站的证书并用CA签名认证,在这里,假设网站域名为www.amber.com
生成www.amber.comt证书私钥:
[root@localhost zhengshu]# openssl genrsa -des3 -out www.amber.com.pem 1024
Generating RSA private key, 1024 bit long modulus
..............................++++++
......++++++
e is 65537 (0x10001)
Enter pass phrase for www.amber.com.pem: //输入www.amber.com.pem口令 8BZNTubqWA3Y6A1aVJyW
Verifying - Enter pass phrase for www.amber.com.pem: //再次输入www.amber.com.pem 口令 8BZNTubqWA3Y6A1aVJyW
制作解密后的www.amber.oom证书私钥:
[root@localhost zhengshu]# openssl rsa -in www.amber.com.pem -out www.amber.com.key
Enter pass phrase for www.amber.com.pem: //输入www.amber.com.pem口令 8BZNTubqWA3Y6A1aVJyW
writing RSA key
[root@localhost zhengshu]# ls //解密后的wwwamber.com.key证书私钥
ca.crt ca_decrypted.key ca.key www.amber.com.key www.amber.com.pem
生成签名请求:
[root@localhost zhengshu]# openssl req -new -key www.amber.com.pem -out www.amber.com.csr
Enter pass phrase for www.amber.com.pem: //输入www.amber.com.pem 口令 8BZNTubqWA3Y6A1aVJyW
You are about to be asked to enter information that will be incorporated
into your certificate request.
What you are about to enter is what is called a Distinguished Name or a DN.
There are quite a few fields but you can leave some blank
For some fields there will be a default value,
If you enter '.', the field will be left blank.
-----
Country Name (2 letter code) [XX]: //输入一个国家的名字,两字母代码 可为空
State or Province Name (full name) []: //州或省名称 ,全名 可为空
Locality Name (eg, city) [Default City]: //地区名称,如城市 可为空
Organization Name (eg, company) [Default Company Ltd]: //组织名称,默认有限公司 可为空
Organizational Unit Name (eg, section) []: //组织单元名称 ,可为空
Common Name (eg, your name or your server's hostname) []:www.amber.com //常见的名字(例如你的名字或你的服务器的主机名),输入该网址的域名,必填
Email Address []: //邮件地址,可为空
Please enter the following 'extra' attributes
to be sent with your certificate request
A challenge password []:tutRLJVpkCXlfBJqtZDh //输入密码
An optional company name []:ZX //输入一个公司的名称
注:在common name中填入网站域名,如blog.creke.net即可生成改站点的证书,同时也可以使用泛域名如*.creke.net来生成所有二级域名可用的网站证书
用CA进行签名:
[root@localhost zhengshu]# openssl ca -policy policy_anything -days 1460 -cert ca.crt -keyfile ca.key -in www.amber.com.csr -out www.amber.com.crt
Using configuration from /etc/pki/tls/openssl.cnf
Enter pass phrase for ca.key: //输入ca私钥 tfo0zQ1JiP3PeZQVAzMy
/etc/pki/CA/index.txt: No such file or directory
unable to open '/etc/pki/CA/index.txt' //报错,不能打开这个目录..
140576737036104:error:02001002:system library:fopen:No such file or directory:bss_file.c:398:fopen('/etc/pki/CA/index.txt','r')
140576737036104:error:20074002:BIO routines:FILE_CTRL:system lib:bss_file.c:400:
注;其中,policy参数允许签名的CA和网站证书可以有不同的国家、地名等信息,days参数则是签名时限
报错解决方法:
如果在执行签名命令时,出现“I am unable to access the ../../CA/newcerts directory”
修改/etc/pki/tls/openssl.cnf中“dir = ./CA”
[root@localhost zhengshu]# vim /etc/pki/tls/openssl.cnf
42 dir = ./CA
然后:
mkdir -p CA/newcerts
touch CA/index.txt
touch CA/serial
echo "01" > CA/serial
[root@localhost zhengshu]# mkdir -p CA/newcerts
[root@localhost zhengshu]# touch CA/index.txt
[root@localhost zhengshu]# touch CA/serial
[root@localhost zhengshu]# echo "01" > CA/serial
再重新执行签名命令。
[root@localhost zhengshu]# openssl ca -policy policy_anything -days 1460 -cert ca.crt -keyfile ca.key -in www.amber.com.csr -out www.amber.com.crt
Using configuration from /etc/pki/tls/openssl.cnf
Enter pass phrase for ca.key: //输入ca私钥 tfo0zQ1JiP3PeZQVAzMy
Check that the request matches the signature
Signature ok
Certificate Details:
Serial Number: 1 (0x1)
Validity
Not Before: Sep 2 23:37:46 2016 GMT
Not After : Sep 1 23:37:46 2020 GMT
Subject:
countryName = XX
localityName = Default City
organizationName = Default Company Ltd
commonName = www.amber.com
X509v3 extensions:
X509v3 Basic Constraints:
CA:FALSE
Netscape Comment:
OpenSSL Generated Certificate
X509v3 Subject Key Identifier:
F6:B5:02:33:26:4A:CA:80:C0:01:D8:35:E3:B5:66:27:3A:07:9F:D0
X509v3 Authority Key Identifier:
keyid:EE:81:07:70:D2:11:40:FC:0E:FE:8D:F0:31:91:58:AC:89:3D:0E:DF
Certificate is to be certified until Sep 1 23:37:46 2020 GMT (1460 days)
Sign the certificate? [y/n]:y
1 out of 1 certificate requests certified, commit? [y/n]y
Write out database with 1 new entries
Data Base Updated
最后,把ca.crt的内容粘贴到www.amber.com.crt后面。这个比较重要!因为不这样做,可能会有某些浏览器不支持
[root@localhost zhengshu]# cat ca.crt >> www.amber.com.crt
好了,现在https需要到的网站私钥www.amber.com.key和网站证书www.amber.com.crt都准备完毕。接下来开始配置服务端。
二.配置nginx服务端
源码包安装nginx服务器
卸载rpm包安装的apache服务 ,可省略次步骤
[root@localhost zhengshu]# rpm -q httpd
package httpd is not installed
[root@localhost zhengshu]# rpm -e httpd --nodeps
[root@localhost zhengshu]# netstat -anpt | grep 80
安装nginx支持软件:
[root@localhost ~]# yum -y install pcre-devel zlib-devel gcc gcc-c++ make
[root@localhost ~]# rpm -q pcre-devel zlib-devel gcc gcc-c++ make
pcre-devel-7.8-6.el6.x86_64
zlib-devel-1.2.3-29.el6.x86_64
gcc-4.4.7-4.el6.x86_64
gcc-c++-4.4.7-4.el6.x86_64
make-3.81-20.el6.x86_64
[root@localhost ~]# yum -y install pcre-devel zlib-devel
[root@localhost ~]# rpm -q pcre-devel zlib-devel
pcre-devel-7.8-6.el6.x86_64
zlib-devel-1.2.3-29.el6.x86_64
创建运行用户,组:
[root@localhost ~]# useradd -M -s /sbin/nologin nginx
编译安装nginx:
[root@localhost soft]# pwd
/root/soft
[root@localhost soft]# ls
nginx-1.6.0.tar.gz
[root@localhost soft]# tar xf nginx-1.6.0.tar.gz -C /usr/src
[root@localhost soft]# cd /usr/src/nginx-1.6.0/
[root@localhost nginx-1.6.0]# ls
auto CHANGES CHANGES.ru conf configure contrib html LICENSE man README src
[root@localhost nginx-1.6.0]# ./configure --prefix=/usr/local/nginx --user=nginx --group=nginx --with-http_stub_status_module --with-http_ssl_module && make && make install ///安装ssl模块
为程序nginx创建连接文件:
[root@localhost nginx-1.6.0]# ls /usr/local/nginx/
conf html logs sbin
[root@localhost nginx-1.6.0]# ln -s /usr/local/nginx/sbin/nginx /usr/local/sbin/
[root@localhost nginx-1.6.0]# ll /usr/local/sbin/
总用量 0
lrwxrwxrwx 1 root root 27 9月 3 08:04 nginx -> /usr/local/nginx/sbin/nginx
[root@localhost nginx-1.6.0]# nginx -t //检测nginx语法
nginx: the configuration file /usr/local/nginx/conf/nginx.conf syntax is ok
nginx: configuration file /usr/local/nginx/conf/nginx.conf test is successful
[root@localhost nginx-1.6.0]# nginx //启动nginx 服务
[root@localhost nginx-1.6.0]# netstat -anpt | grep nginx
tcp 0 0 0.0.0.0:80 0.0.0.0:* LISTEN 5797/nginx
在server{}段中设置:
[root@localhost conf]# cp nginx.conf nginx.conf.bak
[root@localhost conf]# vim nginx.conf
35 server {
36 listen 192.168.16.14:443;
37 ssl on;
38 ssl_certificate /usr/local/nginx/conf/www.amber.com.crt; //密钥存放的路径
39 ssl_certificate_key /usr/local/nginx/conf/www.amber.com.key; //密钥存放的路径
40 server_name www.amber.com; //网站域名
41
[root@localhost ~]# cp zhengshu/* /usr/local/nginx/conf/ //把密钥都拷到/usr/local/nginx/conf/ 目录下
cp: 略过目录"zhengshu/CA"
nginx其他配置修改:
[root@localhost conf]# vim nginx.conf
1
2 user nginx nginx; //nginx程序账户及程序组
3 worker_processes 2; //指定要开启的进程,每个进程要消耗10M-20M内存,cpu要是多核,建议指定与cpu一样多的核数
4
5 #error_log logs/error.log;
6 #error_log logs/error.log notice;
7 error_log logs/error.log info; //错误日志记录级别
8
9 pid logs/nginx.pid; //指定pid存储位置
10
11
12 events {
13 use epoll; nginx的工作模式
14 worker_connections 1024;
15 }
16
17
18 http {
19 include mime.types;
20 default_type application/octet-stream;
21
22 log_format main '$remote_addr - $remote_user [$time_local] "$request" '
23 '$status $body_bytes_sent "$http_referer" '
24 '"$http_user_agent" "$http_x_forwarded_for"';
25
26 access_log logs/access.log main; //客户端访问日志记录位置
27
28 sendfile on; //开启文件上传下载功能
29 #tcp_nopush on;
30
31 #keepalive_timeout 0;
32 keepalive_timeout 65; //连接保持超时时间
33
34 gzip on; //开启网页压缩功能
35
36 server {
37 listen 192.168.16.14:443; 网站绑定443端口号
38 ssl on;
39 ssl_certificate /usr/local/nginx/conf/www.amber.com.crt;
40 ssl_certificate_key /usr/local/nginx/conf/www.amber.com.key;
41 server_name www.amber.com; //虚拟主机绑定的域名
42
43 charset koi8-r; //默认字符集
44
45 access_log logs/host.access.log main; //虚拟主机访问日志记录
46
47 location / {
48 root html; //网站根目录位置
49 index index.html index.htm; //默认首页地址
50 }
51
52 #error_page 404 /404.html;
53
54 # redirect server error pages to the static page /50x.html
55 #
56 error_page 500 502 503 504 /50x.html;
57 location = /50x.html {
58 root html;
59 }
60 }
61 }
[root@localhost conf]# killall -3 nginx //关闭nginx服务
[root@localhost conf]# nginx //启动nginx服务
[root@localhost conf]# netstat -anpt | grep nginx //查看nginx端口号
tcp 0 0 192.168.16.14:443 0.0.0.0:* LISTEN 5815/nginx
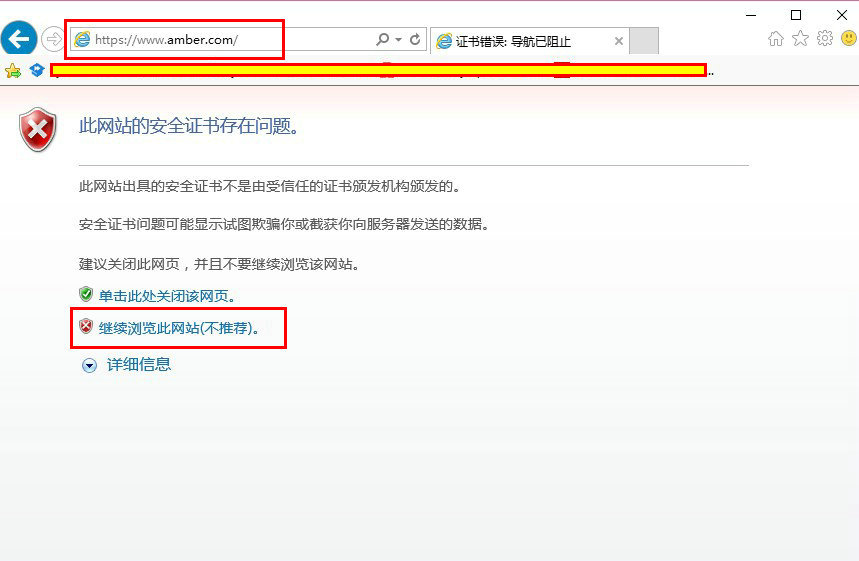
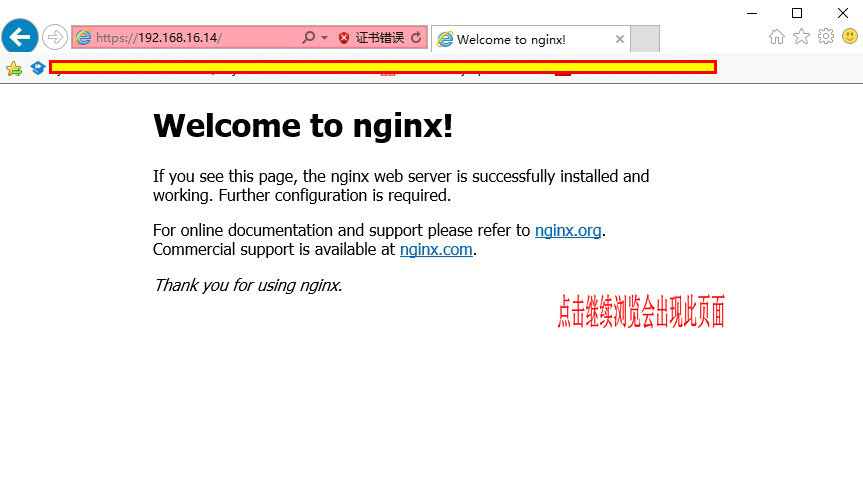
浏览器访问:
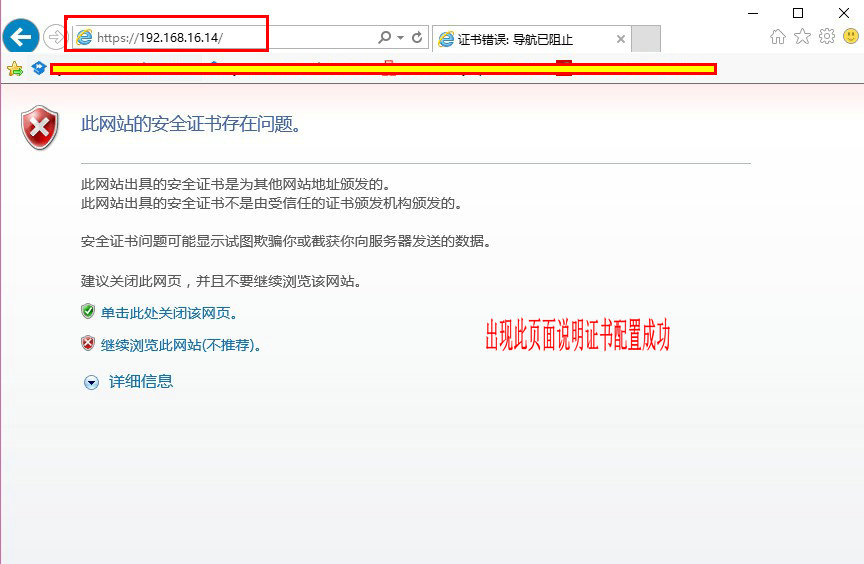
点击记录浏览此网站
用域名www.amber.com访问:
[root@localhost conf]# vim /etc/hosts
127.0.0.1 localhost localhost.localdomain localhost4 localhost4.localdomain4
::1 localhost localhost.localdomain localhost6 localhost6.localdomain6
192.168.16.14 www.amber.com
并且修改windows下hosts文件,添加ip地址与域名