一.说明:demo中的举例视图介绍
UIView *_blackView; 作为父视图
UIView *_redView; 与父视图内边距为10
UIView *_orangeView1; 父视图的内左视图
UIView *_orangeView2; 父视图的内右视图
二.先上演示截图
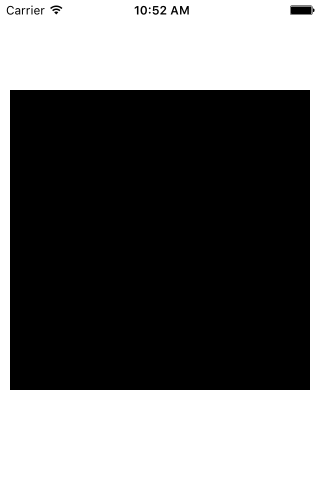
1黑色父视图
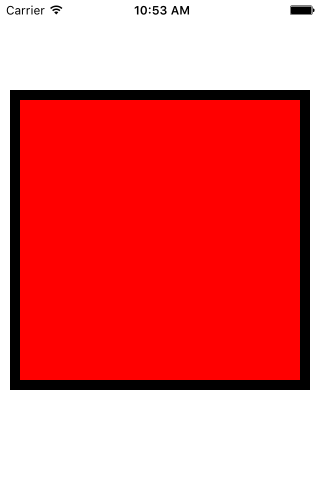
2.在黑色父视图上添加距父视图内边距为10的红色视图
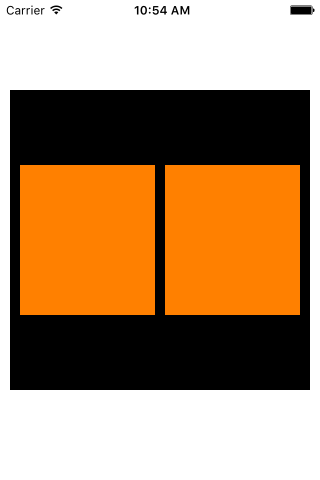
3.在黑色父视图上添加两个橘黄色视图
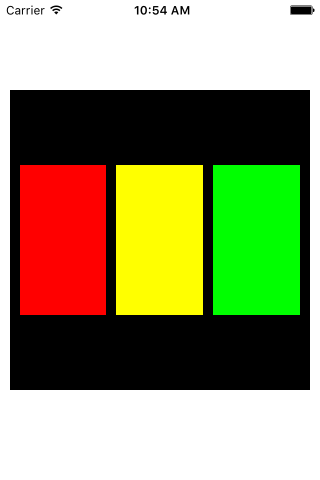
4.在黑色父视图上添加三个等边距的视图
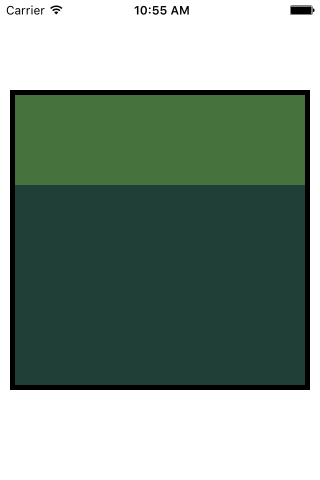
5.在黑色视图上添加滑动视图
(1)滑动视图的头视图
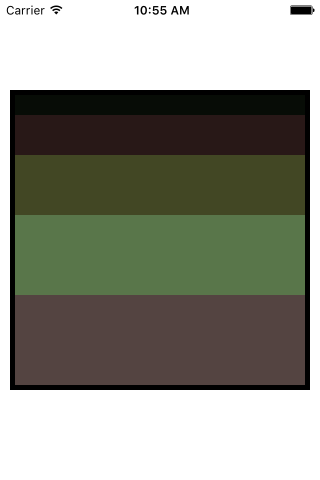
(2)滑动视图的尾部视图
三.解惑
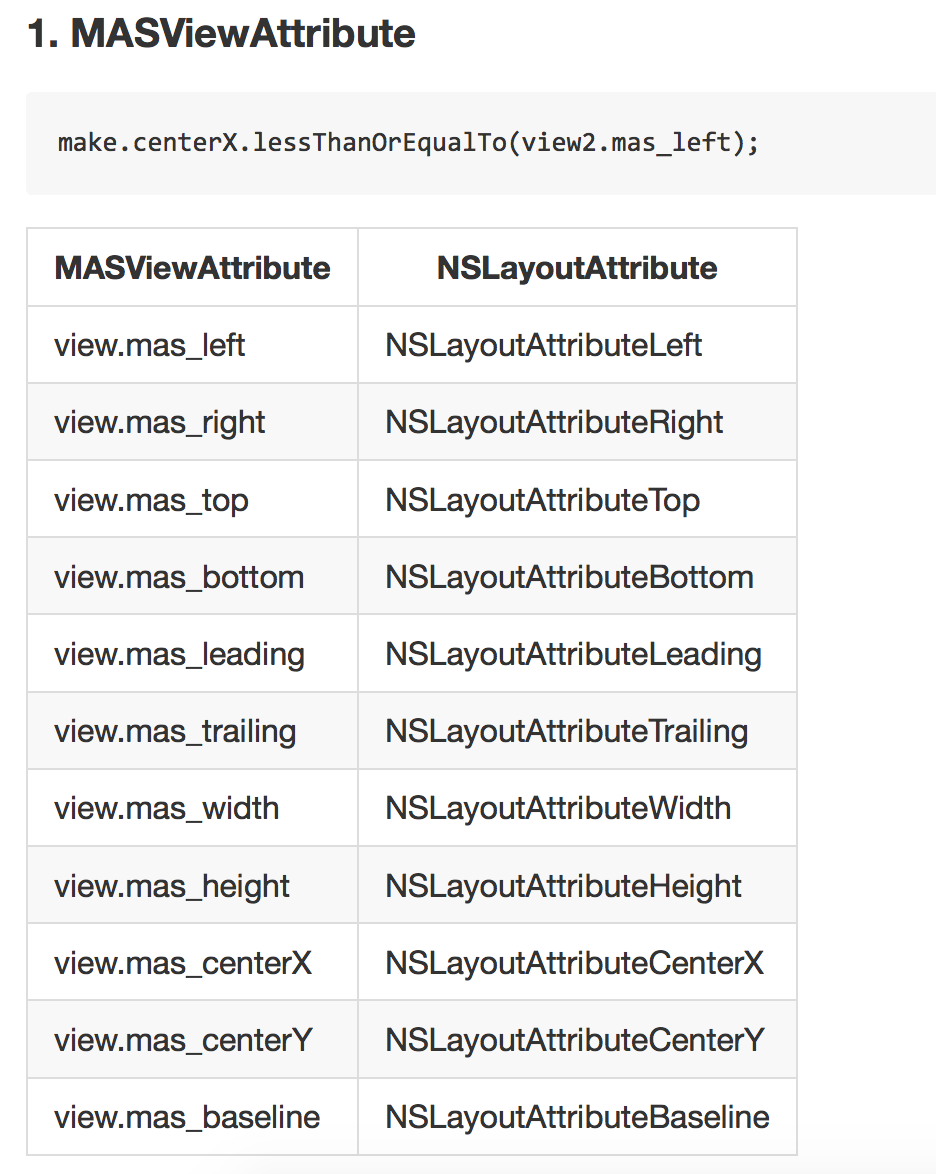
1.关键词
make 需要添加约束的对象
and 无具体意义的语句连贯词
with 无具体意义的语句连贯词
offset 边距
equalTo 相对于,等同于
multipliedBy 倍数举例:make.width.equalTo(self.view.mas_width).multipliedBy(0.5);//设置宽度为self.view的一半,multipliedBy是倍数的意思,也就是,使宽度等于self.view宽度的0.5倍2.make的属性
// 左侧
@property (nonatomic, strong, readonly) MASConstraint *left;
// 顶部
@property (nonatomic, strong, readonly) MASConstraint *top;
// 右侧
@property (nonatomic, strong, readonly) MASConstraint *right;
// 底部
@property (nonatomic, strong, readonly) MASConstraint *bottom;
// 首部
@property (nonatomic, strong, readonly) MASConstraint *leading;
// 尾部
@property (nonatomic, strong, readonly) MASConstraint *trailing;
// 宽
@property (nonatomic, strong, readonly) MASConstraint *width;
// 高
@property (nonatomic, strong, readonly) MASConstraint *height;
// 中心点x
@property (nonatomic, strong, readonly) MASConstraint *centerX;
// 中心点y
@property (nonatomic, strong, readonly) MASConstraint *centerY;
// 文本基线
@property (nonatomic, strong, readonly) MASConstraint *baseline;
3.分类
|
分类
|
含义
|
举例
|
|
size
|
尺寸,包含(wdith,height)
|
make.size.mas_equalTo(CGSizeMake(300, 300));
|
|
edges
|
边距,包含(top,left,right,bottom)
|
make.edges.equalTo(_blackView).with.insets(UIEdgeInsetsMake(10, 10, 10, 10));
可以写成
make.top.equalTo(_blackView).with.offset(10); make.left.equalTo(_blackView).with.offset(10); make.bottom.equalTo(_blackView).with.offset(-10); make.right.equalTo(_blackView).with.offset(-10);
或者 make.top.left.bottom.and.right.equalTo(_blackView).with.insets(UIEdgeInsetsMake(10, 10, 10, 10));
|
|
center
|
中心,包含(centerX,centerY)
|
make.center.equalTo(self.view);
|
4.对比
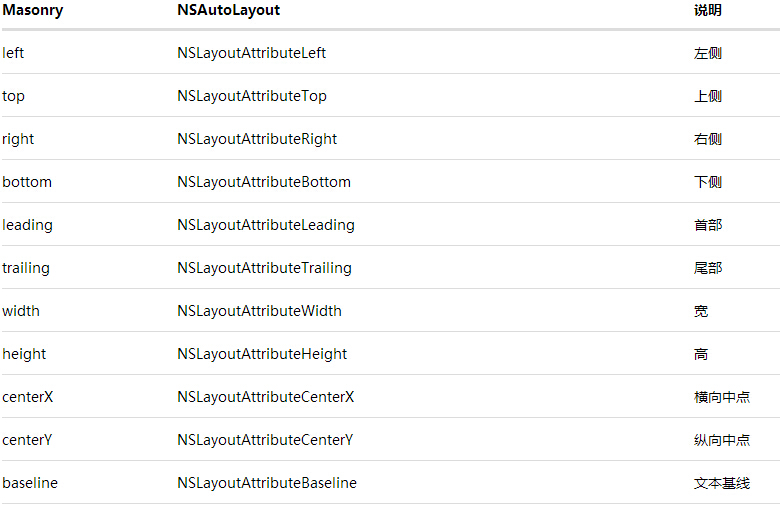
其中leading与left trailing与right 在正常情况下是等价的 但是当一些布局是从右至左时(比如阿拉伯文?没有类似的经验) 则会对调 换句话说就是基本可以不理不用 用left和right就好了。
以上说明了上下左右等属性的对应替代属性。
四.三个添加约束的方法
//设置约束
- (NSArray *)mas_makeConstraints:(void(^)(MASConstraintMaker *))block;
//如果之前已经有约束,则更新新的约束,如果没有约束,则添加约束
- (NSArray *)mas_updateConstraints:(void(^)(MASConstraintMaker *))block;
//将之前的约束全部删除,添加新的约束
- (NSArray *)mas_remakeConstraints:(void(^)(MASConstraintMaker *make))block;
五.添加控件
(
1.需要把控件先添加到父视图上,否则会报错。
2.不需要 _blackView.translatesAutoresizingMaskIntoConstraints = NO;已经封装进去了
3.只需要设置一些与控件frame无关的就可以了
)
_blackView = [UIView new];
_blackView.backgroundColor = [UIColor blackColor];
// 在做autoLayout 之前 一定要先将view添加到superView上, 否则会报错
[self.view addSubview:_blackView];
六.给控件添加约束
效果:控件的bounds(0,0,300,300).控件的中心在self.view的中心上。两个约束确定了控件的位置。
//mas_makeConstrains就是Masonry的autoLayout添加函数 将所需的约束添加到block中就行了
[_blackView mas_makeConstraints:^(MASConstraintMaker *make) {
//居中
make.center.equalTo(self.view);
//将size设置成(300,300);
make.size.mas_equalTo(CGSizeMake(300, 300));
}];
七.代码
#import "ViewController.h"
#import "Masonry.h"
@interface ViewController ()
{
UIView *_blackView;
UIView *_redView;
UIView *_orangeView1;
UIView *_orangeView2;
UIScrollView *_scrolView;
}
@end
@implementation ViewController
- (void)viewDidLoad {
[super viewDidLoad];
[self addBlackView];
//[self addRedView];
//[self addTwoOrangeColorView];
//[self addMoreView];
[self addScrolView];
}
#pragma mark 添加黑色视图
- (void)addBlackView
{
_blackView = [UIView new];
_blackView.backgroundColor = [UIColor blackColor];
// 在做autoLayout 之前 一定要先将view添加到superView上, 否则会报错
[self.view addSubview:_blackView];
//mas_makeConstrains就是Masonry的autoLayout添加函数 将所需的约束添加到block中就行了
[_blackView mas_makeConstraints:^(MASConstraintMaker *make) {
//居中
make.center.equalTo(self.view);
//将size设置成(300,300);
make.size.mas_equalTo(CGSizeMake(300, 300));
}];
}
#pragma mark 添加红色视图
- (void)addRedView
{
_redView = [UIView new];
_redView.backgroundColor = [UIColor redColor];
[self.view addSubview:_redView];
[_redView mas_makeConstraints:^(MASConstraintMaker *make) {
//这三种方式等价
//方式一:
make.edges.equalTo(_blackView).with.insets(UIEdgeInsetsMake(10, 10, 10, 10));
make.edges.equalTo(_blackView).with.insets(UIEdgeInsetsMake(10, 10, 10, 10));
//方式二:
// make.top.equalTo(_blackView).with.offset(10);
// make.left.equalTo(_blackView).with.offset(10);
// make.bottom.equalTo(_blackView).with.offset(-10);
// make.right.equalTo(_blackView).with.offset(-10);
//方式三:
// make.top.left.bottom.and.right.equalTo(_blackView).with.insets(UIEdgeInsetsMake(10, 10, 10, 10));
}];
}
#pragma mark 添加俩橘色视图
- (void)addTwoOrangeColorView
{
//定义边距为10
int padding1 = 10;
_orangeView1 = [UIView new];
_orangeView1.backgroundColor = [UIColor orangeColor];
[self.view addSubview:_orangeView1];
_orangeView2 = [UIView new];
_orangeView2.backgroundColor = [UIColor orangeColor];
[self.view addSubview:_orangeView2];
[_orangeView1 mas_makeConstraints:^(MASConstraintMaker *make) {
make.centerY.mas_equalTo(_blackView.mas_centerY);
make.left.equalTo(_blackView.mas_left).with.offset(padding1);
make.right.equalTo(_orangeView2.mas_left).with.offset(-padding1);
make.height.mas_equalTo(@150);
make.width.equalTo(_orangeView2);
}];
[_orangeView2 mas_makeConstraints:^(MASConstraintMaker *make) {
make.centerY.mas_equalTo(_blackView.mas_centerY);
make.left.equalTo(_orangeView1.mas_right).with.offset(padding1);
make.right.equalTo(_blackView.mas_right).with.offset(-padding1);
make.height.mas_equalTo(@150);
make.width.equalTo(_orangeView1);
}];
}
#pragma mark 添加多个等间距的视图
- (void)addMoreView
{
UIView *view1 = [[UIView alloc] init];
view1.backgroundColor = [UIColor redColor];
[_blackView addSubview:view1];
UIView *view2 = [[UIView alloc] init];
view2.backgroundColor = [UIColor yellowColor];
[_blackView addSubview:view2];
UIView *view3 = [[UIView alloc] init];
view3.backgroundColor = [UIColor greenColor];
[self.view addSubview:view3];
int padding = 10;
[view1 mas_makeConstraints:^(MASConstraintMaker *make) {
//设置竖直方向约束
// 设置view1的Y中心点
make.centerY.mas_equalTo(_blackView);
// 设置高度
make.height.mas_equalTo(@150);
//设置水平方向约束
// 设置左侧距离父视图10
make.left.equalTo(_blackView).with.offset(padding);
// 设置右侧距离和view2的左侧相隔10
make.right.equalTo(view2.mas_left).with.offset(-padding);
// 宽度设置和view2以及view3相同
make.width.equalTo(@[view2, view3]);
}];
[view2 mas_makeConstraints:^(MASConstraintMaker *make) {
make.centerY.mas_equalTo(_blackView);
make.height.mas_equalTo(view1);
make.width.equalTo(@[view1, view3]);
}];
[view3 mas_makeConstraints:^(MASConstraintMaker *make) {
make.centerY.mas_equalTo(_blackView);
make.left.equalTo(view2.mas_right).with.offset(padding);
make.right.equalTo(_blackView).with.offset(-padding);
make.height.mas_equalTo(view1);
make.width.equalTo(@[view2, view1]);
}];
}
#pragma mark 添加滑动视图
- (void)addScrolView
{
_scrolView = [UIScrollView new];
_scrolView.backgroundColor = [UIColor whiteColor];
[_blackView addSubview:_scrolView];
[_scrolView mas_makeConstraints:^(MASConstraintMaker *make) {
make.edges.equalTo(_blackView).with.insets(UIEdgeInsetsMake(5, 5, 5, 5));
}];
UIView * container = [UIView new];
[_scrolView addSubview:container];
[container mas_makeConstraints:^(MASConstraintMaker *make) {
make.edges.equalTo(_scrolView);
make.width.equalTo(_scrolView);
}];
int count = 10;
UIView * lastView = nil;
for (int i = 0; i <= count; i ++)
{
UIView * subView = [UIView new];
[container addSubview:subView];
subView.backgroundColor = [UIColor colorWithHue:(arc4random() % 156 / 256.0) saturation:(arc4random() % 128 / 256.0) brightness:(arc4random() % 128 / 256.0) alpha:1];
[subView mas_makeConstraints:^(MASConstraintMaker *make) {
make.left.and.right.equalTo(container);
make.height.equalTo(@(20*i));
if (lastView) {
make.top.mas_equalTo(lastView.mas_bottom);
}
else
{
make.top.mas_equalTo(container.mas_top);
}
}];
lastView = subView;
}
[container mas_makeConstraints:^(MASConstraintMaker *make) {
make.bottom.equalTo(lastView.mas_bottom);
}];
}
- (void)viewDidAppear:(BOOL)animated
{
[super viewDidAppear:animated];
NSLog(@"_blackView.frame: %@",NSStringFromCGRect(_blackView.frame));
NSLog(@"_blackView1.frame: %@",NSStringFromCGRect(_blackView.frame));
NSLog(@"_orangeView1.frame: %@",NSStringFromCGRect(_orangeView1.frame));
NSLog(@"_orangeView2.frame: %@",NSStringFromCGRect(_orangeView2.frame));
NSLog(@"_scrolView.frame: %@",NSStringFromCGRect(_scrolView.frame));
}
@end