上节,介绍Material Design 对阴影效果的实现,这节,我们来介绍Android 5.x的着色与裁剪的特性。
Android 5.X 在对图像的操作上增加更多的功能,下面来看看 Android 5.X 的两个对操作图像的新功能——Tinting(着色)和 Clipping(裁剪)。
1.Trinting(着色)
本例,通过对图片着色,使大家对着色有一个很好的理解。相应的源代码请看下文:
<LinearLayout xmlns:android="http://schemas.android.com/apk/res/android"
    xmlns:tools="http://schemas.android.com/tools"
    android:layout_width="match_parent"
    android:layout_height="match_parent"
    android:orientation="vertical"
    tools:context=".MainActivity" >

    <ImageView
        android:layout_width="100dp"
        android:layout_height="100dp"
        android:layout_gravity="center"
        android:elevation="5dip"
        android:src="@drawable/ic_launcher" />

    <ImageView
        android:layout_width="100dp"
        android:layout_height="100dp"
        android:layout_gravity="center"
        android:elevation="5dip"
        android:src="@drawable/ic_launcher"
        android:tint="@android:color/holo_blue_bright" />

    <ImageView
        android:layout_width="100dp"
        android:layout_height="100dp"
        android:layout_gravity="center"
        android:elevation="5dip"
        android:src="@drawable/ic_launcher"
        android:tint="@android:color/holo_blue_bright"
        android:tintMode="add" />

    <ImageView
        android:layout_width="100dp"
        android:layout_height="100dp"
        android:layout_gravity="center"
        android:elevation="5dip"
        android:src="@drawable/ic_launcher"
        android:tint="@android:color/holo_blue_bright"
        android:tintMode="multiply" />

</LinearLayout>
而上面的代码,运行的效果图,则如下所示:
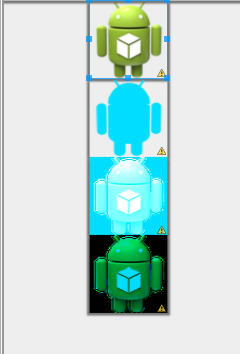
对于着色,我们可以得到这样的总结:Tinting 的使用非常简单,只要在 XML 中配置好 tint 和 tintMode 就可以了。就像上述例子,不同tint与tintmode组合起来图片就显示出不同的效果。另外,Tint 还可以通过修改图像的 Alpha 遮罩来修改图像的颜色,从而达到重新着色的目的。这一功能在一些图像处理 App 中使用起来将非常方便。
2.Clipping(裁剪)
Clipping,即裁剪。使用裁剪的基本步骤为我们 首 先 使 用ViewOutlineProvider 来修改 outline,然后再通过 setOutlineProvider 将 outline 作用给视图。我们通过下述一个例子来理解clipping(裁剪)。
这个例子为将一个正方形的 TextView 通过 Clipping 裁剪成了一个圆角正方形和一个圆,以此来帮助大家理解 Clipping 的使用思路,XML 代码请见下文。
<LinearLayout xmlns:android="http://schemas.android.com/apk/res/android"
    xmlns:tools="http://schemas.android.com/tools"
    android:layout_width="match_parent"
    android:layout_height="match_parent"
    android:orientation="vertical"
    tools:context=".MainActivity" >

    <TextView
        android:id="@+id/tv_rect"
        android:layout_width="100dp"
        android:layout_height="100dp"
        android:layout_gravity="center"
        android:layout_marginTop="20dp"
        android:elevation="1dip" />

    <TextView
        android:id="@+id/tv_circle"
        android:layout_width="100dp"
        android:layout_height="100dp"
        android:layout_gravity="center"
        android:elevation="1dip" />

</LinearLayout>
而设置的是圆形还是矩形的java代码如下:
public class MainActivity extends Activity {

    private TextView tv_rect;
    private TextView tv_circle;

    @Override
    protected void onCreate(Bundle savedInstanceState) {
        super.onCreate(savedInstanceState);
        requestWindowFeature(Window.FEATURE_NO_TITLE);
        setContentView(R.layout.activity_main);
        tv_rect = (TextView) findViewById(R.id.tv_rect);
        tv_circle = (TextView) findViewById(R.id.tv_circle);
        ViewOutlineProvider viewOutlineProvider1 = new ViewOutlineProvider() {

            @Override
            public void getOutline(View view, Outline outline) {
                outline.setRect(0, 0, view.getWidth(), view.getHeight());
            }
        };
        ViewOutlineProvider viewOutlineProvider2 = new ViewOutlineProvider() {

            @Override
            public void getOutline(View view, Outline outline) {
                outline.setOval(0, 0, view.getWidth(), view.getHeight());
            }
        };
        tv_circle.setOutlineProvider(viewOutlineProvider2);
        tv_rect.setOutlineProvider(viewOutlineProvider1);

    }
}
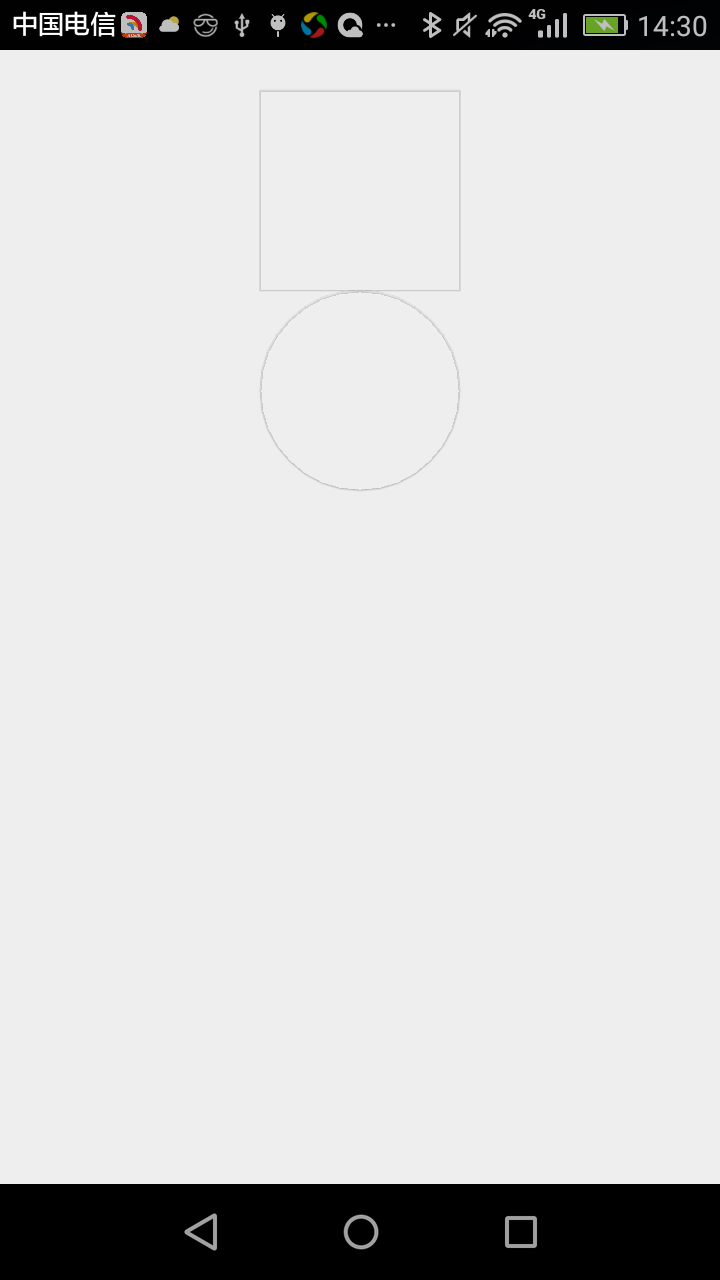
千呼万唤始出来,掀起你的盖头来。最终运行效果如下所示:
这就是对Android 5.x裁剪与着色的介绍。