一、环境说明:
操作系统:CentOS-7-x86_64-Minimal-1611
虚拟机:VMware® Workstation 12 Pro;12.5.5 build-5234757
服务器:node1(User1),node2(User2)
二、实现内容:
node1 服务器用户 User1 可通过 SSH ,免密钥登录服务器 node2 的 User2 账户;
三、配置流程:
默认情况下,node1 上的用户 User1 想连接 node2,需要输入密码,如下:
  1 [User1@localhost ~]$ ssh User2@node2
  2 The authenticity of host 'node2 (192.168.126.141)' can't be established.
  3 ECDSA key fingerprint is 0c:f2:1d:5b:0a:ea:38:43:e7:d2:07:28:d8:05:8a:d6.
  4 Are you sure you want to continue connecting (yes/no)? yes
  5 Warning: Permanently added 'node2,192.168.126.141' (ECDSA) to the list of known hosts.
  6 User2@node2's password:
  7 Last login: Fri Feb  2 17:03:45 2018
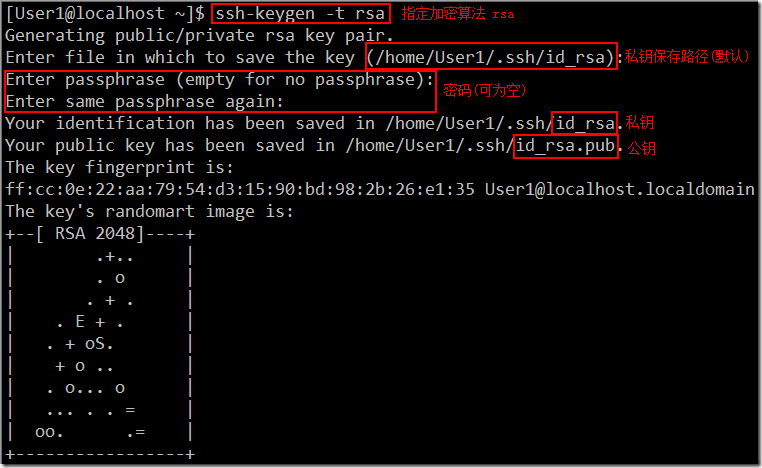
1、现在通过用户 User1 在 node1 的 /home/User1 目录下生成一对公钥和私钥:
  1 [User1@localhost ~]$ ssh-keygen -t rsa
  2 Generating public/private rsa key pair.
  3 Enter file in which to save the key (/home/User1/.ssh/id_rsa):
  4 Enter passphrase (empty for no passphrase):
  5 Enter same passphrase again:
  6 Your identification has been saved in /home/User1/.ssh/id_rsa.
  7 Your public key has been saved in /home/User1/.ssh/id_rsa.pub.
  8 The key fingerprint is:
  9 ff:cc:0e:22:aa:79:54:d3:15:90:bd:98:2b:26:e1:35 User1@localhost.localdomain
 10 The key's randomart image is:
 11 +--[ RSA 2048]----+
 12 |       .+..     |
 13 |       . o     |
 14 |       . + .     |
 15 |   . E + .     |
 16 |   . + oS.       |
 17 |    + o ..       |
 18 |   . o... o     |
 19 |   ... . . =     |
 20 |  oo.     .=   |
 21 +-----------------+
2、然后将公钥上传给 node2 的 User2 用户:
1 [User1@localhost ~]$ ssh-copy-id User2@node2 2 /bin/ssh-copy-id: INFO: attempting to log in with the new key(s), to filter out any that are already installed 3 /bin/ssh-copy-id: INFO: 1 key(s) remain to be installed -- if you are prompted now it is to install the new keys 4 User2@node2's password: 5 6 Number of key(s) added: 1 7 8 Now try logging into the machine, with: "ssh 'User2@node2'" 9 and check to make sure that only the key(s) you wanted were added.
3、登录验证成功:
说明:
1、此时 node1 上用户 User1 的私钥文件内容(id_rsa.pub)会追加到 node2 上用户 User2 的 ~/.ssh/authorized_keys 文件中:
2、还可以通过 scp 命令,将 node1 服务器上的公钥拷贝到 node2 服务器上,然后追加到 ~/.ssh/authorized_keys,
1 scp ~/.ssh/id_rsa.pub User2@node2:~/
3、还可以通过 cat 命令直接追加:
1 cat ~/.ssh/id_rsa.pub | ssh -P 22 User2@node2 'cat >> ~/.ssh/authorized_keys'


