项目码云地址:https://gitee.com/menbbo/springboot-rabbitmq.git
RabbitMQ的工作模式包括了:简单模式、工作队列模式、发布订阅模式、路由模式、TOPIC(通配符模式)以及RPC。

发布订阅模式的消息发布到消费流程是:
(1)生产者将信息发送给交换机;
(2)交换机与多个队列进行绑定,每个消费者监听自己的队列;
(3)交换机得到消息之后,将消息发送给与其绑定的队列中,每个绑定的队列都会得到消息,再由消费者去拉取消息。
值得注意的是与同一个队列绑定的消费者同一消息只能由一个消费者消费,比如Queue1队列绑定了consumer1与sonsumer3,此时一个队列中的一个消息只能被这两个消费者中的一个消费。
springboot整合rabbitMQ实现发布订阅模式
首先创建produce模块,作为生产者模块。
(1)新建SpringBoot项目springboot-rabbit作为父工程,父工程下创建produce作为生产者模块导入依赖。
		<dependency>
			<groupId>org.springframework.boot</groupId>
			<artifactId>spring-boot-starter-amqp</artifactId>
		</dependency>
(2)配置rabbitMQ的相关属性
spring.rabbitmq.host=127.0.0.1
spring.rabbitmq.port=5672
spring.rabbitmq.username=guest
spring.rabbitmq.password=guest
server.port=8082
(3)创建队列,交换机,并进行绑定。此类中创建了hello与info两个队列,以及一个交换机,使用bingExchange函数将交换机与队列绑定。
import org.springframework.amqp.core.Binding;
import org.springframework.amqp.core.BindingBuilder;
import org.springframework.amqp.core.FanoutExchange;
import org.springframework.beans.factory.annotation.Qualifier;
import org.springframework.context.annotation.Bean;
import org.springframework.context.annotation.Configuration;
import org.springframework.amqp.core.Queue;

@Configuration
public class RabbitCofnig {
    @Bean(name = "helloQueue")
    public Queue CreateQueue() {
        return new Queue("hello"); //实例化队列hello 消费者1监听
    }
    @Bean(name = "infoQueue")
    public Queue CreateQueue2(){
        return new Queue("info"); //创建队列info 由消费者2监听
    }
    @Bean
    public FanoutExchange createFunOutChange(){
        return  new FanoutExchange("Exchange"); //配置交换机
    }

    @Bean
    public Binding bingExchange(@Qualifier("helloQueue") Queue queue, FanoutExchange fanoutExchange){
        return BindingBuilder.bind(queue).to(fanoutExchange); //将交换机与相关队列绑定
    }

    @Bean
    public Binding bingExchange2(@Qualifier("infoQueue") Queue queue,FanoutExchange fanoutExchange){
        return BindingBuilder.bind(queue).to(fanoutExchange);
    }


}
(4)创建测试类,将信息存储到RabbitMQ中。
@SpringBootTest
class ProduceApplicationTests {
    @Autowired
    private RabbitTemplate rabbitTemplate;

    @Test
    void contextLoads() {
        String context = "hello " + new Date();
        System.out.println("Sender : " + context);
        rabbitTemplate.convertAndSend("Exchange","",context);
    }

}
接下来创建消费者
分别创建consumer、infoconsumer、infoconsumer2三个module作为消费者,其中infoconsumer、infoconsumer2与info队列绑定,consumer与hello队列绑定。以consumer模块为例。
(1)pom文件中引入依赖
    <dependency>
        <groupId>org.springframework.amqp</groupId>
        <artifactId>spring-rabbit</artifactId>
    </dependency>
(2)application.properties文件配置rabbitMQ
server.port=8083
spring.rabbitmq.host=127.0.0.1
spring.rabbitmq.port=5672
spring.rabbitmq.username=guest
spring.rabbitmq.password=guest
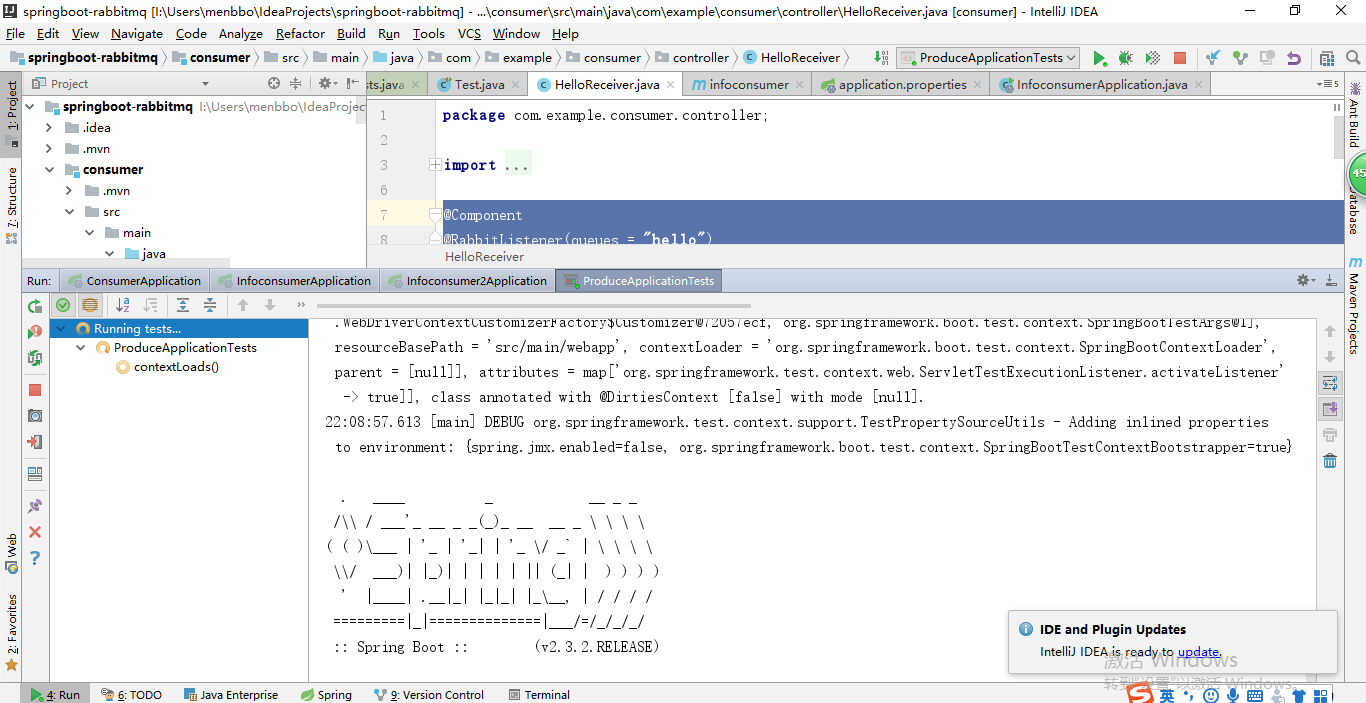
(3)创建消费者类,从绑定的队列中获取信息。
@Component
@RabbitListener(queues = "hello") //与hello队列绑定
public class HelloReceiver {

    @RabbitHandler
    public void process(String hello) {
        System.out.println("Receiver  : " + hello);
    }
}
结果测试
启动生产者测试类,项队列hello和info中添加信息,从rabbitMQ的管理界面中可以看到信息已经添加到队列中。

依次启动三个消费者,可以看出其中consumer与infoconsumer得到了信息,而infoconsumer2没有拿到信息,这也证明了绑定了同一队列的消费者,一个信息只能由一个消费者消费,且采用轮询的方式得到消息。


