阅读目录
- pack 是按照添加顺序排列的组件
- grid 是按照行/列形式排序的组件
- place 允许程序员指定组件的大小和位置
pack:
说明:适用于少量的简单的组件的排列
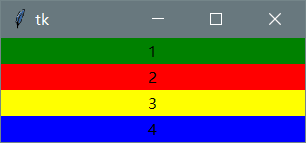
fill:这个选项是告诉窗口管理器该组件将填充整个分配给它的空间,BOTH表示同时横向和纵向扩展,X表示横向,Y表示纵向
from tkinter  import  *
root = Tk()
Label(root,text='1',bg='green').pack(fill=X)
Label(root,text='2',bg='red').pack(fill=X)
Label(root,text='3',bg='yellow').pack(fill=X)
Label(root,text='4',bg='blue').pack(fill=X)
mainloop()
结果:

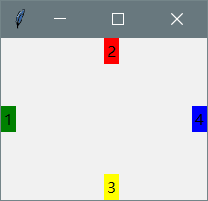
side:这个选项是告诉窗口该组件的位置,同时有四个值
from tkinter import *
root = Tk()
Label(root,text='1',bg='green').pack(side=LEFT)
Label(root,text='2',bg='red').pack(side=TOP)
Label(root,text='3',bg='yellow').pack(side=BOTTOM)
Label(root,text='4',bg='blue').pack(side=RIGHT)
mainloop()
结果:

grid:
说明:只需告诉他你想要将组件放置的位置(行/列,row指定行,cloumn指定列)
from tkinter import *
root = Tk()
Label(root,text='用户名').grid(row=0)
Label(root,text='密码').grid(row=1)
Entry(root).grid(row=0,column=1)
Entry(root,show='*').grid(row=1,column=1)
mainloop()
结果:


默认的情况下组件会居中的显示在网格中,可以用sticky选项修改这个特征,值为 E,W,S,N(东西南北)
Label(root,text='用户名').grid(row=0,sticky=W)
Label(root,text='密码').grid(row=1,sticky=W)
想要用几个网格放置一个组件,只需指定rowspan(跨行)和columnspan(跨列)即可
from tkinter import *
root = Tk()
Label(root,text='用户名').grid(row=0,sticky=W)
Label(root,text='密码').grid(row=1,sticky=W)
photo = PhotoImage(file='3.gif')
Label(root,image=photo).grid(row=0,column=2,rowspan=2)
Entry(root).grid(row=0,column=1)
Entry(root,show='*').grid(row=1,column=1)
Button(root,text='提交',width=10).grid(row=2,columnspan=3,pady=5,padx=10)
mainloop()
结果:

place:
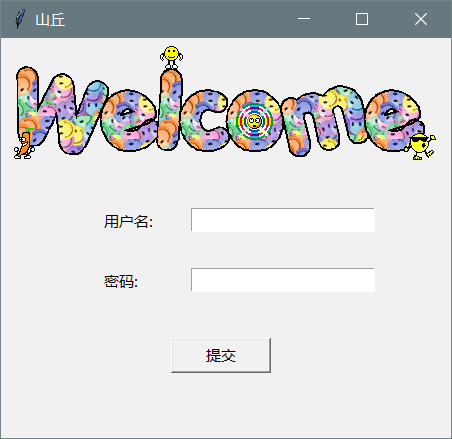
说明:这个布局管理器可以让你使你的组件放到任何你想放到的地方,x,y是对应的坐标,anchor是那个方位对应这个坐标,值为 E,W,S,N(东西南北)
from tkinter import *
root = Tk()
root.title('山丘')
root.geometry('450x400')
Label(root,text='用户名:').place(x=100,y=170)
Label(root,text='密码:').place(x=100,y=230)
photo = PhotoImage(file='welcome.gif')
Label(root,image=photo).place(x=0,y=0)
Entry(root).place(x=190,y=170)
Entry(root,show='*').place(x=190,y=230)
Button(root,text='提交',width=10).place(x=170,y=300)
mainloop()
结果:

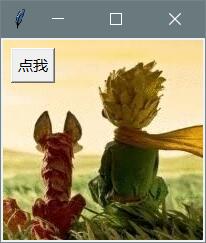
若让一个组件覆盖另一个组件,place()也可以帮你实现
from tkinter import *
root = Tk()
def show():
    pass
photo = PhotoImage(file='8.gif')
Label(root,image=photo).pack()
Button(root,text='点我',command=show).place(x=10,y=10)
mainloop()
结果:

参考文献:
小甲鱼的python教学视频