基础环境
系统:
centos7.6(3.10.0-957) 64G内存 500G磁盘
关闭防火墙
systemctl disable firewalld
关闭selinux
sed -i 's/SELINUX=enforcing/SELINUX=disabled/' /etc/selinux/config
安装依赖包
yum install python-devel gcc -y
设置主机名
hostnamectl set-hostname opcontroller
hosts文件
[root@bogon ~]# cat /etc/hosts
127.0.0.1 localhost localhost.localdomain localhost4 localhost4.localdomain4
::1 localhost localhost.localdomain localhost6 localhost6.localdomain6
10.49.252.200 ctfdeploy
10.49.252.201 opopenstack
登录ctfdeploy节点进行部署
安装docker
[root@ctfdeploy ~]yum install -y yum-utils device-mapper-persistent-data lvm2
[root@ctfdeploy ~]yum-config-manager --add-repo https://download.docker.com/linux/centos/docker-ce.repo
[root@ctfdeploy ~]yum install -y docker-ce-18.06.0.ce
[root@ctfdeploy ~]systemctl start docker && systemctl enable docker
拉取contrail-command-deployer镜像
[root@ctfdeploy ~]docker login hub.juniper.net --username xxxx --password xxxxxx
[root@ctfdeploy ~]docker pull hub.juniper.net/contrail/contrail-command-deployer:1909.30
下面参数默认就可以一会web ui 可以更改
[root@ctfdeploy ~]# egrep -v "^#|^$|*#" command_servers1910.yml
  1 [root@ctfdeploy ~]# egrep -v "^#|^$|*#" command_servers1910.yml
  2 ---
  3 command_servers:
  4     server1:
  5         ip: 10.49.252.200
  6         connection: ssh
  7         ssh_user: root
  8         ssh_pass: abc@123
  9         sudo_pass: abc@123
 10         ntpserver: ntp1.aliyun.com
 11         registry_insecure: false
 12         container_registry: hub.juniper.net/contrail
 13         container_name: contrail-command
 14         container_tag: 1910.23
 15         container_registry_username: xxxxxxxxxxxxxxxxx
 16         container_registry_password: yyyyyyyyyyyyyyy
 17         config_dir: /etc/contrail
 18         contrail_config:
 19             database:
 20                 type: postgres
 21                 dialect: postgres
 22                 host: localhost
 23                 user: root
 24                 password: contrail123
 25                 name: contrail_test
 26                 max_open_conn: 100
 27                 connection_retries: 10
 28                 retry_period: 3s
 29             log_level: debug
 30             cache:
 31               enabled: true
 32               timeout: 10s
 33               max_history: 100000
 34               rdbms:
 35                 enabled: true
 36             server:
 37               enabled: true
 38               read_timeout: 10
 39               write_timeout: 5
 40               log_api: true
 41               address: ":9091"
 42               tls:
 43                   enabled: true
 44                   key_file: /usr/share/contrail/ssl/cs-key.pem
 45                   cert_file: /usr/share/contrail/ssl/cs-cert.pem
 46               enable_grpc: false
 47               static_files:
 48                   /: /usr/share/contrail/public
 49               notify_etcd: false
 50               enable_vnc_replication: true
 51             keystone:
 52                 local: true
 53                 assignment:
 54                     type: static
 55                     data:
 56                       domains:
 57                         default: &default
 58                           id: default
 59                           name: default
 60                       projects:
 61                         admin: &admin
 62                           id: admin
 63                           name: admin
 64                           domain: *default
 65                         demo: &demo
 66                           id: demo
 67                           name: demo
 68                           domain: *default
 69                       users:
 70                         admin:
 71                           id: admin
 72                           name: Admin
 73                           domain: *default
 74                           password: contrail123
 75                           email: admin@juniper.nets
 76                           roles:
 77                           - id: admin
 78                             name: admin
 79                             project: *admin
 80                         bob:
 81                           id: bob
 82                           name: Bob
 83                           domain: *default
 84                           password: bob_password
 85                           email: bob@juniper.net
 86                           roles:
 87                           - id: Member
 88                             name: Member
 89                             project: *demo
 90                 store:
 91                     type: memory
 92                     expire: 36000
 93                 insecure: true
 94                 authurl: https://localhost:9091/keystone/v3
 95             insecure: true
 96             etcd:
 97               endpoints:
 98                 - localhost:2379
 99               username: ""
100               password: ""
101               path: contrail
102             watcher:
103               enabled: false
104               storage: json
105             client:
106               id: admin
107               password: contrail123
108               project_name: admin
109               domain_id: default
110               schema_root: /
111               endpoint: https://localhost:9091
112             compilation:
113               enabled: false
114               plugin_directory: 'etc/plugins/'
115               number_of_workers: 4
116               max_job_queue_len: 5
117               msg_queue_lock_time: 30
118               msg_index_string: 'MsgIndex'
119               read_lock_string: "MsgReadLock"
120               master_election: true
121               plugin:
122                   handlers:
123                       create_handler: 'HandleCreate'
124                       update_handler: 'HandleUpdate'
125                       delete_handler: 'HandleDelete'
126             agent:
127               enabled: true
128               backend: file
129               watcher: polling
130               log_level: debug
启动contrail-command-deployer容器(用来部署contrail和openstack、K8S、OpenShift)
[root@ctfdeploy ~]# docker run -td --net host -v /root/ctf.yml:/command_servers.yml --privileged --name contrail_command_deployer hub.juniper.net/contrail/contrail-command-deployer:1910.23
6bacc0541e5b37e445c4f0a48bac9a25340c4592a4fa1df1919579e15bde1770
登录Contrail-command web UI
https://10.49.252.200:9091/ 用户名admin 密码contrail123
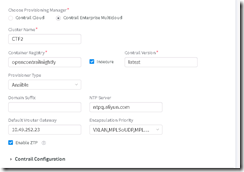
1、添加机器
2、配置仓库源等信息
3、选择Control Nodes节点
选择opcontroller
4、配置openstack选项
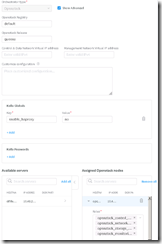
5、选择计算节点
选择opcontroller
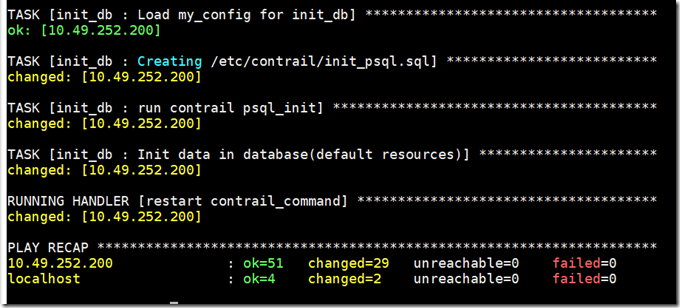
下一步直到完成,部署开始了
查看部署日志(节点)
[root@ctfdeploy ~]# docker logs -f contrail_command_deployer
部署日志查看(由于网络问题问题经常出现timeout错误就需要重新跑下):
docker exec contrail_command tail -f /var/log/contrail/deploy.log
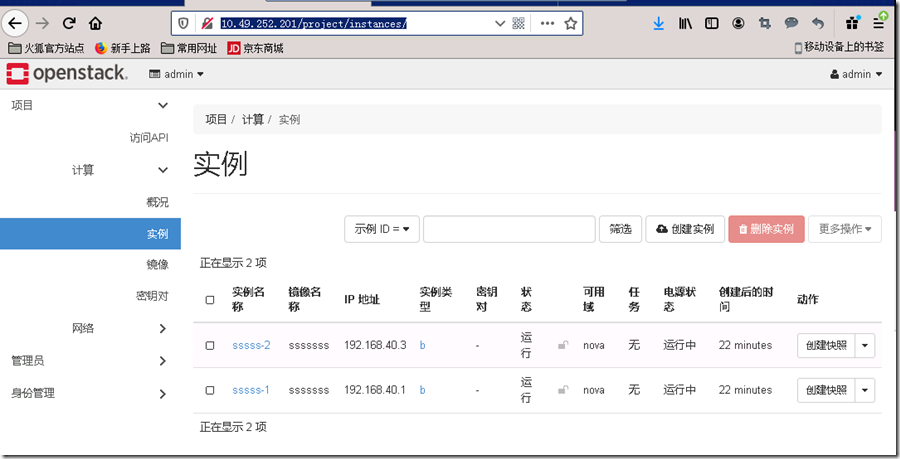
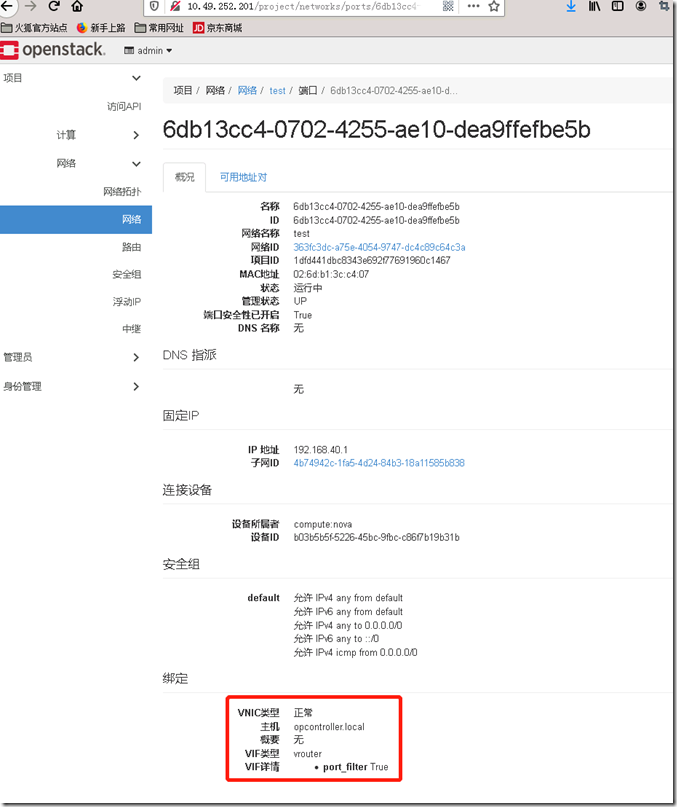
登录OpenStack dashboard
admin/contrail123
创建的端口类型是vroute
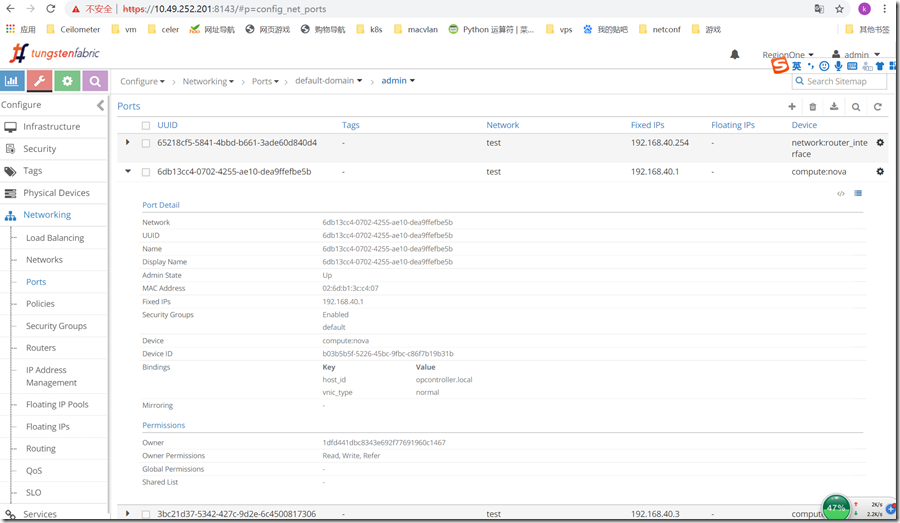
登录TF dashboard
admin/contrail123
查看port
contrail-command这个是商业版的UI部署工具,底层也是通过contrail-ansible-deployer来部署https://github.com/Juniper/contrail-ansible-deployer,拿不到contrail-command 工具小伙伴的可以使用contrail-ansible-deployer 部署

