一、添加redis相关依赖
<!--添加redis相关依赖-->
<dependency>
    <groupId>org.springframework.boot</groupId>
    <artifactId>spring-boot-starter-data-redis</artifactId>
</dependency>
<dependency>
    <groupId>org.springframework.boot</groupId>
    <artifactId>spring-boot-starter-cache</artifactId>
</dependency>
二、配置redis连接信息
#配置redis连接信息
spring.redis.host=192.168.211.128
spring.redis.port=6379
spring.redis.password=
三、编写redis配置文件
package com.learn.mall.config;

import org.springframework.cache.annotation.EnableCaching;
import org.springframework.context.annotation.Bean;
import org.springframework.context.annotation.Configuration;
import org.springframework.data.redis.cache.RedisCacheConfiguration;
import org.springframework.data.redis.cache.RedisCacheManager;
import org.springframework.data.redis.cache.RedisCacheWriter;
import org.springframework.data.redis.connection.RedisConnectionFactory;

import java.time.Duration;

@Configuration
@EnableCaching
public class CachingConfig {
    @Bean
    public RedisCacheManager redisCacheManager(RedisConnectionFactory connectionFactory){
        RedisCacheWriter redisCacheWriter = RedisCacheWriter.lockingRedisCacheWriter(connectionFactory);
        RedisCacheConfiguration cacheConfiguration = RedisCacheConfiguration.defaultCacheConfig();
        //设置缓存过期时间,此处为30秒
        cacheConfiguration = cacheConfiguration.entryTtl(Duration.ofSeconds(30));
        RedisCacheManager redisCacheManager = new RedisCacheManager(redisCacheWriter,cacheConfiguration);
        return redisCacheManager;
    }
}
四、开启缓存
在项目启动类中添加@EnableCaching注解,开启缓存
package com.learn.mall;

import org.mybatis.spring.annotation.MapperScan;
import org.springframework.boot.SpringApplication;
import org.springframework.boot.autoconfigure.SpringBootApplication;
import org.springframework.cache.annotation.EnableCaching;
import springfox.documentation.swagger2.annotations.EnableSwagger2;

@SpringBootApplication
@MapperScan(basePackages = "com.learn.mall.model.dao")
@EnableSwagger2
@EnableCaching
public class MallApplication {

    public static void main(String[] args) {
        SpringApplication.run(MallApplication.class, args);
    }

}
五、使用缓存
添加@Cacheable注解,使用缓存;value为缓存的key。注意:实体类需要实现Serializable接口
@Override
@Cacheable(value = "listForCustom")
public List<CategoryVO> listForCustom(){
    List<CategoryVO> categoryVOList = new ArrayList<>();
    recursivelyFindCategories(categoryVOList,0);
    return categoryVOList;

}
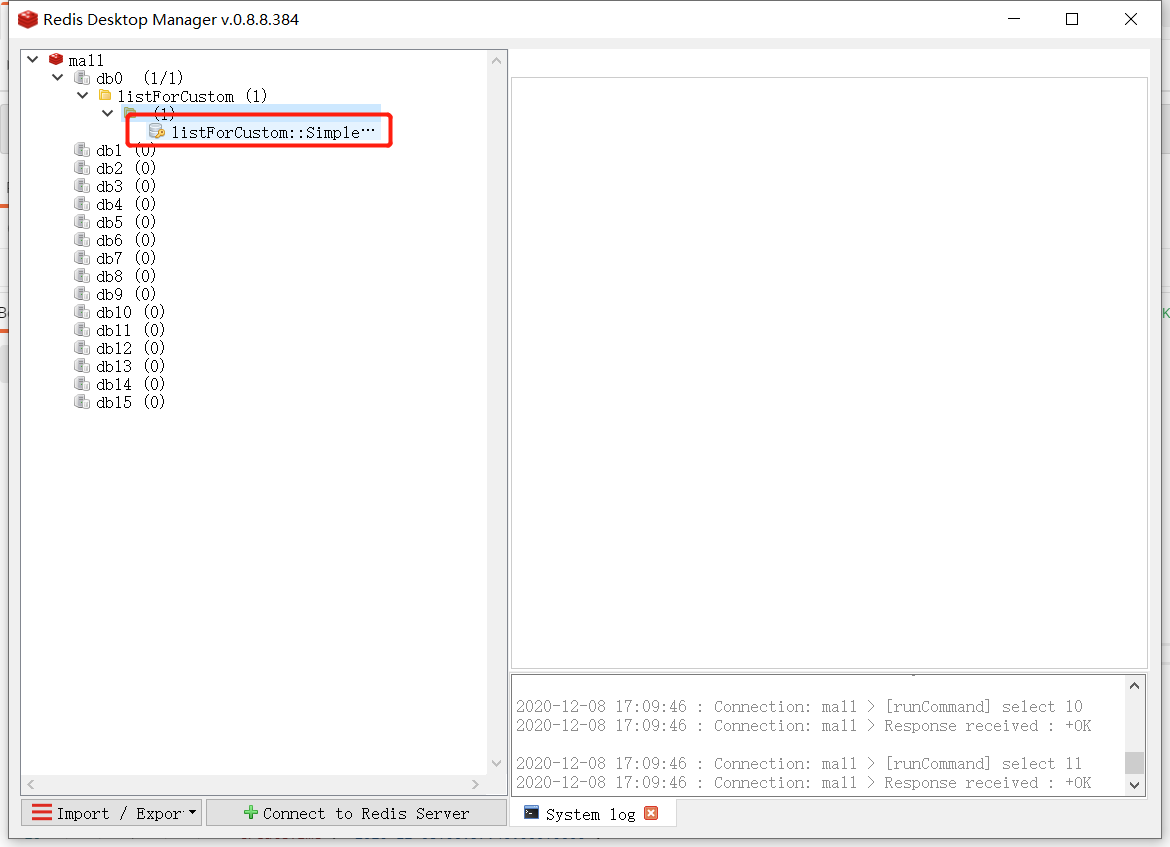
六、查看redis缓存信息