- 6安装nginx
6.1安装nginx
安装 pcre,zlib,openssl,nginx
6.2生成web访问用户密码
htpasswd –c –b /usr/local/nginx/conf/passwd/kibana.passwd user pass123
6.3 配置代理转发
vim /usr/local/nginx/conf/nginx.conf
#在配置文件末尾追加如下配置
#kibana
server {
    listen       8890;
    root         /usr/local/nginx/html;
    auth_basic "Kibana Auth";
    auth_basic_user_file /usr/local/nginx/conf/passwd/kibana.passwd;

    location / {
        proxy_pass http://192.168.1.1:5601;
        proxy_redirect off;
    }

    error_page 404 /404.html;
        location = /40x.html {
    }

    error_page 500 502 503 504 /50x.html;
        location = /50x.html {
    }

}
#cerebro
server {
    listen       8889;
    root         /usr/local/nginx/html;
    auth_basic "Kibana Auth";
    auth_basic_user_file /usr/local/nginx/conf/passwd/kibana.passwd;

    location / {
        proxy_pass http://192.168.1.1:9109;
        proxy_redirect off;
    }

    error_page 404 /404.html;
        location = /40x.html {
    }

    error_page 500 502 503 504 /50x.html;
        location = /50x.html {
    }

}
#bigdesk
server {
    listen       8886
    root         /usr/local/nginx/html;
    auth_basic "Kibana Auth";
    auth_basic_user_file /usr/local/nginx/conf/passwd/kibana.passwd;

    location / {
        proxy_pass http://192.168.1.1:9106;
        proxy_redirect off;
    }

    error_page 404 /404.html;
        location = /40x.html {
    }

    error_page 500 502 503 504 /50x.html;
        location = /50x.html {
    }

}
#head
server {
    listen       8887;
    root         /usr/local/nginx/html;
    auth_basic "Kibana Auth";
    auth_basic_user_file /usr/local/nginx/conf/passwd/kibana.passwd;

    location / {
        proxy_pass http://192.168.1.1:9107;
        proxy_redirect off;
    }

    error_page 404 /404.html;
        location = /40x.html {
    }

    error_page 500 502 503 504 /50x.html;
        location = /50x.html {
    }

}
#es-sql
server {
    listen       8888;
    root         /usr/local/nginx/html;
    auth_basic "Kibana Auth";
    auth_basic_user_file /usr/local/nginx/conf/passwd/kibana.passwd;

    location / {
        proxy_pass http://192.168.1.1:9108;
        proxy_redirect off;
    }

    error_page 404 /404.html;
        location = /40x.html {
    }

    error_page 500 502 503 504 /50x.html;
        location = /50x.html {
    }

}
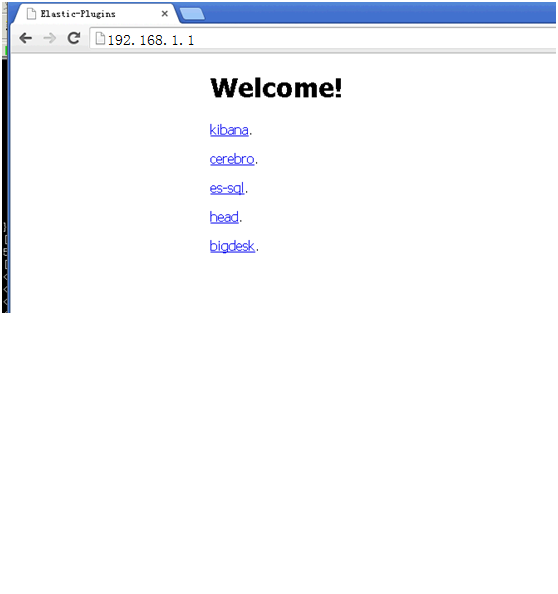
6.4配置首页
由于每个插件的端口都不同,不方便访问。自己做了一个首页来访问插件。
修改index.html
vim /usr/local/nginx/html/index.html
<!DOCTYPE html>
<html>
<head>
<title>Elastic-Plugins</title>
<style>
    body {
         35em;
        margin: 0 auto;
        font-family: Tahoma, Verdana, Arial, sans-serif;
    }
</style>
</head>
<body>
<h1>Welcome!</h1>

<p>
<a href="http://10.16.29.202:8890">kibana</a>.<br/>
<p>
<a href="http://10.16.29.202:8889">cerebro</a>.<br/>
<p>
<a href="http://10.16.29.202:8888">es-sql</a>.<br/>
<p>
<a href="http://10.16.29.202:8887">head</a>.<br/>
<p>
<a href="http://10.16.29.202:8886">bigdesk</a>.<br/>
<p>
<a href="http://10.16.29.202:8885">HQ</a>.<br/>
</body>
</html>
6.5启动nginx
/usr/local/nginx/sbin/nginx -c /usr/local/nginx/conf/nginx.conf
6.6访问nginx主页,使用插件。密码验证:用户user密码pass123
6.7安装遇到问题:
Nginx: error while loading shared libraries: libpcre.so.1解决
解决办法:
http://blog.csdn.net/ystyaoshengting/article/details/50504746
问题分析:
在redhat 64位机器上, nginx可能读取的pcre文件为/lib64/libpcre.so.1文件.
所以需要在/lib64/下建立软连接:
ln -s /usr/local/lib/libpcre.so.1 /lib64/
- 7x-pack破解
7.1创建LicenseVerifier.java文件
package org.elasticsearch.license;
    import java.nio.*;
    import java.util.*;
    import java.security.*;
    import org.elasticsearch.common.xcontent.*;
    import org.apache.lucene.util.*;
    import org.elasticsearch.common.io.*;
    import java.io.*;
    public class LicenseVerifier
    {
    public static boolean verifyLicense(final License license, final byte[] encryptedPublicKeyData) {
        return true;
        }
    public static boolean verifyLicense(final License license) {
        return true;
        }
    }
7.2编译LicenseVerifier.class
javac -cp "/home/ilog/elasticsearch-6.1.3/lib/elasticsearch-6.1.3.jar:/home/ilog/elasticsearch-6.1.3/lib/lucene-core-7.1.0.jar:/home/ilog/elasticsearch-6.1.3/plugins/x-pack/x-pack-6.1.3.jar" LicenseVerifier.java
7.3重新打包x-pack- 6.1.3.jar
解压x-pack/x-pack-6.1.3.jar包,替换jar包中的LicenseVerifier.class文件,重新打包
#创建temp-dir临时目录,解压jar包到临时目录
mkdir temp-jar
cp /home/ilog/elasticsearch-6.1.3/plugins/x-pack/x-pack-6.1.3.jar temp-jar
cd temp-jar
jar -xvf x-pack-6.1.3.jar
rm -rf x-pack-6.1.3.jar
#拷贝自己创建的class文件到org/elasticsearch/license/目录
cp LicenseVerifier.class org/elasticsearch/license/
#重新打包
jar -cvf x-pack-6.1.3.jar ./*
#将jar包覆盖到原目录
cp x-pack-6.1.3.jar /home/ilog/elasticsearch-6.1.3/plugins/x-pack/x-pack-6.1.3.jar
7.4重启elastic和kibana
bin/elasticsearch -d
bin/kibana &
7.5创建license文件,并上传(白金版,license到2050年)
vim platimum.json
{"license":{"uid":"e77971c5-c37e-42c8-b622-c22a9f9ee51c","type":"platinum","issue_date_in_millis":1520899200000,"expiry_date_in_millis":2524579200999,"max_nodes":100,"issued_to":"user123","issuer":"Web Form","signature":"abcdef","start_date_in_millis":1520899200000}}
7.6登录kibana上传license页面,上传license文件。
license上传地址:http://192.168.1.1:5601/app/kibana#/management/elasticsearch/license_management/upload_license
- 8生产环境没有互联网如何安装elastic插件
遇到的问题:安装npm,grunt需要联网,x-pack安装需要联网。其他都可以离线安装。
解决问题前提条件:有可以上网的测试机器。在测试环境上按以上步骤安装完所有插件
解决办法:
8.1在测试环境安装x-pack后,打包安装x-pack后的elastic目录,放到生产环境使用即可
8.2在测试环境安装node后,打包整个node目录,拷贝到生产环境,配置环境变量,即可使用node和grunt来启动essql和head