1、首先加入依赖
    <dependency>
            <groupId>org.mybatis.spring.boot</groupId>
            <artifactId>mybatis-spring-boot-starter</artifactId>
            <version>1.1.1</version>
        </dependency>

        <dependency>
            <groupId>mysql</groupId>
            <artifactId>mysql-connector-java</artifactId>
            <version>5.1.21</version>
        </dependency>

        <dependency>
            <groupId>org.springframework.boot</groupId>
            <artifactId>spring-boot-starter-web</artifactId>
        </dependency>
2、再application.properties中加入如下内容
spring.datasource.url=jdbc:mysql://localhost:3307/demo?characterEncoding=UTF-8
spring.datasource.username=root
spring.datasource.password=123456
spring.datasource.driver-class-name=com.mysql.jdbc.Driver


mybatis.mapper-locations=classpath:mapper/*.xml
数据库配置请根据自己的情况进行修改,最后一个配置是mapper xml文件的配置路径
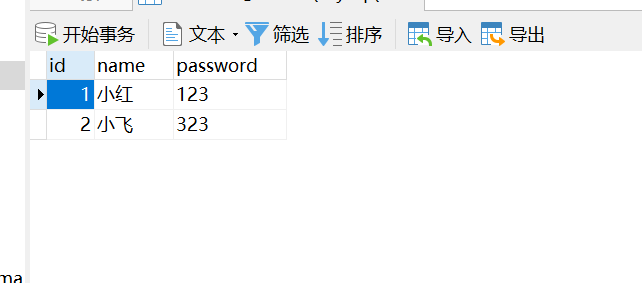
3、数据库内容如下
4、bean层,对于数据库中的student
package com.example.demo.bean;

public class Student {

    private int id;
    private String name;
    private String password;

    public int getId() {
        return id;
    }

    public String getName() {
        return name;
    }

    public String getPassword() {
        return password;
    }

    public void setId(int id) {
        this.id = id;
    }

    public void setName(String name) {
        this.name = name;
    }

    public void setPassword(String password) {
        this.password = password;
    }
}
5、controller层
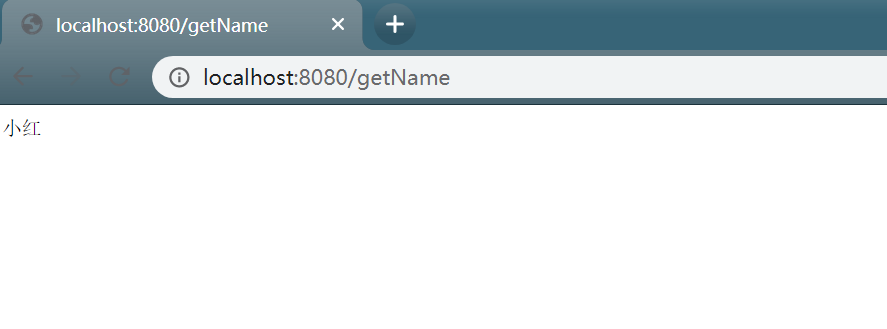
package com.example.demo.controller;

import com.example.demo.bean.Student;
import com.example.demo.server.StudentServer;
import org.springframework.beans.factory.annotation.Autowired;
import org.springframework.stereotype.Controller;
import org.springframework.web.bind.annotation.RequestMapping;
import org.springframework.web.bind.annotation.ResponseBody;

import static org.springframework.web.bind.annotation.RequestMethod.GET;

@Controller
public class StudentController {

    @Autowired
    StudentServer studentServer;

    @ResponseBody
    @RequestMapping(value = "getName",method = GET,produces = "application/json;charset=utf-8")
    public String getName(){
        Student student = null;
        student = studentServer.findStudentById(1);
        if(student!=null){
            return student.getName();
        }else{
            return "无";
        }
    }
}
方法1 、 使用带xml文件的
在Resources新建mapper文件夹,在建立一个student.mapper文件,内容如下
<?xml version="1.0" encoding="UTF-8"?>
<!DOCTYPE mapper PUBLIC "-//mybatis.org//DTD Mapper 3.0//EN"
        "http://mybatis.org/dtd/mybatis-3-mapper.dtd">
<mapper namespace="com.example.demo.dao.StudentDao">
    <select id="findStudentById" parameterType="int" resultType="com.example.demo.bean.Student">
        select * from student where id = #{id}
    </select>
</mapper>
在dao层,可以使用@Respository+@MapperScan 或者直接使用@Mapper
@Repository
public interface StudentDao {

    public Student findStudentById(int id);

}
方法2,不用xml文件,dao层
package com.example.demo.dao;

import com.example.demo.bean.Student;
import org.apache.ibatis.annotations.Mapper;
import org.apache.ibatis.annotations.Select;
import org.mybatis.spring.annotation.MapperScan;
import org.springframework.stereotype.Repository;

@Mapper
public interface StudentDao2 {

    @Select("select * from student where id = #{id}")
    public Student findStudentById(int id);
}
服务层:(这里写了三种情况,
studentDao是使用@Respository+@MapperScan ,
studentDao1是使用@Mapper进行测试的
studenDao2是不用xml文件进行测试的 )
package com.example.demo.server.impl;

import com.example.demo.bean.Student;
import com.example.demo.dao.StudentDao;
import com.example.demo.dao.StudentDao1;
import com.example.demo.dao.StudentDao2;
import com.example.demo.server.StudentServer;
import org.springframework.beans.factory.annotation.Autowired;
import org.springframework.stereotype.Service;

@Service
public class StudentServerImpl implements StudentServer {

    @Autowired
    //StudentDao studentDao;
    //StudentDao1 studentDao1;  //虽然会提示有错,但是可以正常运行,有时间再看具体原因
    StudentDao2 studentDao2;


    @Override
    public Student findStudentById(int id) {
        Student student = null;
        /*使用@Respository+@MapperScan*/
        //student = studentDao.findStudentById(id);
        //student = studentDao1.findStudentById(id);

        student = studentDao2.findStudentById(id);
        return student;
    }
}
这三个最后都能显示正确的答案
持续更新中!!!