1、初始化创建一个vue项目:
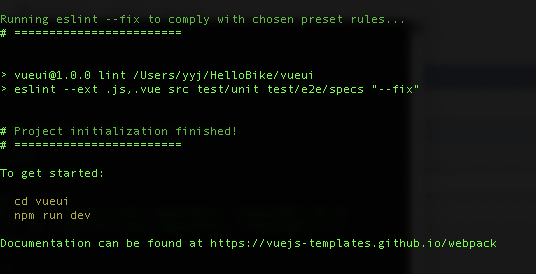
打开终端输入命令
vue init webpack vueui

----------------------------------

? Project name mydemovue                        # => 项目名称
? Project description A Vue.js project          # => 项目描述
? Author malun <malun666@126.com>               # => 作者
? Vue build standalone                          # => 是否支持单文件组件
? Use ESLint to lint your code? Yes             # => 是否支持ESLint代码校验
? Pick an ESLint preset Standard                # => 校验的标准是什么?
? Setup unit tests with Karma + Mocha? Yes      # => 是否使用单元测试
? Setup e2e tests with Nightwatch? Yes          # => 是否使用e2e测试
注意:Use ESLint to lint your code 可以选择NO 不然会做校验,提示代码警告。

2、切换到项目下,安装element-ui:
# 推荐使用 npm 的方式安装,它能更好地和 webpack 打包工具配合使用。
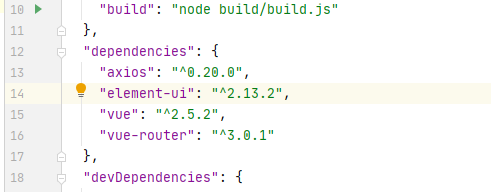
npm i element-ui -S
在package.json中可以看到element-ui的版本信息

3、在项目中使用element-ui:
在main.js引入,并使用:
// The Vue build version to load with the `import` command
// (runtime-only or standalone) has been set in webpack.base.conf with an alias.
import Vue from 'vue'
import App from './App'
import router from './router'

/*引入下面三行*/
import ElementUI from 'element-ui';
import 'element-ui/lib/theme-chalk/index.css';
Vue.use(ElementUI);


Vue.config.productionTip = false

/* eslint-disable no-new */
new Vue({
  el: '#app',
  router,
  components: { App },
  template: '<App/>'
})
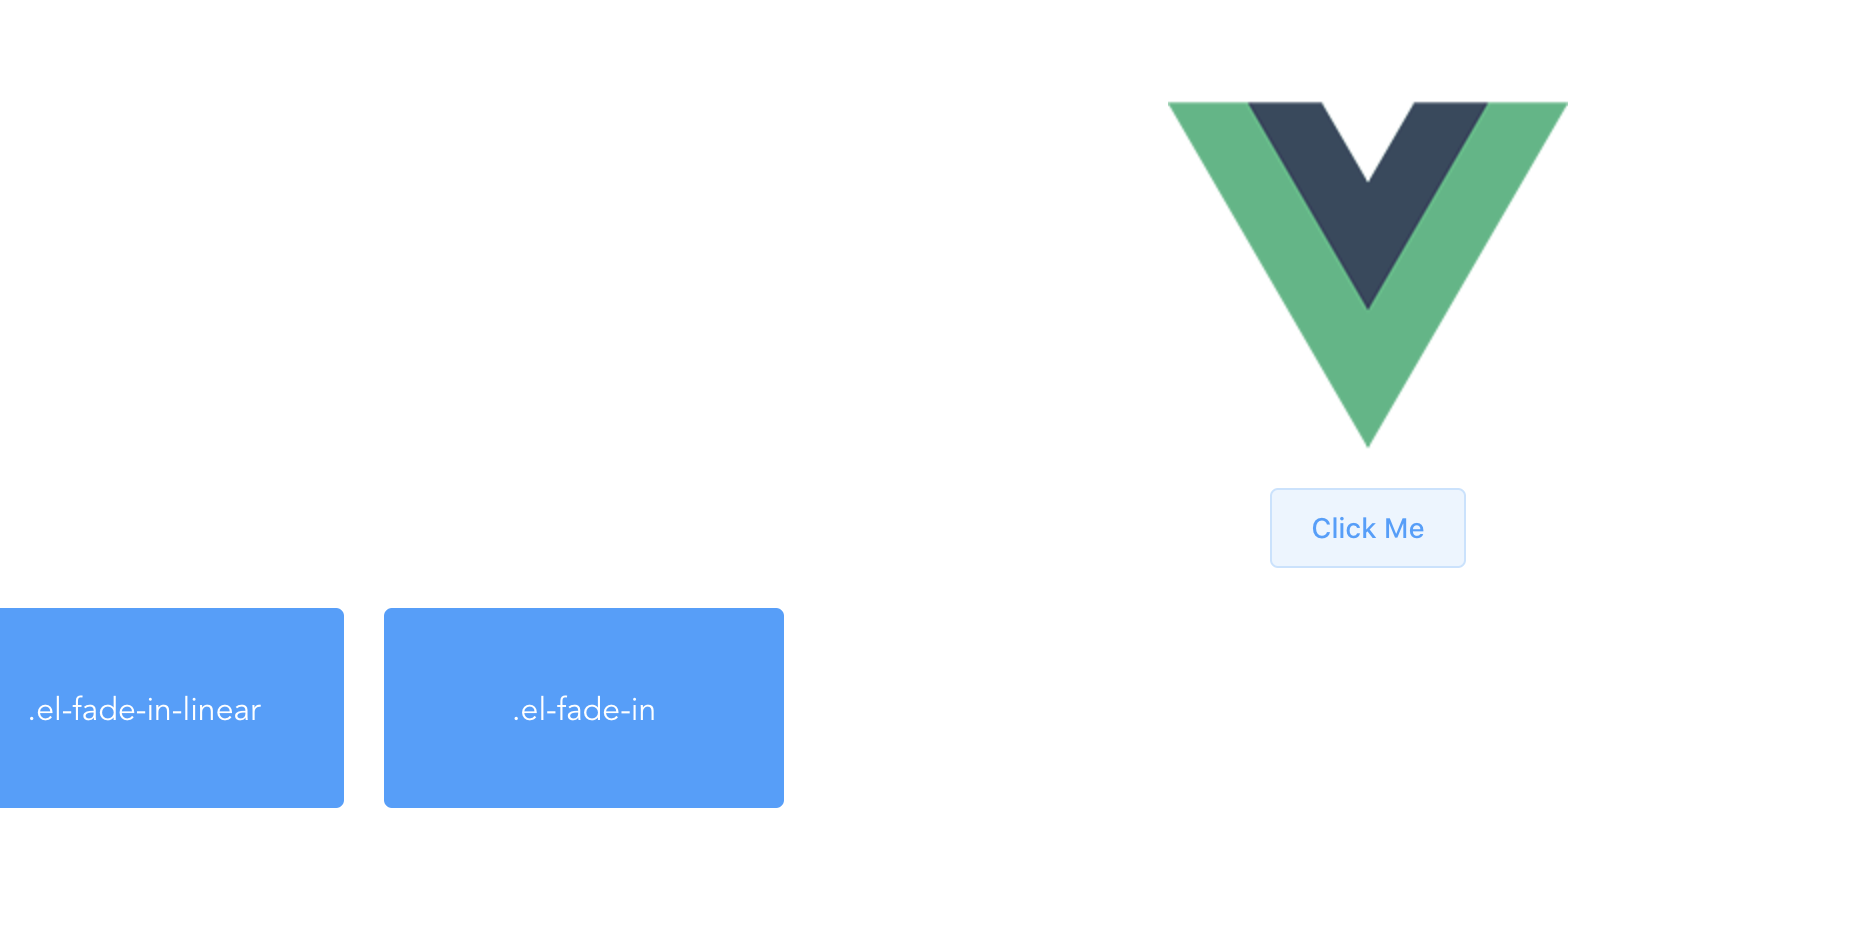
4、查看效果:
修改下components->HelloWorld.vue:
<template>
  <div>
    <el-button @click="show = !show">Click Me</el-button>

    <div style="display: flex; margin-top: 20px; height: 100px;">
      <transition name="el-fade-in-linear">
        <div v-show="show" class="transition-box">.el-fade-in-linear</div>
      </transition>
      <transition name="el-fade-in">
        <div v-show="show" class="transition-box">.el-fade-in</div>
      </transition>
    </div>
  </div>
</template>

<script>
  export default {
    data: () => ({
      show: true
    })
  }
</script>

<style>
  .transition-box {
    margin-bottom: 10px;
     200px;
    height: 100px;
    border-radius: 4px;
    background-color: #409EFF;
    text-align: center;
    color: #fff;
    padding: 40px 20px;
    box-sizing: border-box;
    margin-right: 20px;
  }
</style>
启动项目
npm run dev

