本文章只是介绍下如何使用spring boot + Thymeleaf,实现简单的web页面步骤和流程
几点说明:
- Spring boot开发web项目,通常打成jar包,使用内置的web服务器 Tomcat、Jetty、undertow 来运行。
- 静态资源(css、js、图片等)默认放在resources/static下面。如果要修改默认存放目录,可以通过设置属性 spring.mvc.static-path-pattern来实现。
- 模板文件默认放在 templates目录下
- Spring boot支持使用模板来开发web应用,支持的模板类型包括
- FreeMarker
- Groovy
- Thymeleaf
- Mustache
Thymeleaf
Thymeleaf是一个Java模板引擎开发库,可以处理和生成HTML、XML、JavaScript、CSS和文本,在Web和非Web环境下都可以正常工作。
Thymeleaf可以跟Spring boot很好的集成。
本案例步骤如下:
1.下载工具:
地址:http://spring.io/tools
2.新建spring boot 项目: file-new-project

next 选择web和Thymeleaf
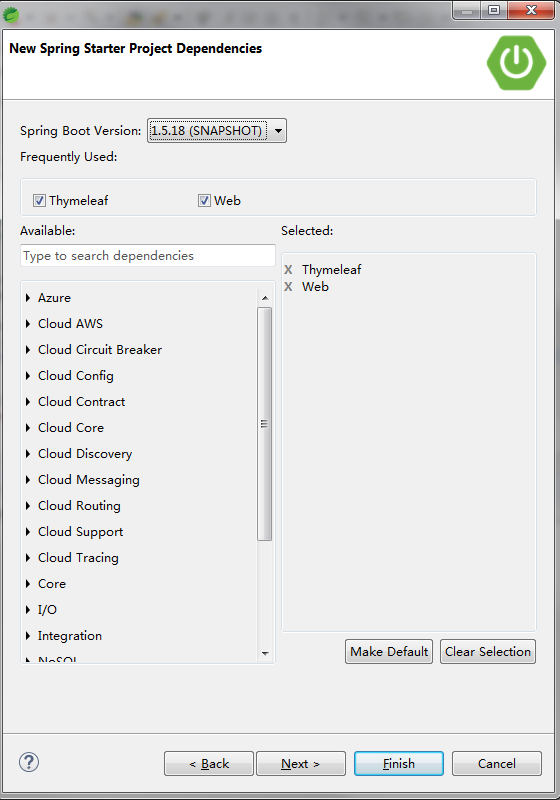
finish后结构,Application.java为自动生成的
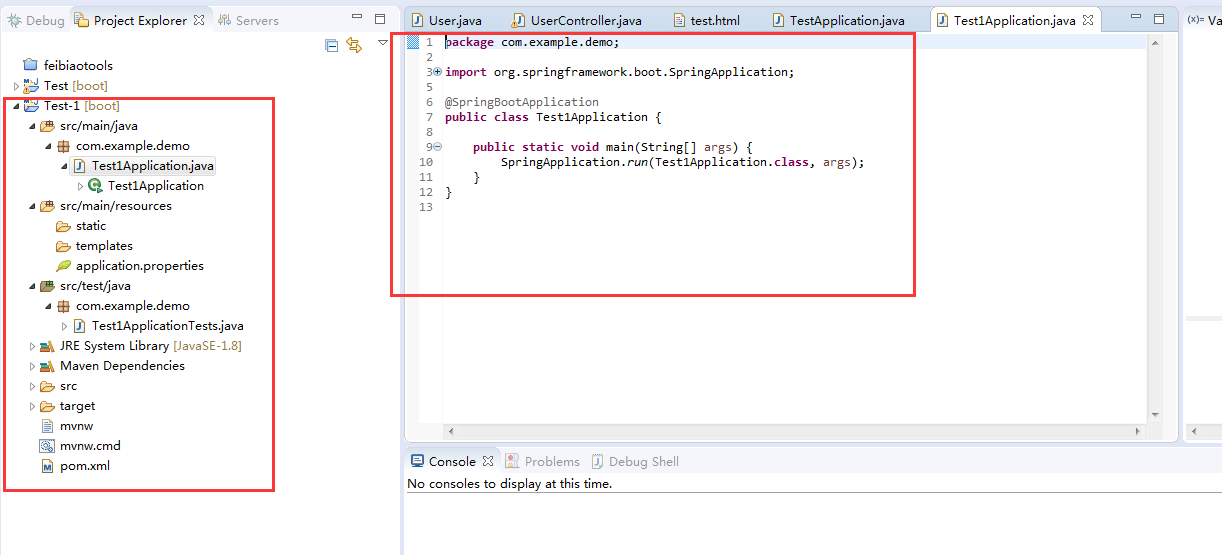
3.增加User UserController test.html

代码如下
User:
public class User {
private Integer id;
private String name;
private int age;
private String address;
public User(Integer id,String name,int age,String address) {
this.setId(id);
this.setName(name);
this.setAge(age);
this.setAddress(address);
}
public Integer getId() {
return id;
}
public void setId(Integer id) {
this.id = id;
}
public String getName() {
return name;
}
public void setName(String name) {
this.name = name;
}
public int getAge() {
return age;
}
public void setAge(int age) {
this.age = age;
}
public String getAddress() {
return address;
}
public void setAddress(String address) {
this.address = address;
}
}
UserController:
import java.util.ArrayList;
import java.util.List;
import org.springframework.stereotype.Controller;
import org.springframework.ui.Model;
import org.springframework.web.bind.annotation.PathVariable;
import org.springframework.web.bind.annotation.RequestMapping;
@Controller
public class UserController {
@RequestMapping("/list")
public String listUser(Model model) {
List<User> userList = new ArrayList<User>();
for (int i = 0; i <10; i++) {
userList.add(new User(i,"张三"+i,20+i,"中国广州"));
}
model.addAttribute("users", userList);
return "test";
}
}
test.html
<!DOCTYPE html>
<html>
<head>
<meta charset="UTF-8"/>
<title>Insert title here</title>
</head>
<body>
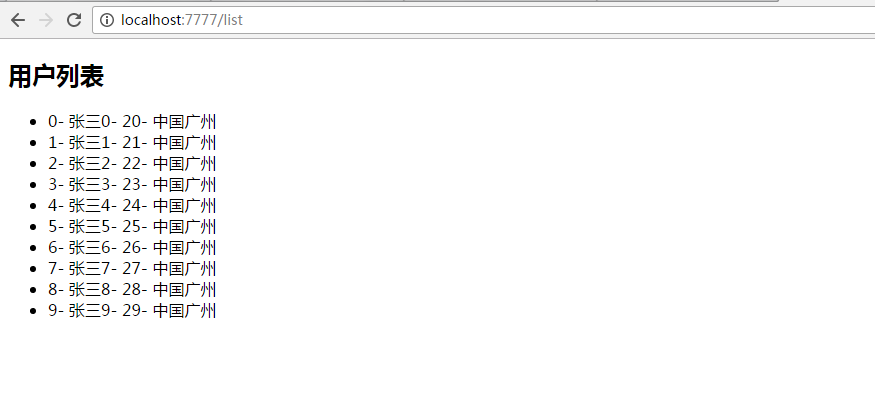
<h2>用户列表</h2>
<div>
<ul>
<li th:each="user:${users}">
<span th:text="${user.id}"></span>-
<span th:text="${user.name}"></span>-
<span th:text="${user.age}"></span>-
<span th:text="${user.address}"></span>
</li>
</ul>
</div>
</body>
</html>
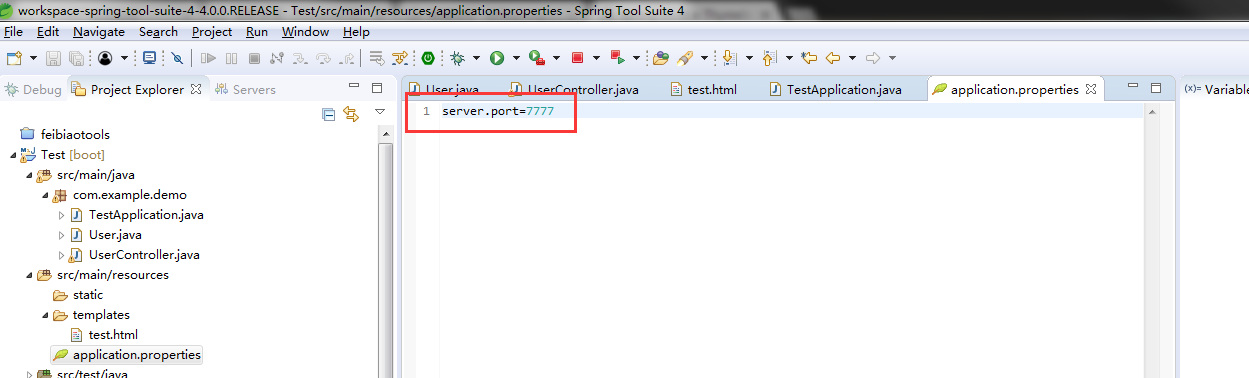
4.设置一个端口号吧
5.运行TestApplication.java

6.访问页面:http://localhost:7777/list