一、安装gnome图形化桌面
CentOS 6.3 64位
#yum groupinstall -y "X Window System"

#yum groupinstall -y "Desktop"

#yum groupinstall -y "Chinese Support"
二、安装vncserver并配置
1.安装vncserver
#yum install -y tigervnc-server
2.配置vncserver
1).配置为开机自启动
#chkconfig --level 345 vncserver on
2).配置vnc密码
#vncserver

You will require a password to access your desktop.

Password:

Verify:
3).配置为使用gnome桌面
修改 /root/.vnc/xstartup文件,把最后的 twm & 删掉 加上 gnome-session &。
# vi /etc/sysconfig/vncservers
# The VNCSERVERS variable is a list of display:user pairs.
#
# Uncomment the lines below to start a VNC server on display :2
# as my 'myusername' (adjust this to your own).  You will also
# need to set a VNC password; run 'man vncpasswd' to see how
# to do that.
#
# DO NOT RUN THIS SERVICE if your local area network is
# untrusted!  For a secure way of using VNC, see this URL:
# http://kbase.redhat.com/faq/docs/DOC-7028

# Use "-nolisten tcp" to prevent X connections to your VNC server via TCP.

# Use "-localhost" to prevent remote VNC clients connecting except when
# doing so through a secure tunnel.  See the "-via" option in the
# `man vncviewer' manual page.
VNCSERVERS="1:root"
VNCSERVERARGS[1]="-geometry 1200x800"
# VNCSERVERS="2:myusername"
# VNCSERVERARGS[2]="-geometry 800x600 -nolisten tcp -localhost"
4).配置vncserver启动后监听端口和环境参数
修改/etc/sysconfig/vncservers 文件添加以下内容
# vi /etc/sysconfig/vncservers
VNCSERVERS="1:root"
# 桌面号:用户 监听 590* 端口
VNCSERVERARGS[1]="-geometry 1200x800"
# The VNCSERVERS variable is a list of display:user pairs.
#
# Uncomment the lines below to start a VNC server on display :2
# as my 'myusername' (adjust this to your own).  You will also
# need to set a VNC password; run 'man vncpasswd' to see how
# to do that.
#
# DO NOT RUN THIS SERVICE if your local area network is
# untrusted!  For a secure way of using VNC, see this URL:
# http://kbase.redhat.com/faq/docs/DOC-7028

# Use "-nolisten tcp" to prevent X connections to your VNC server via TCP.

# Use "-localhost" to prevent remote VNC clients connecting except when
# doing so through a secure tunnel.  See the "-via" option in the
# `man vncviewer' manual page.
VNCSERVERS="1:root"
VNCSERVERARGS[1]="-geometry 1200x800"
# VNCSERVERS="2:myusername"
# VNCSERVERARGS[2]="-geometry 800x600 -nolisten tcp -localhost"
5).重启vncserver服务
#service vncserver restart
三、允许root访问图形界面和生成新的machine-id
#sed -i 's/.*!= root.*/#&/' /etc/pam.d/gdm
#dbus-uuidgen >/var/lib/dbus/machine-id
四、关闭selinux和NetworkManager服务
1.检查selinux服务并关闭
#vi /etc/selinux/config
确认里面的SELINUX字段的值是disabled,如果不是则改为disabled。
[root@AY1404171530212980a0Z ~]# vi /etc/selinux/config
# This file controls the state of SELinux on the system.
# SELINUX= can take one of these three values:
#       enforcing - SELinux security policy is enforced.
#       permissive - SELinux prints warnings instead of enforcing.
#       disabled - SELinux is fully disabled.
SELINUX=disabled
# SELINUXTYPE= type of policy in use. Possible values are:
#       targeted - Only targeted network daemons are protected.
#       strict - Full SELinux protection.
SELINUXTYPE=targeted
~
2.关闭NetworkManager服务
#chkconfig --del NetworkManager
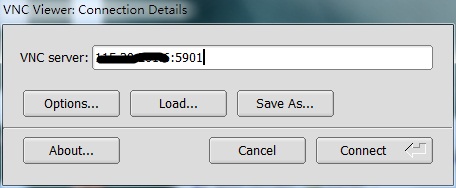
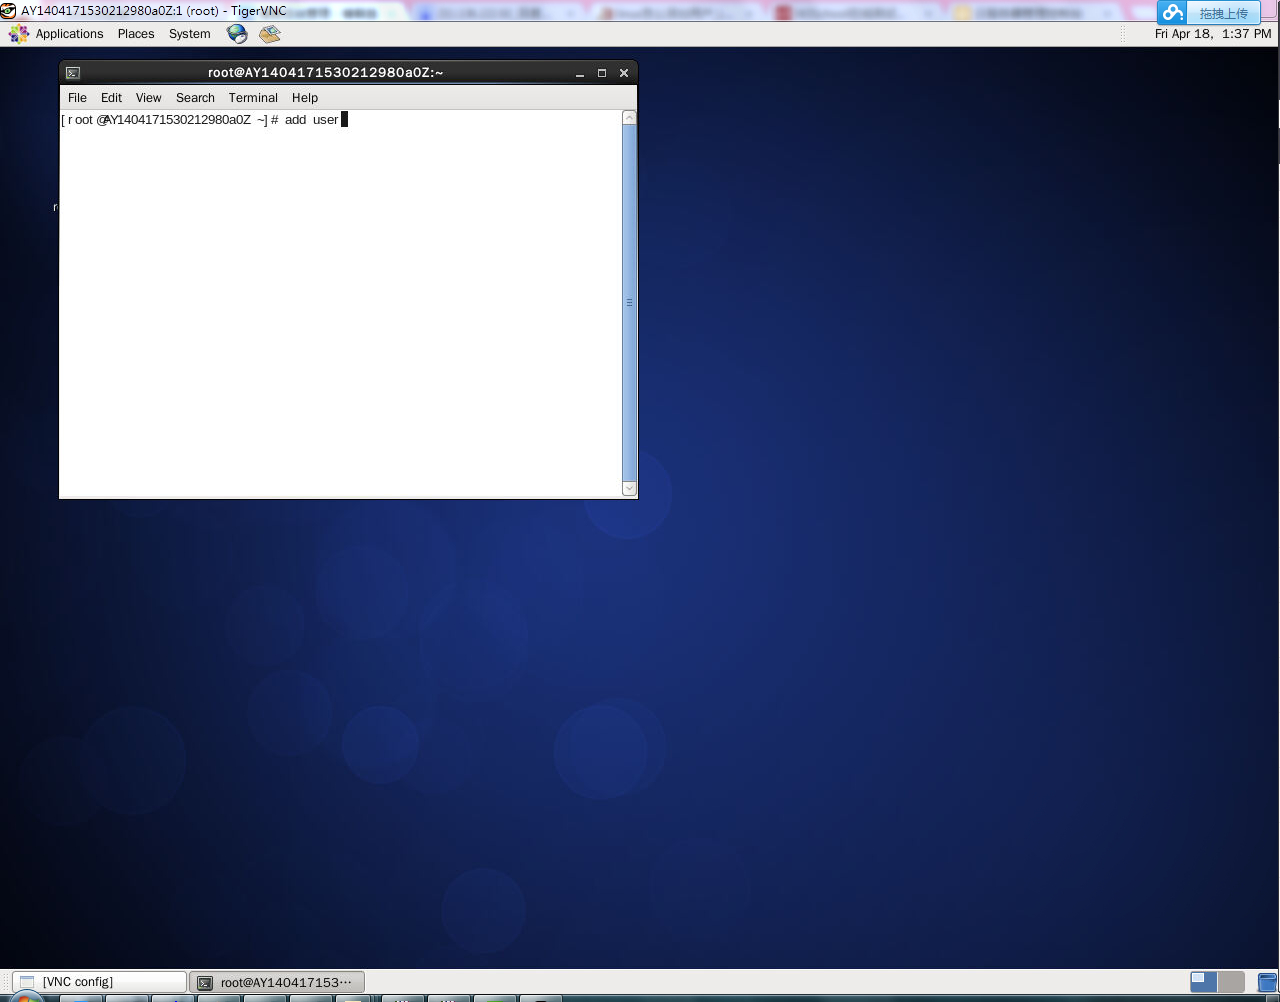
五、测试登录:


来自于:http://help.aliyun.com/view/11108189_13435402.html?spm=5176.7224473.1997282753.8.VYQqHa