转载至:
https://www.cnblogs.com/aaron-shu/p/5156007.html
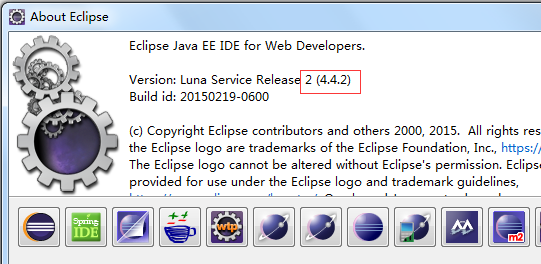
一、查看eclipse版本
Help-->About Eclipse,我的版本是4.4.2。
二、根据eclipse 版本,选择插件版本
访问网址:http://spring.io/tools/sts/all 查看eclipse对应的插件版本
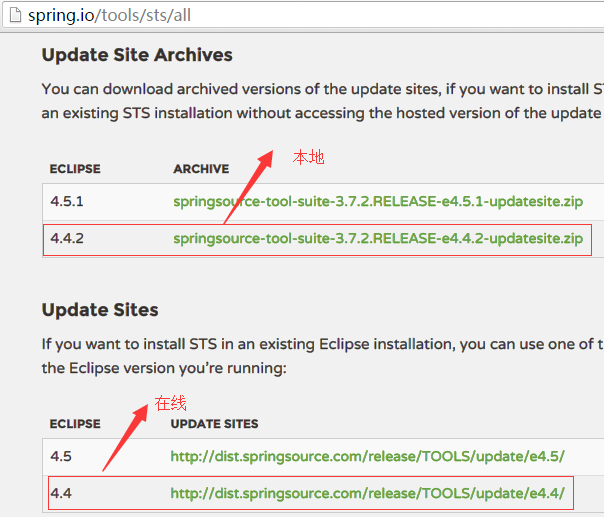
eclipsep安装spring插件有两种方式:在线安装和本地安装;
1、在线安装
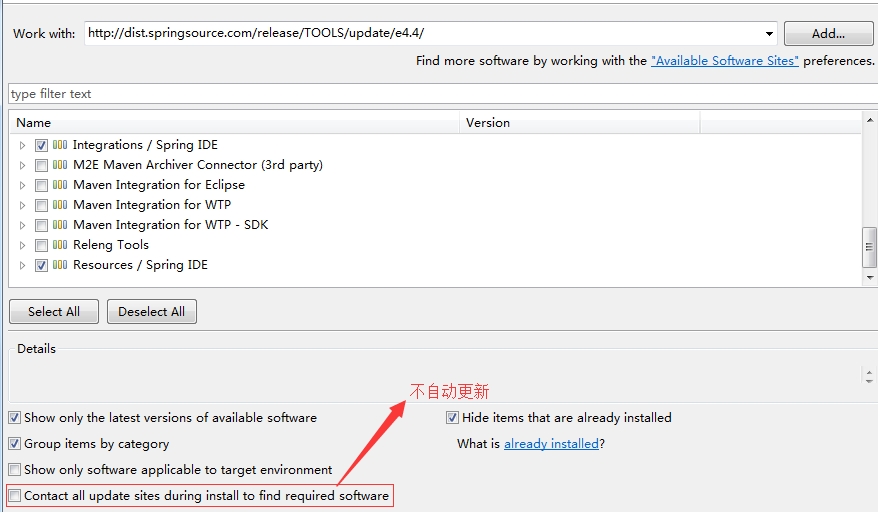
Help-->Install New Software-->work with 中输入http://dist.springsource.com/release/TOOLS/update/e4.4/ ,回车等待片刻,选中带spring IDE的四项,一直next直到完成,重启eclipse。
2、本地安装
Help-->Install New Software-->Add-->Local-->选择解压文件夹,剩下的和在线安装类似。
三、下载spring jar包
访问http://projects.spring.io/spring-framework/,可以看到最新的稳定版本为4.2.4
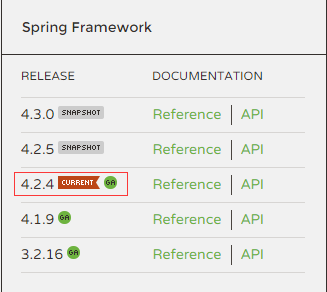
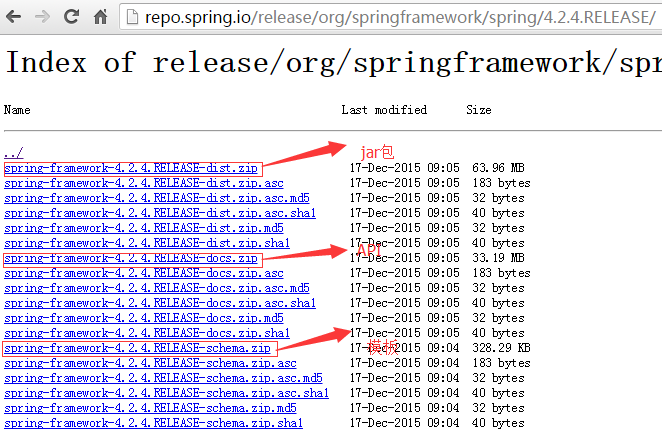
点击Reference-->点击Distribution Zip Files-->点击http://repo.spring.io/release/org/springframework/spring


选择最新的稳定版本4.2.4.RELEASE

打开页面,根据提示下载需要的文件
四、HelloWorld入门实例
1、新建java工程,命名HelloSpring;新建Folder 命名为lib,存放Spring基本的jar包和commons-logging包(可在Struts的lib中找到),并将这些包Add Build Path。项目结构图所下图所示:

2、HelloWorld.java代码

package com.ke361;

public class HelloWorld {
    private String message;
       public void setMessage(String message){
          this.message=message;
       }
       public void getMessage(){
          System.out.println("Your Message : " + message);
       }
}
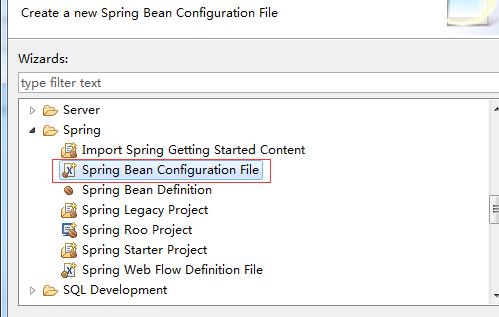
3、新建spring配置文件
在src下新建spring配置文件,命名为applicationContext.xml。
applicationContext.xml
<?xml version="1.0" encoding="UTF-8"?>
<beans xmlns="http://www.springframework.org/schema/beans"
    xmlns:xsi="http://www.w3.org/2001/XMLSchema-instance"
    xsi:schemaLocation="http://www.springframework.org/schema/beans http://www.springframework.org/schema/beans/spring-beans.xsd">
<bean id="helloWorld" class="com.ke361.HelloWorld">
       <property name="message" value="Hello World!"/>
</bean>
</beans>
4、MainApp.java代码
package com.ke361;
import org.springframework.context.ApplicationContext;
import org.springframework.context.support.ClassPathXmlApplicationContext;
public class MainApp {

    public static void main(String[] args) {
        // TODO Auto-generated method stub
        ApplicationContext context=new ClassPathXmlApplicationContext("applicationContext.xml");
          HelloWorld obj=(HelloWorld)context.getBean("helloWorld");
          obj.getMessage();
    }

}
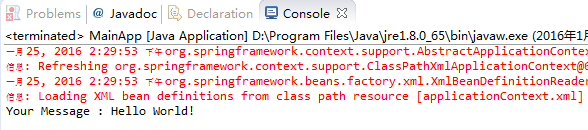
5、运行结果