1、windows安装
1.1 下载nginx
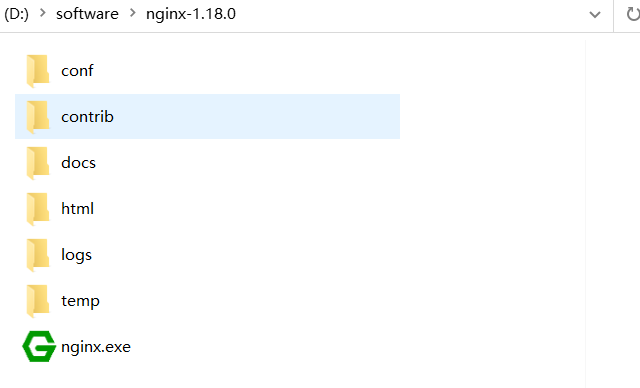
下载后解压,解压后如下:
1.2 启动nginx
有很多种方法启动nginx
(1)直接双击nginx.exe,双击后一个黑色的弹窗一闪而过
(2)打开cmd命令窗口,切换到nginx解压目录下,输入命令 nginx.exe ,回车即可
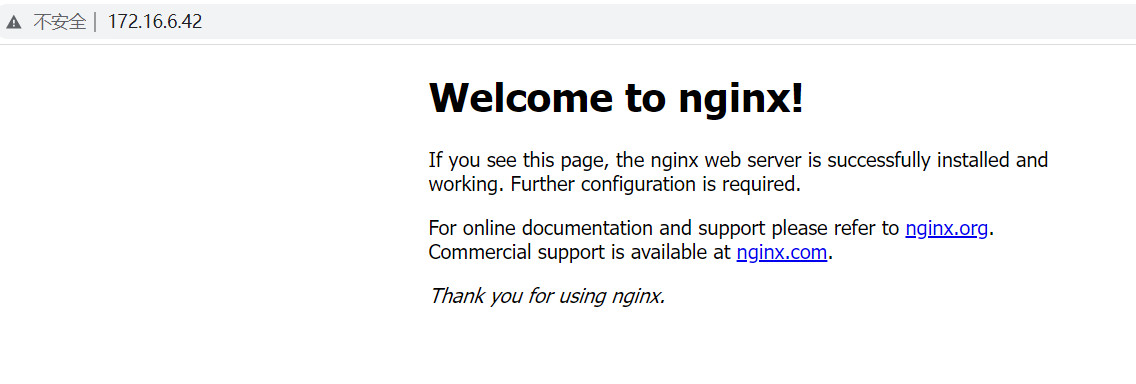
1.3 检查nginx是否启动成功
直接在浏览器地址栏输入网址 http://localhost:80 回车,出现以下页面说明启动成功!

1.4 配置监听
nginx的配置文件是conf目录下的nginx.conf,默认配置的nginx监听的端口为80,如果80端口被占用可以修改为未被占用的端口即可。
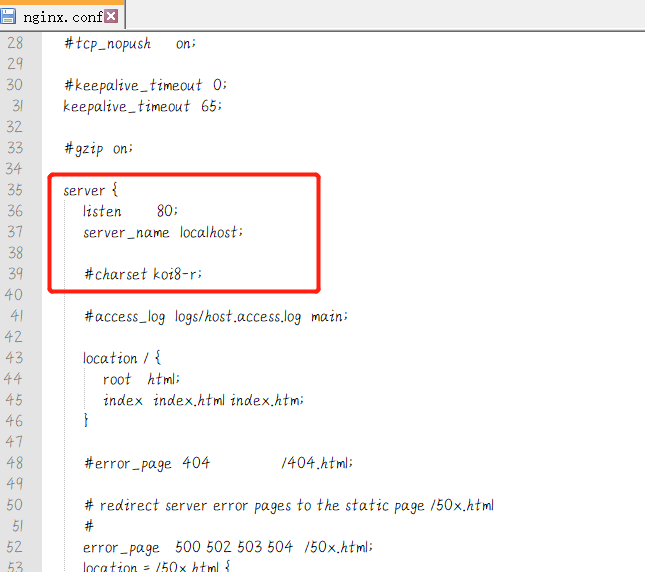
当我们修改了nginx的配置文件nginx.conf 时,不需要关闭nginx后重新启动nginx,只需要执行命令 nginx -s reload 即可让改动生效
1.5 关闭nginx
如果使用cmd命令窗口启动nginx, 关闭cmd窗口是不能结束nginx进程的,可使用两种方法关闭nginx
(1)输入nginx命令 nginx -s stop(快速停止nginx) 或 nginx -s quit(完整有序的停止nginx)
(2)使用taskkill taskkill /f /t /im nginx.exe
 taskkill是用来终止进程的,
 /f是强制终止 .
 /t终止指定的进程和任何由此启动的子进程。
 /im示指定的进程名称 .
2、linux安装
2.1 安装gcc
安装 nginx 需要先将官网下载的源码进行编译,编译依赖 gcc 环境,如果没有 gcc 环境,则需要安装:
yum install gcc-c++
2.2 PCRE pcre-devel 安装
PCRE(Perl Compatible Regular Expressions) 是一个Perl库,包括 perl 兼容的正则表达式库。nginx 的 http 模块使用 pcre 来解析正则表达式,所以需要在 linux 上安装 pcre 库,pcre-devel 是使用 pcre 开发的一个二次开发库。nginx也需要此库。命令:
yum install -y pcre pcre-devel
2.3 zlib 安装
zlib 库提供了很多种压缩和解压缩的方式, nginx 使用 zlib 对 http 包的内容进行 gzip ,所以需要在 Centos 上安装 zlib 库。
yum install -y zlib zlib-devel
2.4 OpenSSL 安装
OpenSSL 是一个强大的安全套接字层密码库,囊括主要的密码算法、常用的密钥和证书封装管理功能及 SSL 协议,并提供丰富的应用程序供测试或其它目的使用。 nginx 不仅支持 http 协议,还支持 https(即在ssl协议上传输http),所以需要在 Centos 安装 OpenSSL 库。
yum install -y openssl openssl-devel
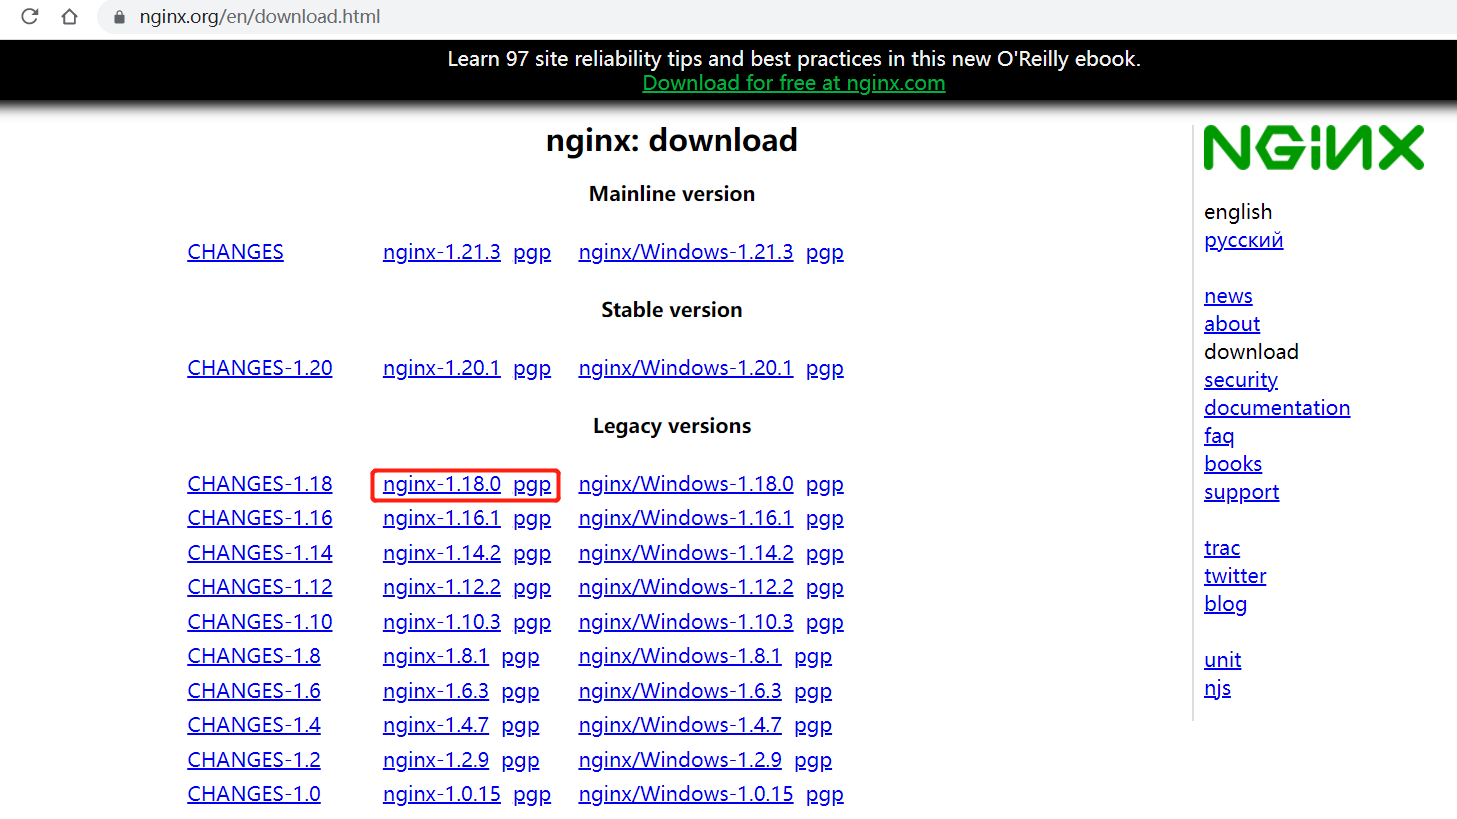
2.5 下载安装包
手动下载.tar.gz安装包,地址:https://nginx.org/en/download.html
下载完毕上传到服务器上 /opt
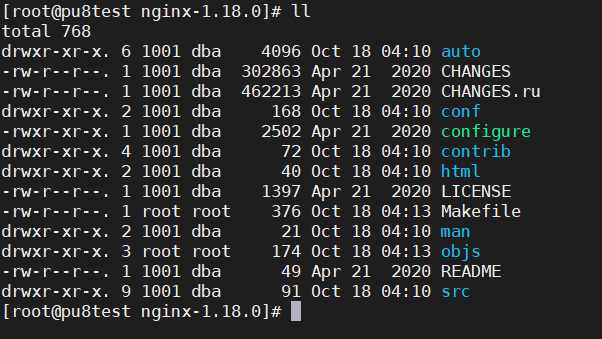
2.6 解压
 tar -zxvf nginx-1.18.0.tar.gz
 cd nginx-1.18.0
2.7 配置
使用默认配置,在nginx根目录下执行
 ./configure
 make
 make install
查找安装路径: whereis nginx

3、Nginx常用命令
 cd /usr/local/nginx/sbin/
 ./nginx  启动
 ./nginx -s stop  停止
 ./nginx -s quit  安全退出
 ./nginx -s reload  重新加载配置文件
 ps aux|grep nginx  查看nginx进程
启动成功访问 服务器ip:80
注意:如何连接不上,检查阿里云安全组是否开放端口,或者服务器防火墙是否开放端口!
# 开启 service firewalld start # 重启 service firewalld restart # 关闭 service firewalld stop # 查看防火墙规则 firewall-cmd --list-all # 查询端口是否开放 firewall-cmd --query-port=8080/tcp # 开放80端口 firewall-cmd --permanent --add-port=80/tcp # 移除端口 firewall-cmd --permanent --remove-port=8080/tcp #重启防火墙(修改配置后要重启防火墙) firewall-cmd --reload
4、Nginx配置文件结构
nginx 文件结构
...              #全局块

events {         #events块
   ...
}

http      #http块
{
    ...   #http全局块
    server        #server块
    {
        ...       #server全局块
        location [PATTERN]   #location块
        {
            ...
        }
        location [PATTERN]
        {
            ...
        }
    }
    server
    {
      ...
    }
    ...     #http全局块
}
- 1、全局块:配置影响nginx全局的指令。一般有运行nginx服务器的用户组,nginx进程pid存放路径,日志存放路径,配置文件引入,允许生成worker process数等。
- 2、events块:配置影响nginx服务器或与用户的网络连接。有每个进程的最大连接数,选取哪种事件驱动模型处理连接请求,是否允许同时接受多个网路连接,开启多个网络连接序列化等。
- 3、http块:可以嵌套多个server,配置代理,缓存,日志定义等绝大多数功能和第三方模块的配置。如文件引入,mime-type定义,日志自定义,是否使用sendfile传输文件,连接超时时间,单连接请求数等。
- 4、server块:配置虚拟主机的相关参数,一个http中可以有多个server。
- 5、location块:配置请求的路由,以及各种页面的处理情况。
下面给大家上一个配置文件,作为理解。
########### 每个指令必须有分号结束。#################
#user administrator administrators;  #配置用户或者组,默认为nobody nobody。
#worker_processes 2;  #允许生成的进程数,默认为1
#pid /nginx/pid/nginx.pid;   #指定nginx进程运行文件存放地址
error_log log/error.log debug;  #制定日志路径,级别。这个设置可以放入全局块,http块,server块,级别以此为:debug|info|notice|warn|error|crit|alert|emerg
events {
    accept_mutex on;   #设置网路连接序列化,防止惊群现象发生,默认为on
    multi_accept on;  #设置一个进程是否同时接受多个网络连接,默认为off
    #use epoll;      #事件驱动模型,select|poll|kqueue|epoll|resig|/dev/poll|eventport
    worker_connections  1024;    #最大连接数,默认为512
}
http {
    include       mime.types;   #文件扩展名与文件类型映射表
    default_type  application/octet-stream; #默认文件类型,默认为text/plain
    #access_log off; #取消服务日志
    log_format myFormat '$remote_addr–$remote_user [$time_local] $request $status $body_bytes_sent $http_referer $http_user_agent $http_x_forwarded_for'; #自定义格式
    access_log log/access.log myFormat;  #combined为日志格式的默认值
    sendfile on;   #允许sendfile方式传输文件,默认为off,可以在http块,server块,location块。
    sendfile_max_chunk 100k;  #每个进程每次调用传输数量不能大于设定的值,默认为0,即不设上限。
    keepalive_timeout 65;  #连接超时时间,默认为75s,可以在http,server,location块。

    upstream mysvr {
      server 127.0.0.1:7878;
      server 192.168.10.121:3333 backup;  #热备
    }
    error_page 404 https://www.baidu.com; #错误页
    server {
        keepalive_requests 120; #单连接请求上限次数。
        listen       4545;   #监听端口
        server_name  127.0.0.1;   #监听地址
        location  ~*^.+$ {       #请求的url过滤,正则匹配,~为区分大小写,~*为不区分大小写。
           #root path;  #根目录
           #index vv.txt;  #设置默认页
           proxy_pass  http://mysvr;  #请求转向mysvr 定义的服务器列表
           deny 127.0.0.1;  #拒绝的ip
           allow 172.18.5.54; #允许的ip
        }
    }
}
几个常见配置项:
- 1.$remote_addr 与 $http_x_forwarded_for 用以记录客户端的ip地址;
- 2.$remote_user :用来记录客户端用户名称;
- 3.$time_local : 用来记录访问时间与时区;
- 4.$request : 用来记录请求的url与http协议;
- 5.$status : 用来记录请求状态;成功是200;
- 6.$body_bytes_s ent :记录发送给客户端文件主体内容大小;
- 7.$http_referer :用来记录从那个页面链接访问过来的;
- 8.$http_user_agent :记录客户端浏览器的相关信息;