背景:
测试过程中会有针对单接口及多接口的压测(典型场景为后台配置总量的抢券,抢完为止)
策略:
之前用的比较多的是使用Jmeter,通过设置线程数、RPS(每秒用户数)、循环次数进行接口压测,近期了解了locust,觉得比较新颖(python代码方式),接下来简单介绍下基于Python+locust的接口压测。
环境:
配置python环境;
配置locust-- pip install locustio;
测试代码:
from locust import HttpLocust, TaskSet, task
import subprocess
import json #abc
# 性能测试任务类 TaskSet.
class UserBehavior(TaskSet):
    # 开始
    def on_start(self):
        pass
    # 任务
    @task(1)
    def getTagVals(self):
        u"""
        request_url:请求路径
        request_params:请求头参数
        request_json:请求json参数
        """
        request_url = "/api/xxx/xxx"
        request_params = {
            "key": "tabs"
        }
        request_json = {
            "tagKey": 25
        }
        response = self.client.post(
            url=request_url,
            params=request_params,
            json=request_json
        )
        if response.status_code != 200:
            print (u"返回异常")
            print (u"请求返回状态码:"), response.status_code
        elif response.status_code == 200:
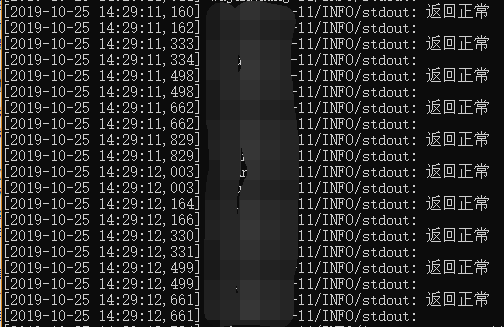
            print (u"返回正常")
        # 这里可以编写自己需要校验的返回内容
        # content = json.loads(response.content)["content"]
        # if content["tagKey"] == 25:
        #     print u"校验成功"
        #     print json.dumps(content, encoding="UTF-8", ensure_ascii=False)
# 性能测试配置
class MobileUserLocust(HttpLocust):
    u"""
    min_wait :用户执行任务之间等待时间的下界,单位:毫秒。
    max_wait :用户执行任务之间等待时间的上界,单位:毫秒。
    """
    # weight = 3
    task_set = UserBehavior
    host = "http://www.xxxx.com"
    min_wait = 3000
    max_wait = 6000
if __name__ == "__main__":
    subprocess.Popen("locust -f main_pt.py", shell=True)
说明:需要注意的是,request_url为请求路径,request_params即入参,host为请求的host,接口为get方式或post方式则改动response=self.client.post对应值
步骤:
1、将代码保存为main_pt.py后,进入对应路径,执行:py main_pt.py
2、本地浏览器打开 http://localhost:8089
3、在弹出的框内输入相应参数,点击start开始。对应第一第二行分别为 模拟的用户总数 和 每秒钟并发的用户数量

4、描述

commond详情:

引自:https://www.cnblogs.com/cllovewxq/p/7692248.html