一、安装过程
当前工具主要是用来对ES中的数据进行数据导入/导出,以及对数据迁移相关,使用elasticdump工具需要使用到npm,所以需要安装相关的依赖
目前使用到的ES版本是 7.x
安装NODE
安装命令如下:
$ wget https://nodejs.org/dist/v10.15.0/node-v10.15.0-linux-x64.tar.xz
$ tar -xf node-v10.15.0-linux-x64.tar.xz
#配置相关的环境变量
$ vim /etc/profile
> PATH=$PATH:/software/node-v10.15.0-linux-x64/bin
$ source /etc/profile
通过npm安装elasticdump
#本地安装和全局安装的区别在于它是否自动给你设置环境变量,其他的没有区别
# 本地安装
$ npm install elasticdump
$ ./bin/elasticdump
# 全局安装
$ npm install elasticdump -g
$ elasticdump
注:当前工具的安装,我目前是安装在ES集群本地的,当然可以安装在其他节点,只要网络能够被访问,但是因为在本地,所以走本地网卡,速度比较快!
二、使用Elasticdump对数据导出
ES中将数据导出为本地JSON文件
#格式:elasticdump --input {protocol}://{host}:{port}/{index} --output ./test_index.json
#例子:将ES中的test_index 中的索引导出
#导出当前索引的mapping结构
$ elasticdump --input http://192.168.56.104:9200/test_index --output ./test_index_mapping.json --type=mapping
#导出当前索引下的所有真实数据
$ elasticdump --input http://192.168.56.104:9200/test_index --output ./test_index.json --type=data
上面导出的两个文件都是在导入到
ES中所需要的,一个是mapping文件,另外一个是数据,当然mapping也可以自己手动建立
错误:在安装完成之后,进行首次使用过程中出现错误,错误主要是CALL_AND_RETRY_LAST Allocation failed - JavaScript heap out of memory,出现当前错误
解决:试过多种方式,但是最终了能够使程序完整跑出来是因为将内存参数调大
#下面两个参数只需要设置一个,我两个都用过,目前记不清用的是哪个起的作用,应该是第一个,所以先设置第一个的参数
$ export NODE_OPTIONS--max-old-space-size=8192
$ export NODE_OPTIONS="--max-old-space-size=8192"
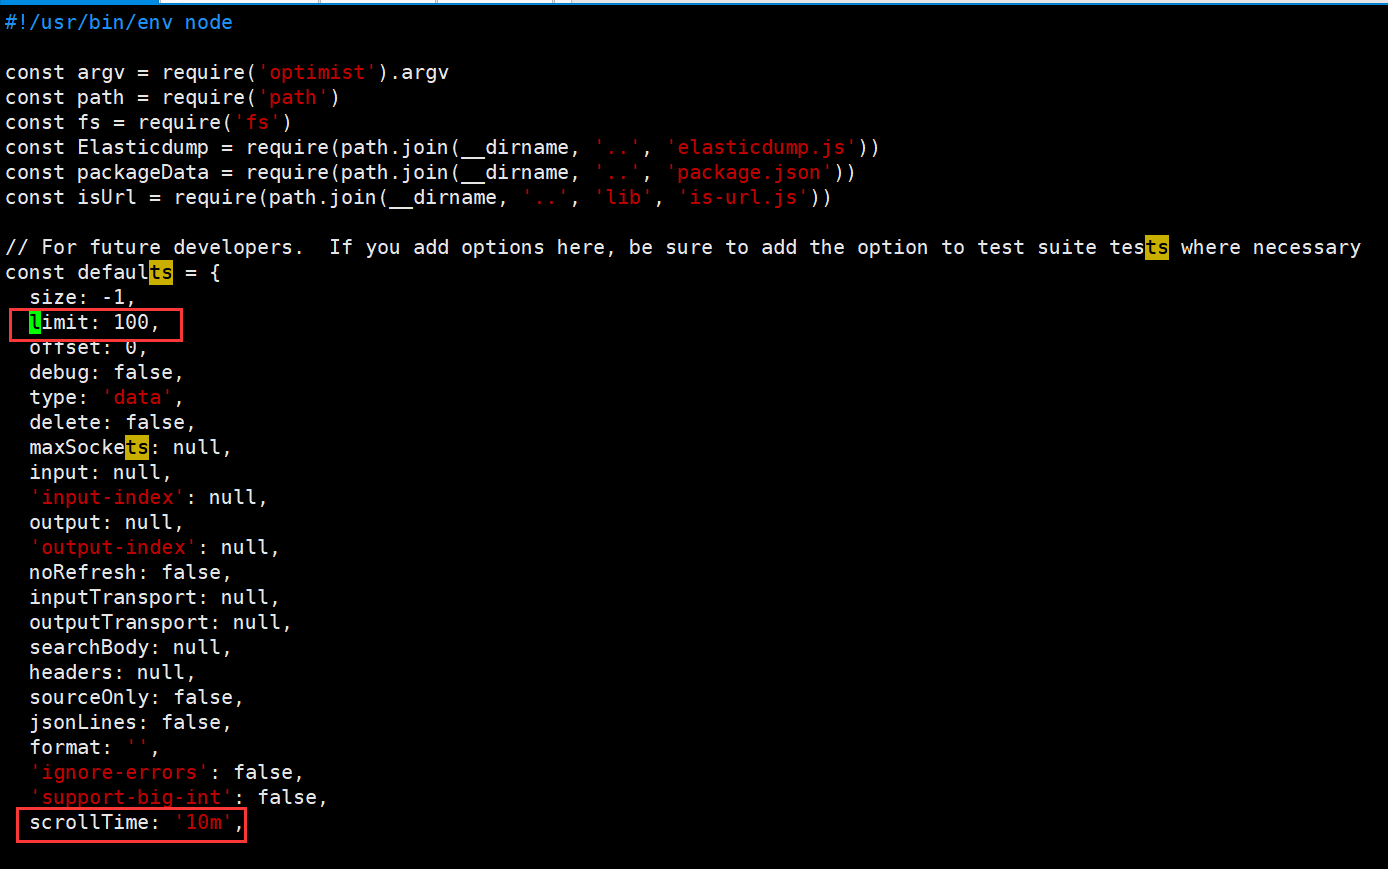
上面内容设置完成之后,还需要注意,在使用过程中需要注意,limit(默认值100)参数和scrollTime(默认值10m),这两个参数都有默认值,
limit:代表的是每次通过请求从ES中请求的数量,之前我将该参数设置为1000,但是出现了内存溢出,默认值就好
scrollTime:当前参数代表的是以当前数据生成一个类似镜像的东西,然后通过这个镜像去查询,如果是后面有新的数据进来是不会被纳入的,默认值是10m(分钟),也就是说,如果数据比较多,导出可能耗时比较久,那么可以将当前参数设置大一些,满足能够将数据导出完
如何修改参数:
/root/node-v10.15.0-linux-x64/bin在安装目录下,找到elasticdump脚本文件中,找到对应的参数进行修改- 通过直接命令跟参数的形式进行修改,如:
elasticdump --limit=200 --input http://192.168.56.104/test_index --output ./test_index
三、本地JSON文件导入数据到ES中
通过上面导出,已经导出了两个文件,一个是数据文件,一个是mapping文件,进行数据导入:
数据导入需要进行检查:
在需要导入的
ES创建索引,并且保持索引和type和mapping文件中的一致是否存在
mapping.json,这个取决于你是否导出,没倒出也可以自己手动建立,建立过程这里不细说是否存在相同索引(是否为同一ES中):存在需要修改导出的
mapping.json中的索引信息,不存在可以直接导入;
数据导入:
# 创建索引
$ curl -XPUT http:192.168.56.104:9200/test_index
#因为导入的是mapping,所以设置type为mapping
$ elasticdump --input ./test_index_mapping.json --output http://192.168.56.105:9200/ --type=mapping
#因为导入的是data(真实数据)所以设置type为data
$ elasticdump --input ./test_index.json --output http://192.168.56.105:9200/ --type=data


如上图所示,为导入过程
导入导出具体参数要看数据量决定,并且要看单条数据大小决定参数的调整
四、使用Elasticdump官方的Docker镜像进行数据导入/导出
在使用前,需要提前安装Docker环境,这里不进行细说
# 镜像下载
$ docker pull taskrabbit/elasticsearch-dump
# 下面还是例子:通过镜像导出数据到本地
# 创建一个文件夹用于保存导出数据
$ mkdir -p /root/data
# 下面需要对路径进行映射并执行命令(导出mapping)
$ docker run --rm -ti -v /data:/tmp taskrabbit/elasticsearch-dump
  --input=http://production.es.com:9200/my_index
  --output=/tmp/my_index_mapping.json
  --type=mapping
# 导出(data)
$ docker run --rm -ti -v /root/data:/tmp taskrabbit/elasticsearch-dump
  --input=http://192.168.56.104:9200/test_index
  --output=/tmp/elasticdump_export.json
  --type=data
  -----------------------------------------------------------------------------
# 以下内容为ES -> ES的数据迁移例子
$ docker run --rm -ti taskrabbit/elasticsearch-dump
  --input=http://production.es.com:9200/my_index
  --output=http://staging.es.com:9200/my_index
  --type=mapping
$ docker run --rm -ti taskrabbit/elasticsearch-dump
  --input=http://production.es.com:9200/my_index
  --output=http://staging.es.com:9200/my_index
  --type=data
注:上面的这些导入导出都是最基本的使用,当然还有很多高级用法,参考下面所列出来的命令进行尝试或者直接访问Github官网,查看更加详细的说明,这里只作为记录!
Github仓库中的详细格式参考:
# Copy an index from production to staging with analyzer and mapping:
elasticdump
  --input=http://production.es.com:9200/my_index
  --output=http://staging.es.com:9200/my_index
  --type=analyzer
elasticdump
  --input=http://production.es.com:9200/my_index
  --output=http://staging.es.com:9200/my_index
  --type=mapping
elasticdump
  --input=http://production.es.com:9200/my_index
  --output=http://staging.es.com:9200/my_index
  --type=data

# Backup index data to a file:
elasticdump
  --input=http://production.es.com:9200/my_index
  --output=/data/my_index_mapping.json
  --type=mapping
elasticdump
  --input=http://production.es.com:9200/my_index
  --output=/data/my_index.json
  --type=data

# Backup and index to a gzip using stdout:
elasticdump
  --input=http://production.es.com:9200/my_index
  --output=$
  | gzip > /data/my_index.json.gz

# Backup the results of a query to a file
elasticdump
  --input=http://production.es.com:9200/my_index
  --output=query.json
  --searchBody='{"query":{"term":{"username": "admin"}}}'

# Copy a single shard data:
elasticdump
  --input=http://es.com:9200/api
  --output=http://es.com:9200/api2
  --params='{"preference" : "_shards:0"}'

# Backup aliases to a file
elasticdump
  --input=http://es.com:9200/index-name/alias-filter
  --output=alias.json
  --type=alias

# Import aliases into ES
elasticdump
  --input=./alias.json
  --output=http://es.com:9200
  --type=alias

# Backup templates to a file
elasticdump
  --input=http://es.com:9200/template-filter
  --output=templates.json
  --type=template

# Import templates into ES
elasticdump
  --input=./templates.json
  --output=http://es.com:9200
  --type=template

# Split files into multiple parts
elasticdump
  --input=http://production.es.com:9200/my_index
  --output=/data/my_index.json
  --fileSize=10mb

# Import data from S3 into ES (using s3urls)
elasticdump
  --s3AccessKeyId "${access_key_id}"
  --s3SecretAccessKey "${access_key_secret}"
  --input "s3://${bucket_name}/${file_name}.json"
  --output=http://production.es.com:9200/my_index

# Export ES data to S3 (using s3urls)
elasticdump
  --s3AccessKeyId "${access_key_id}"
  --s3SecretAccessKey "${access_key_secret}"
  --input=http://production.es.com:9200/my_index
  --output "s3://${bucket_name}/${file_name}.json"
Github上elasticdump参数整理参考:
elasticdump: Import and export tools for elasticsearch
version: %%version%%

Usage: elasticdump --input SOURCE --output DESTINATION [OPTIONS]

--input
                    Source location (required)
--input-index
                    Source index and type
                    (default: all, example: index/type)
--output
                    Destination location (required)
--output-index
                    Destination index and type
                    (default: all, example: index/type)
--overwrite
                    Overwrite output file if it exists
                    (default: false)
--limit
                    How many objects to move in batch per operation
                    limit is approximate for file streams
                    (default: 100)
--size
                    How many objects to retrieve
                    (default: -1 -> no limit)
--concurrency
                    The maximum number of requests the can be made concurrently to a specified transport.
                    (default: 1)
--concurrencyInterval
                    The length of time in milliseconds in which up to <intervalCap> requests can be made
                    before the interval request count resets. Must be finite.
                    (default: 5000)
--intervalCap
                    The maximum number of transport requests that can be made within a given <concurrencyInterval>.
                    (default: 5)
--carryoverConcurrencyCount
                    If true, any incomplete requests from a <concurrencyInterval> will be carried over to
                    the next interval, effectively reducing the number of new requests that can be created
                    in that next interval.  If false, up to <intervalCap> requests can be created in the
                    next interval regardless of the number of incomplete requests from the previous interval.
                    (default: true)
--throttleInterval
                    Delay in milliseconds between getting data from an inputTransport and sending it to an
                    outputTransport.
                     (default: 1)
--debug
                    Display the elasticsearch commands being used
                    (default: false)
--quiet
                    Suppress all messages except for errors
                    (default: false)
--type
                    What are we exporting?
                    (default: data, options: [settings, analyzer, data, mapping, alias, template])
--delete
                    Delete documents one-by-one from the input as they are
                    moved.  Will not delete the source index
                    (default: false)
--searchBody
                    Preform a partial extract based on search results
                    when ES is the input, default values are
                      if ES > 5
                        `'{"query": { "match_all": {} }, "stored_fields": ["*"], "_source": true }'`
                      else
                        `'{"query": { "match_all": {} }, "fields": ["*"], "_source": true }'`
--headers
                    Add custom headers to Elastisearch requests (helpful when
                    your Elasticsearch instance sits behind a proxy)
                    (default: '{"User-Agent": "elasticdump"}')
--params
                    Add custom parameters to Elastisearch requests uri. Helpful when you for example
                    want to use elasticsearch preference
                    (default: null)
--sourceOnly
                    Output only the json contained within the document _source
                    Normal: {"_index":"","_type":"","_id":"", "_source":{SOURCE}}
                    sourceOnly: {SOURCE}
                    (default: false)
--ignore-errors
                    Will continue the read/write loop on write error
                    (default: false)
--scrollTime
                    Time the nodes will hold the requested search in order.
                    (default: 10m)
--maxSockets
                    How many simultaneous HTTP requests can we process make?
                    (default:
                      5 [node <= v0.10.x] /
                      Infinity [node >= v0.11.x] )
--timeout
                    Integer containing the number of milliseconds to wait for
                    a request to respond before aborting the request. Passed
                    directly to the request library. Mostly used when you don't
                    care too much if you lose some data when importing
                    but rather have speed.
--offset
                    Integer containing the number of rows you wish to skip
                    ahead from the input transport.  When importing a large
                    index, things can go wrong, be it connectivity, crashes,
                    someone forgetting to `screen`, etc.  This allows you
                    to start the dump again from the last known line written
                    (as logged by the `offset` in the output).  Please be
                    advised that since no sorting is specified when the
                    dump is initially created, there's no real way to
                    guarantee that the skipped rows have already been
                    written/parsed.  This is more of an option for when
                    you want to get most data as possible in the index
                    without concern for losing some rows in the process,
                    similar to the `timeout` option.
                    (default: 0)
--noRefresh
                    Disable input index refresh.
                    Positive:
                      1. Much increase index speed
                      2. Much less hardware requirements
                    Negative:
                      1. Recently added data may not be indexed
                    Recommended to use with big data indexing,
                    where speed and system health in a higher priority
                    than recently added data.
--inputTransport
                    Provide a custom js file to use as the input transport
--outputTransport
                    Provide a custom js file to use as the output transport
--toLog
                    When using a custom outputTransport, should log lines
                    be appended to the output stream?
                    (default: true, except for `$`)
--transform
                    A javascript, which will be called to modify documents
                    before writing it to destination. global variable 'doc'
                    is available.
                    Example script for computing a new field 'f2' as doubled
                    value of field 'f1':
                        doc._source["f2"] = doc._source.f1 * 2;
                    May be used multiple times.
                    Additionally, transform may be performed by a module. See [Module Transform](#module-transform) below.
--awsChain
                    Use [standard](https://aws.amazon.com/blogs/security/a-new-and-standardized-way-to-manage-credentials-in-the-aws-sdks/) location and ordering for resolving credentials including environment variables, config files, EC2 and ECS metadata locations
                    _Recommended option for use with AWS_
--awsAccessKeyId
--awsSecretAccessKey
                    When using Amazon Elasticsearch Service protected by
                    AWS Identity and Access Management (IAM), provide
                    your Access Key ID and Secret Access Key.
                    --sessionToken can also be optionally provided if using temporary credentials
--awsIniFileProfile
                    Alternative to --awsAccessKeyId and --awsSecretAccessKey,
                    loads credentials from a specified profile in aws ini file.
                    For greater flexibility, consider using --awsChain
                    and setting AWS_PROFILE and AWS_CONFIG_FILE
                    environment variables to override defaults if needed
--awsIniFileName
                    Override the default aws ini file name when using --awsIniFileProfile
                    Filename is relative to ~/.aws/
                    (default: config)
--support-big-int
                    Support big integer numbers
--retryAttempts
                    Integer indicating the number of times a request should be automatically re-attempted before failing
                    when a connection fails with one of the following errors `ECONNRESET`, `ENOTFOUND`, `ESOCKETTIMEDOUT`,
                    ETIMEDOUT`, `ECONNREFUSED`, `EHOSTUNREACH`, `EPIPE`, `EAI_AGAIN`
                    (default: 0)

--retryDelay
                    Integer indicating the back-off/break period between retry attempts (milliseconds)
                    (default : 5000)
--parseExtraFields
                    Comma-separated list of meta-fields to be parsed
--fileSize
                    supports file splitting.  This value must be a string supported by the **bytes** module.
                    The following abbreviations must be used to signify size in terms of units
                    b for bytes
                    kb for kilobytes
                    mb for megabytes
                    gb for gigabytes
                    tb for terabytes

                    e.g. 10mb / 1gb / 1tb
                    Partitioning helps to alleviate overflow/out of memory exceptions by efficiently segmenting files
                    into smaller chunks that then be merged if needs be.
--fsCompress
                    gzip data before sending outputting to file
--s3AccessKeyId
                    AWS access key ID
--s3SecretAccessKey
                    AWS secret access key
--s3Region
                    AWS region
--s3Endpoint
                    AWS endpoint can be used for AWS compatible backends such as
                    OpenStack Swift and OpenStack Ceph
--s3SSLEnabled
                    Use SSL to connect to AWS [default true]

--s3ForcePathStyle  Force path style URLs for S3 objects [default false]

--s3Compress
                    gzip data before sending to s3

--retryDelayBase
                    The base number of milliseconds to use in the exponential backoff for operation retries. (s3)
--customBackoff
                    Activate custom customBackoff function. (s3)
--tlsAuth
                    Enable TLS X509 client authentication
--cert, --input-cert, --output-cert
                    Client certificate file. Use --cert if source and destination are identical.
                    Otherwise, use the one prefixed with --input or --output as needed.
--key, --input-key, --output-key
                    Private key file. Use --key if source and destination are identical.
                    Otherwise, use the one prefixed with --input or --output as needed.
--pass, --input-pass, --output-pass
                    Pass phrase for the private key. Use --pass if source and destination are identical.
                    Otherwise, use the one prefixed with --input or --output as needed.
--ca, --input-ca, --output-ca
                    CA certificate. Use --ca if source and destination are identical.
                    Otherwise, use the one prefixed with --input or --output as needed.
--inputSocksProxy, --outputSocksProxy
                    Socks5 host address
--inputSocksPort, --outputSocksPort
                    Socks5 host port
--help
                    This page