最近因工作需要,在淘宝购买了一条宇泰的串口线:USB to RS232
之所以选择这款,主要是它支持 Windows、Linux、mac
Linux机是Deepin for Linux,算是国产比较好的一款Linux发行版
Linux 默认是自带串口驱动的,需要注意的是:如果你笔记本自带串口,那么设备是 /dev/ttyS0;如果是USB 转的(跟我一样),那么就是 /dev/ttyUSB0.
你也可以执行命令查看设备情况:
ls -l /dev/ttyS*

or


ls -l /dev/ttyU*
如果你没有报错,而是正常输出如下:
crw-rw-rw- 1 root dialout 188, 0 3月 7 18:35 /dev/ttyUSB0
如上所示,建议你切换至 root 账户,或者使用 sudo 命令
1、安装 minicom 终端
apt-get install minicom
2、设置 minicom
sudo minicom -s
a、按回车后,跳出如下菜单,选择黄色填充项
+-----[configuration]------+
| Filenames and paths |
| File transfer protocols |
| Serial port setup |
| Modem and dialing |
| Screen and keyboard |
| Save setup as dfl |
| Save setup as.. |
| Exit |
| Exit from Minicom |
+--------------------------+
b、按如下黄色填充项需改
+-----------------------------------------------------------------------+
| A - Serial Device : /dev/ttyUSB0 |
| B - Lockfile Location : /var/lock |
| C - Callin Program : |
| D - Callout Program : |
| E - Bps/Par/Bits : 9600 8N1 |
| F - Hardware Flow Control : No |
| G - Software Flow Control : No |
| |
| Change which setting? |
+-----------------------------------------------------------------------+
c、按 Esc退出后选择 如下,黄色填充项
+-----[configuration]------+
| Filenames and paths |
| File transfer protocols |
| Serial port setup |
| Modem and dialing |
| Screen and keyboard |
| Save setup as dfl |
| Save setup as.. |
| Exit |
| Exit from Minicom |
+--------------------------+
3、扒掉串口线,再重新插上,按下回车,顺利的话就应该能连上交换机了
PS:
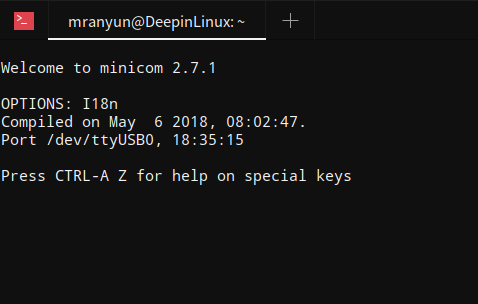
图上的意思是说:按住 Ctr + A 键后松手,再按 Z 键 有帮助提示
退出方式:Ctrl + A → A → Q → Enter
附: