-
celery---适合多种不同框架
-
消息队列
-
异步任务
-
定时任务
-
1.选择并安装消息容器(载体)-- redis作为载体--- 安装命令pip install -U "celery[redis]"
-
2.安装Celery并创建第一个任务 -- pip install celery
-

-
3.开启工作进程,并调用任务
-
进入tasks 目录下运行 celery -A tasks worker --loglevel=info
-
celery woker --help
-
4.记录工作任务,并返回结果
-
add--> add.delay()--异步调用

celery 在Django 中的应用
-
1. 在setting 文件同级建立 celery.py
-
2.在setting 文件同级,项目的init.py 中导入celery.app
-

-
3.安装 pip install django-celery-results
-
4. 在setting 中配置相关属性
-
CELERY_BROKER_URL = 'redis://localhost:6379/1'
-
CELERY_ACCEPT_CONTENT = ['json']
-
#1.安装 pip install django-celery-results,2.在install app 中注册'django_celery_results',建立ORM ,存在mysql 数据库中
-
#3.执行迁移 python manage.py migrate django_celery_results
-
-
#修改CELERY_RESULT_BACKEND参数为DB
-
#存在数据库中:
-
CELERY_RESULT_BACKEND = 'django-db'
-
#存在缓存中
-
#CELERY_RESULT_BACKEND = ‘django-cache’
-
#原始,存在sqlite 数据库中
-
#CELERY_RESULT_BACKEND = 'db+sqlite://results.sqlite'
-
CELERY_TASK_SERIALIZER = 'json'
-
1.安装 pip install django-celery-results,
-
2.在install app 中注册'django_celery_results',建立ORM ,存在mysql 数据库中
-
#3.执行迁移 python manage.py migrate django_celery_results
-
5.在app 中创建tasks.py
-
创建tasks 任务
-
from time import sleep
-
-
from celery import shared_task
-
-
-
@shared_task
-
def add(a,b):
-
print("睡着了")
-
sleep(5)
-
return(a+b)
-
创建路由,async异步调用 add ,add.delay(6.9),正常调用,add(6,9)
-
启动异步任务
-
celery -A RESTEnd worker -l info
-
启动服务器
-
访问 async 路由,返回异步任务的 hash 值
-
正常是能访问的,但本机环境redis 连接会有问题无法存储在redis 中
-
from django.core.mail import send_mail
-
def send_mail(recieve): subjects = "Nisha" massage = "hahah" from_email="1234@12.com" recie、pient_list=(recieve,)
-
sendmail(subjects,message,from_mail,recipient_list) (四个参数为必须的参数,recipient_list为元组)
-
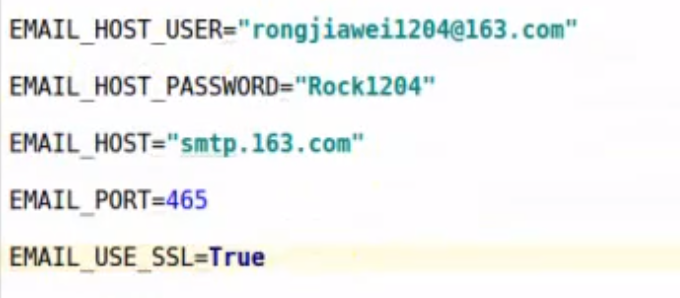
其他参数可写在配置文件中,465 为ssl 端口
