记一次vue数据请求,数据渲染实例
安装配置环境就不细说了,各位看官请移步至百度
Nodejs环境安装教程 https://www.runoob.com/nodejs/nodejs-install-setup.html
我们由搭建vue脚手架开始讲解,引用网上的一篇博文,写的很详细
vue脚手架搭建
我这里使用的是Windows下Cmd安装初始化模板,在HBuilderX运行和编辑项目
搭建完成之后我们需要安装初始化环境,安装请求需要的插件(目录结构)
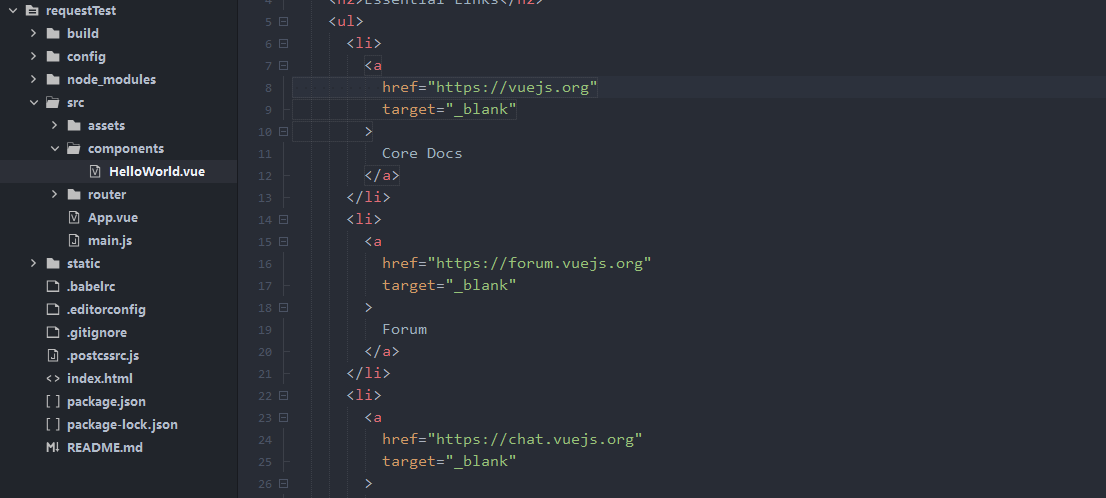
教程源码
//初始化(要在项目目录下运行,需耐心等待...)
npm install
//安装数据请求插件
npm instal axios
//运行程序
npm run dev
//打包程序(部署用)
npm run build
接着我们运行项目
npm run dev
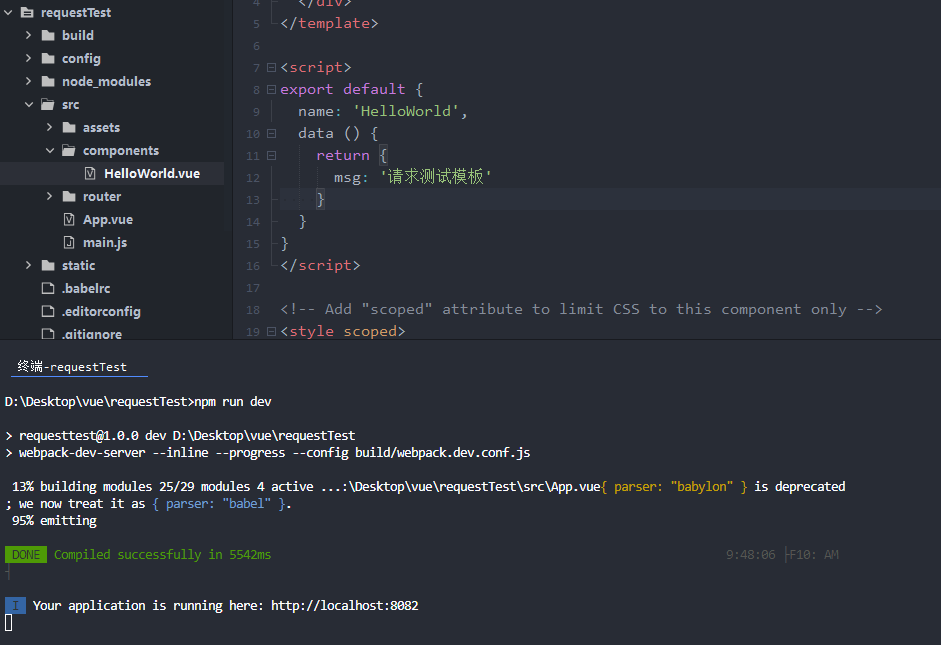
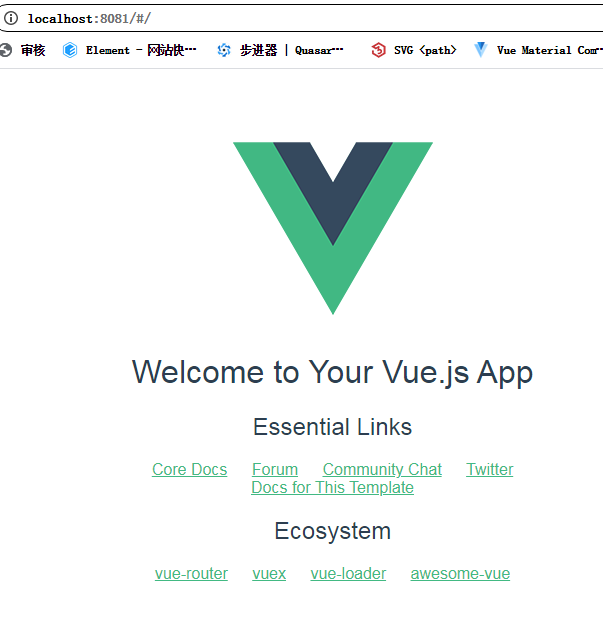
运行成功之后,会给我们路径地址,我们去访问就可以看到初始化的页面了(楼主的截图和运行端口不是在同一时间进行的所以会有偏差)
项目搭建好之后,我们对这个文件进行编辑
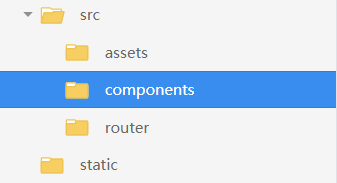

主要代码逻辑部分
<template>
  <div style="height: 100%;" class="hello">
      <!--消息提示回显部分-->
    <h1>{{ msg }}</h1>
    <h3>{{ info }}</h3>

      <!--屏幕左边部分-->
    <div style=" 50%;float: left;">
    <span style="color: red;font-size: 2em;">GET请求测试部分:</span>
        //使用for循环,循环渲染出接收到的数据
        <div v-for="item in getValue">
          <span>
            //使用这种方式获取数据内容
            {{item.name}}
            <a :href="item.apiUrl">点我跳转到{{item.name}}详情页面</a>
          </span>
        </div>
        </div>

      <!--屏幕右边部分-->
    <div style=" 50%;float: right;">
    <span style="color: red;font-size: 2em;">POST请求测试部分:</span>
        <div v-for="item in postValue">
          <span>
            {{item.name}}
            <a :href="item.apiUrl">点我跳转到{{item.name}}详情页面</a>
          </span>
        </div>
        </div>

<!--测试按钮部分-->
<br/>
    <button @click="requestDemo" title="请求测试">点击开始请求测试</button>
    <button @click="requestDemoRe" title="请求测试">点击清空请求数据</button>
  </div>
</template>

<script>
  //引入封装的请求脚本
  import {requestDemoPost,requestDemoGet} from "../../api/request.js"
export default {
  name: 'HelloWorld',
  data () {
    return {
      msg: '封装请求测试模板 Get Post',
      //get请求得到的数据
      getValue:[],
      //post请求得到的数据
      postValue:[],
      info:"详细的请求以及返回信息请按F12查看控制台输出信息 或自行查看网络请求信息"
    }
  },
  //页面加载完成之后事件
  created() {
    console.log(" Author:孤水寒月
 Time:2020/09/17
 BlogAddress:https://www.cnblogs.com/nanstar/
",new Date);
  },
  methods:{
    /* 获取请求的Demo方法部分*/
    requestDemo(){
      /*Post请求Demo,数据测试参数部分,需要的话可以写到这里*/
      // let postData = {
      //   ip:'127.0.0.1',
      //   type:1
      // }
      //postData写的是数据部分
      // requestDemoPost(postData).then(res=>{

       /*Post请求Demo*/
      requestDemoPost().then(res=>{
        //其中code代表的是返回的状态值,200表示返回正常
        if(res.data.code === 200){
          //在这里进行组件赋值操作
         this.postValue = res.data.result;
         console.log("POST请求测试获取值: ",res.data.result);
         console.log(" Author:孤水寒月
 Time:2020/09/17
 BlogAddress:https://www.cnblogs.com/nanstar/
",new Date);
        }
      })
      /*Get请求Demo*/
      requestDemoGet().then(resp=>{
        if(resp.data.code === 200){
         this.getValue = resp.data.result;
         console.log("GET请求测试获取值: ",resp.data.result);
         console.log(" Author:孤水寒月
 Time:2020/09/17
 BlogAddress:https://www.cnblogs.com/nanstar/
",new Date);
        }
      })
    },
    //点击清空数组参数信息
    requestDemoRe(){
      this.getValue = [];
      this.postValue = [];
    }
  }
}
</script>

<style scoped>
a {
  color: #42b983;
}

</style>
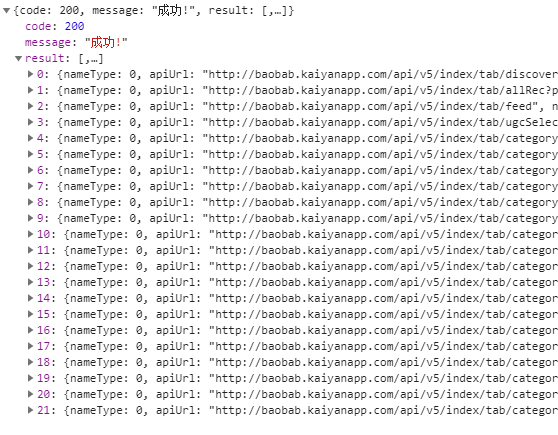
效果预览------请求接口获取到的数据
效果预览------请求获取数据,页内数据渲染之后的页面
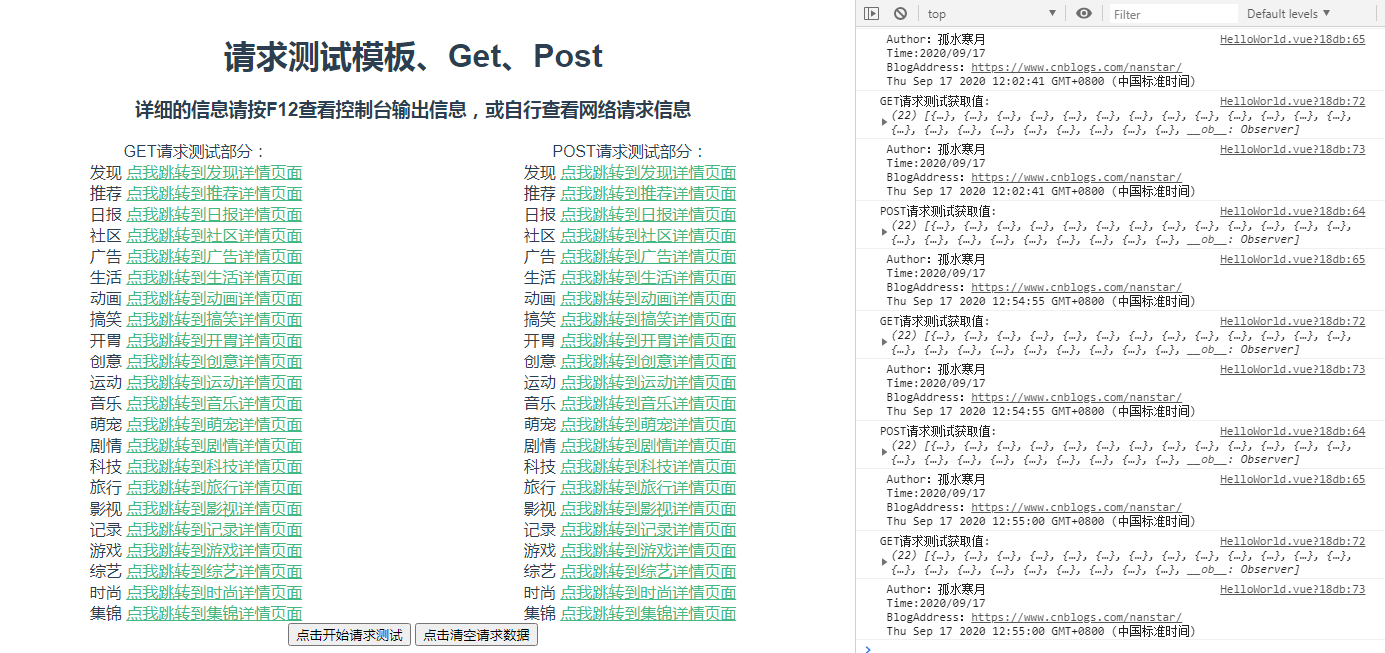
接下来讲解代码部分,来分析下封装的请求如何调用接口,如何获取数据并渲染到页面组件的
我们把接口请求封装起来了,使用的时候,只需要在页内调用引入的接口就可以直接发送请求,这样使我们代码更加的紧凑
api接口js部分(我新建了api文件夹,专门存放api接口脚本)
//需要在这里引入 axios
import request from "axios"


/**
 *  post请求
 * @param data
 */
export const requestDemoPost = (data) =>{
    return request({
        //url地址(地址可以使用拼接的方法,让我们只需要写后部分,前部分连接地址我们可以固定)
        url: "https://api.apiopen.top/videoHomeTab",
        //请求方法
        method: 'post',
        //数据类型(post请求使用的是data,get请求使用的是params)
        data:data
    })
}

/**
 *  get请求
 */
export const requestDemoGet = (params) =>{
    return request({
        url: "https://api.apiopen.top/videoHomeTab",
        method: 'get',
        params:params
    })
}