记录是为了更好的成长!
学习了spring-security在项目中的用法,简单记录一下过程。项目中使用springboot和thymeleaf。
1、引入pom文件(这里引入的是springSecurity5的版本)
<dependency>
    <groupId>org.springframework.boot</groupId>
    <artifactId>spring-boot-starter-security</artifactId>
</dependency>
ssm项目中要另外引入spring-security的依赖,需注意。
2、spring-security的默认用户名是user,密码在启动springBoot项目时出现了,如下:

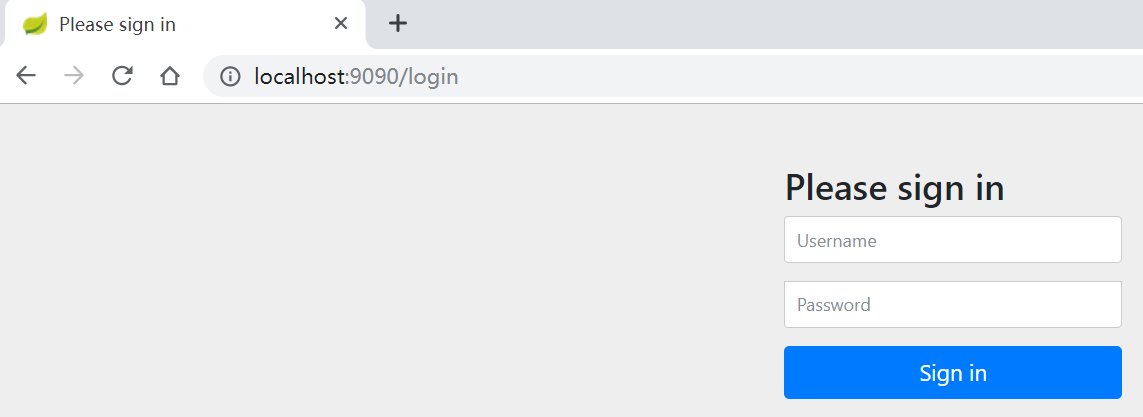
登录:

3、禁用默认登录验证
在springBoot启动类中加入
@EnableAutoConfiguration(exclude = {org.springframework.boot.autoconfigure.security.servlet.SecurityAutoConfiguration.class})
即可禁用默认的登录验证
@SpringBootApplication
@EnableAutoConfiguration(exclude = {org.springframework.boot.autoconfigure.security.servlet.SecurityAutoConfiguration.class})
@MapperScan("com.demo.mapper")
public class SpringbootSecurityApplication {

    public static void main(String[] args) {
        SpringApplication.run(SpringbootSecurityApplication.class, args);
    }

}
4、配置默认的用户名密码登录
增加如下配置类:
@Configuration
@EnableWebSecurity    //注解开启Spring Security的功能
public class WebSecurityConfig extends WebSecurityConfigurerAdapter{

    @Override
    protected void configure(HttpSecurity http) throws Exception {
        http
            .authorizeRequests()                            //这是认证的请求
                .antMatchers("/","/home").permitAll()        //这是不需要认证的请求
                .anyRequest().authenticated()                //任何一个认证都需要认证
                .and()
            .formLogin()
                .loginPage("/login")
                .permitAll()
                .and()
            .logout()
                .permitAll();
    }

    @Bean
    public  BCryptPasswordEncoder passwordEncoder() {
        return new BCryptPasswordEncoder();
    }

    @Override
    protected void configure(AuthenticationManagerBuilder auth) throws Exception{
        //基于内存来存储用户信息
        auth.inMemoryAuthentication().passwordEncoder(new BCryptPasswordEncoder())
                .withUser("user").password(new BCryptPasswordEncoder().encode("123")).roles("USER").and()
                .withUser("admin").password(new BCryptPasswordEncoder().encode("456")).roles("USER","ADMIN");
    }

}
从spring-security5开始,需要配置默认的密码加密策略,否则会抛出异常
5、完整的demo访问github下载
以上内容代表个人观点,仅供参考,不喜勿喷。。。