java spring boot消息队列 RabbitMQ
由于RabbitMQ是基于erlang的,所以,在正式安装RabbitMQ之前,需要先安装一下erlang
先看看对应关系
https://www.rabbitmq.com/which-erlang.html
然后 安装 erlang和RabbitMQ
完成后看有没有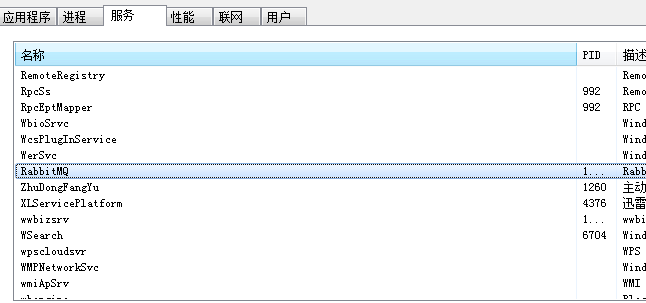
没有就启动下
然后配置下 进入如下
I:Program FilesRabbitMQ Server
abbitmq_server-3.8.3sbin
运行命令
rabbitmq-plugins enable rabbitmq_management

然后localhost:15672

可以看到后台了
默认账户:guest
默认密码:guest

ps:修改密码  rabbitmqctl  change_password  guest  1234


下面说下spring boot 用RabbitMQ


首先要在后台创建1个队列 不然会报错

ps:ready 9是生产了9个 还没有消费 当然默认是0
1先下载依赖
        <!--rabbitmq-->
        <dependency>
            <groupId>org.springframework.boot</groupId>
            <artifactId>spring-boot-starter-amqp</artifactId>
        </dependency>
2 配置
#对于rabbitMQ的支持
spring.rabbitmq.host=127.0.0.1
spring.rabbitmq.port=5672
spring.rabbitmq.username=guest
spring.rabbitmq.password=guest
3 队列模式
package com.example.demo2122;
import org.springframework.amqp.core.AmqpTemplate;
import org.springframework.amqp.rabbit.annotation.RabbitHandler;
import org.springframework.amqp.rabbit.annotation.RabbitListener;
import org.springframework.beans.factory.annotation.Autowired;
import org.springframework.scheduling.annotation.Async;
import org.springframework.scheduling.annotation.Scheduled;
import org.springframework.stereotype.Component;
import org.springframework.web.bind.annotation.GetMapping;
import org.springframework.web.bind.annotation.RequestParam;
import org.springframework.web.bind.annotation.RestController;
import javax.annotation.Resource;

import java.util.*;
import java.util.stream.IntStream;

import org.springframework.scheduling.annotation.Async;
import org.springframework.stereotype.Service;

@RestController
@Component
public class HelloControl {
    @Autowired
    private AmqpTemplate rabbitTemplate;


    @GetMapping("/hello")
    public String hello(@RequestParam(value = "name", defaultValue = "World") String name) {
        String context="生产了1个苹果";
        System.out.println("Sender : " + context);
        this.rabbitTemplate.convertAndSend("hello11", context);
        return "success";
    }

    @RabbitListener(queues = "hello11")
    public void process(String hello) {
        System.out.println("Receiver : " + hello);
    }


}
好了 正常不会错了