extends:http://blog.csdn.net/xiaoping0915/article/details/53899465 ,http://www.myhack58.com/Article/48/66/2012/34999.htm?spm=5176.100239.blogcont48640.5.jM0gSj
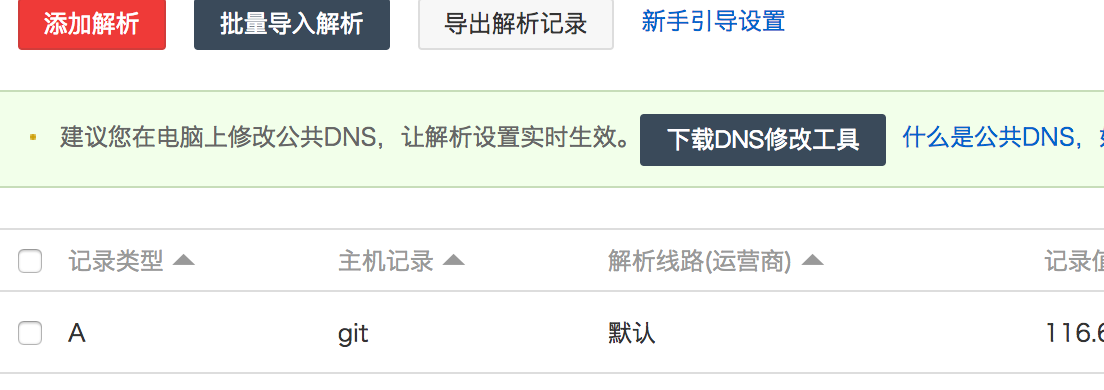
在阿里云服务器的域名解析里添加你要增加的子域名主机记录
然后在centos 的Nginx 配置中,增加子域名解析
如果你解析的是本地IP端口地址
server {

listen       80;

server_name  B.ABC.com;

location / {
proxy_pass http://localhost:4321;
//设置主机头真实IP地址的用户避免获得为代理服务器的地址
proxy_set_header   Host    $host;

proxy_set_header   X-Real-IP   $remote_addr;

proxy_set_header   X-Forwarded-For $proxy_add_x_forwarded_for;

    }

}
如果你解析的是目录网页
#MY CONFIG START
server
{
listen   80;
server_name  qq.com;
  root   /usr/share/nginx/html;
    index  index.php index.html index.htm;
    location ~ .php$ {
include /etc/nginx/fastcgi_params;
fastcgi_pass 127.0.0.1:9000;
fastcgi_index index.php;
}
}
#先配置的是qq.com,相信我有配置这个的必要性,location里面的是为了让我们的Nginx服务器知道.php文件要去找php解释器执行,不配置可能会出现访问即下载文件的现象
#不要问我为什么,我是抄上面那个默认的server的,错不了,手动滑稽
server
{
    listen   80;
    server_name   blog.qq.com;
    root   /usr/share/nginx/html/blog;
    index  index.php index.html index.htm;
    location ~ .php$ {
include /etc/nginx/fastcgi_params;
fastcgi_pass 127.0.0.1:9000;
fastcgi_index index.php;
}
}
#MY CONFIG END
centos下使用iptables开放22,80,3306端口的方法
vi /etc/sysconfig/iptables
-A INPUT -m state –state NEW -m tcp -p tcp –dport 80 -j ACCEPT(允许80端口通过防火墙)
-A INPUT -m state –state NEW -m tcp -p tcp –dport 3306 -j ACCEPT(允许3306端口通过防火墙)
特别提示:很多网友把这两条规则添加到防火墙配置的最后一行,导致防火墙启动失败,正确的应该是添加到默认的22端口这条规则的下面

添加好之后防火墙规则如下所示:
######################################
# Firewall configuration written by system-config-firewall
# Manual customization of this file is not recommended.
*filter
:INPUT ACCEPT [0:0]
:FORWARD ACCEPT [0:0]
:OUTPUT ACCEPT [0:0]
-A INPUT -m state –state ESTABLISHED,RELATED -j ACCEPT
-A INPUT -p icmp -j ACCEPT
-A INPUT -i lo -j ACCEPT
-A INPUT -m state –state NEW -m tcp -p tcp –dport 22 -j ACCEPT
-A INPUT -m state –state NEW -m tcp -p tcp –dport 80 -j ACCEPT
-A INPUT -m state –state NEW -m tcp -p tcp –dport 3306 -j ACCEPT
-A INPUT -j REJECT –reject-with icmp-host-prohibited
-A FORWARD -j REJECT –reject-with icmp-host-prohibited
COMMIT
#####################################
/etc/init.d/iptables restart
     #最后重启防火墙使配置生效
使用http://tool.chinaz.com/port/来检测是否开放成功