服务器端
安装 ubuntu 16.04 server
安装 rabbitmq-server
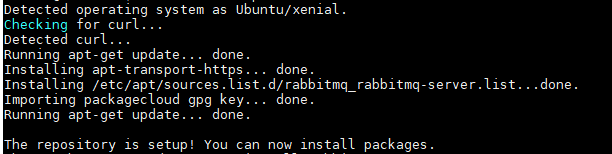
设置 apt 源
curl -s https://packagecloud.io/install/repositories/rabbitmq/rabbitmq-server/script.python.sh | bash
使用 apt-get install rabbitmq-server 安装 rabbitmq 服务器
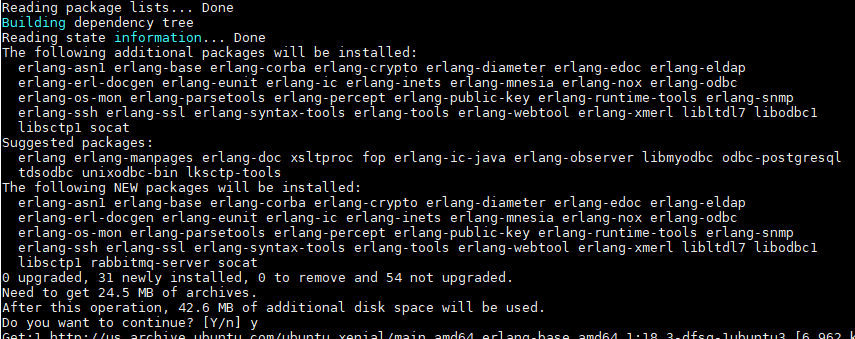
按键Y或者 y 确认安装
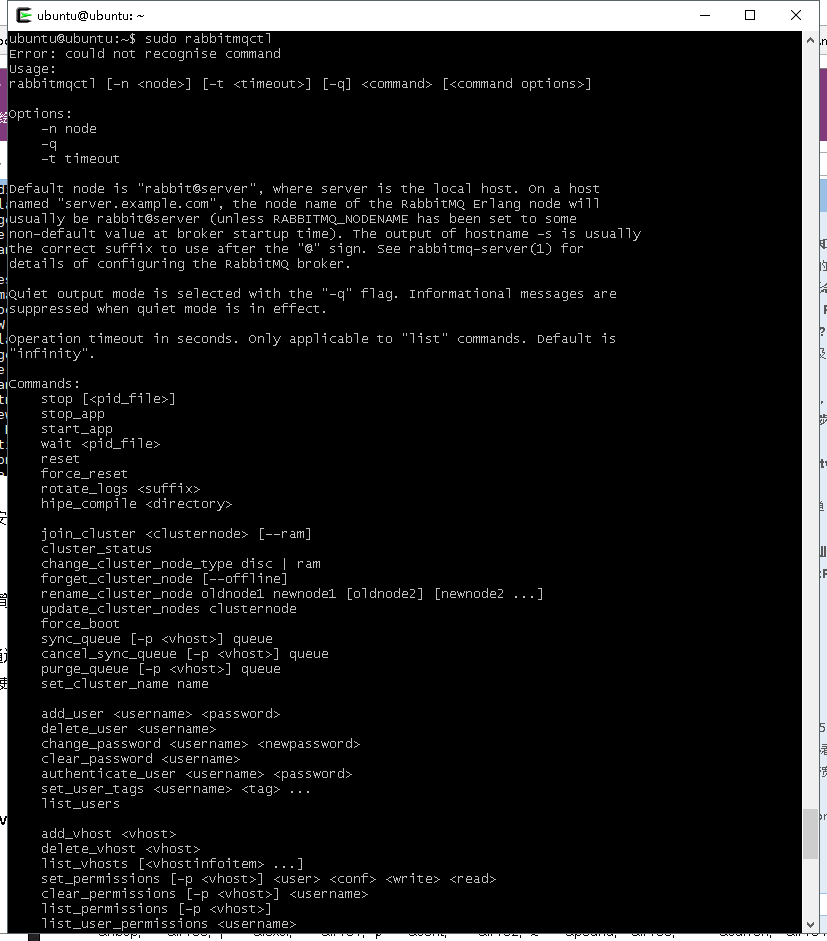
rabbitmq-server 简单管理
rabbitmq-server通过 rabbitmqctl 进行管理,以 管理员身份执行 rabbitmqctl 可以列出全部可以使用的 指令
创建用户
sudo rabbitmqctl add_user user_name password
更改密码
sudo rabbitmqctl change_password user_name new_password
增加虚拟主机
sudo rabbitmqctl add_vhost vhost_name
授予权限
sudo rabbitmqctl set_permissions -p vhost_name user_name ".*" ".*" ".*"
说明:
user_name为 用户名
password 为密码
new_password 为新密码
vhost_name 为 虚拟主机名
".*" ".*" ".*" 为权限,分别代表 configure , read , write
如果出现错误,可以 查看 rabbitmq-server 日志, sudo tail -f /var/log/rabbitmq/rabbit@ubuntu
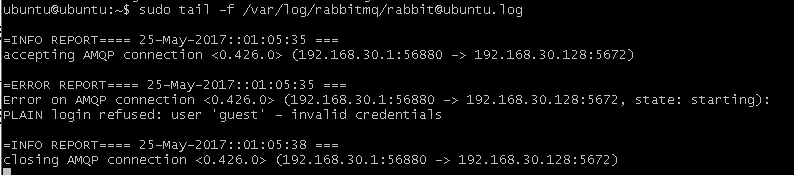
注意:默认用户 guest 不允许远程访问
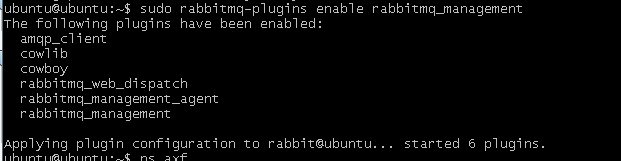
安装管理插件
使用命令 sudo rabbitmq-plugins enable rabbitmq_management
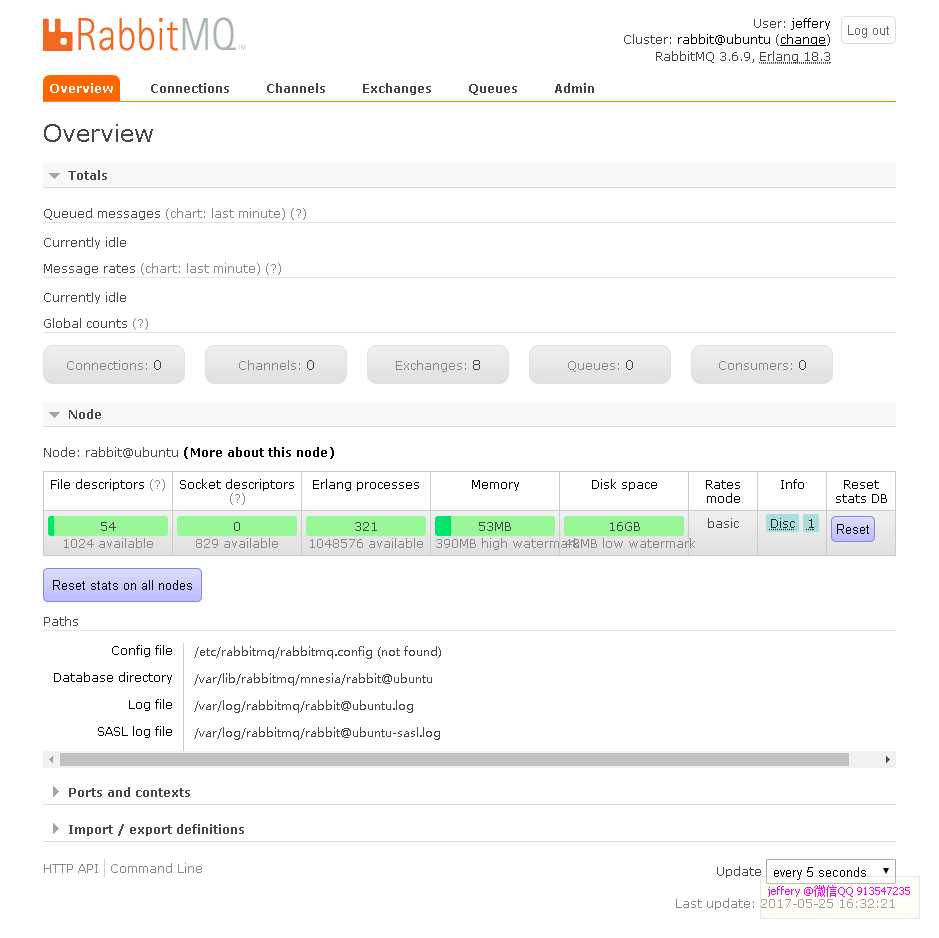
使用 rabbitmq-server 的端口 15672 访问管理系统

登录 管理平台的用户,必须授予 adminstrator 权限, 使用命令 sudo rabbitmqctl set_user_tags user_name administrator, 例如

使用 授权的用户登录
客户端使用
安装 pika
使用命令 pip install pika 安装 pika 库

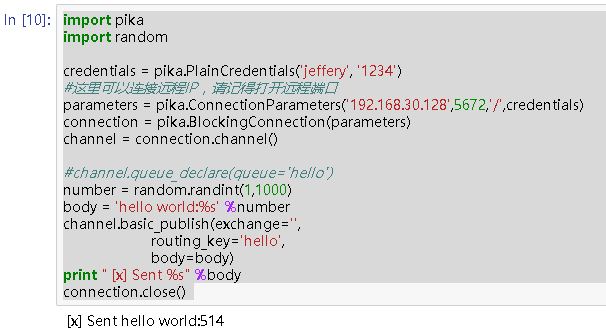
测试 例程
import pika
import random
credentials = pika.PlainCredentials('jeffery', '1234')
#这里可以连接远程IP,请记得打开远程端口
parameters = pika.ConnectionParameters('192.168.30.128',5672,'/',credentials)
connection = pika.BlockingConnection(parameters)
channel = connection.channel()
#channel.queue_declare(queue='hello')
number = random.randint(1,1000)
body = 'hello world:%s' %number
channel.basic_publish(exchange='',
routing_key='hello',
body=body)
print " [x] Sent %s" %body
connection.close()
测试 成功,例如
RPC 模式
客户端发送一个请求消息然后服务器回复一个响应消息。为了收到一个响应,我们需要发送一个'回调'的请求的队列地址。我们可以使用默认队列(在Java客户端除外)。
AMQP协议给消息定义了14个属性。大部分的属性很少使用,除了下面几个:
deliveryMode: 将消息标记为持久(值为2)或瞬态(任何其他值)。你可能记得在第二个教程中使用了这个属性。
contentType:用来设置mime类型。例如经常使用的JSON格式数据,就需要将此属性设置为:application/json。
replyTo: 通常用来命名一个回调队列.
correlationId: 用来关联RPC请求的响应.
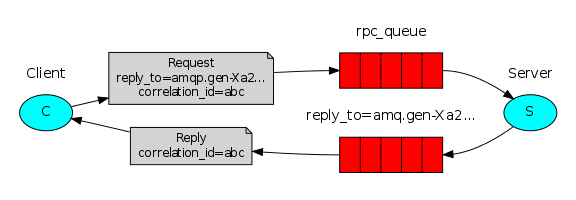
工作流程 :
1)、客户端启动时,创建了一个匿名的回调队列。
2)、在一个RPC请求中,客户端发送一个消息,它有两个属性:1.REPLYTO,用来设置回调队列名;2.correlationId,对于每个请求都被设置成唯一的值。
3)、请求被发送到rpc_queue队列.
4)、RPC工作者(又名:服务器)等待接收该队列的请求。当收到一个请求,它就会处理并把结果发送给客户端,使用的队列是replyTo字段指定的。
5)、客户端等待接收回调队列中的数据。当接到一个消息,它会检查它的correlationId属性。如果它和设置的相匹配,就会把响应返回给应用程序。
例程:
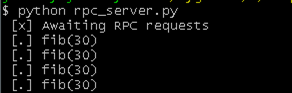
rpc_server.py
#!/usr/bin/env python
import pika
credentials = pika.PlainCredentials('jeffery', '1234')
connection = pika.BlockingConnection(pika.ConnectionParameters('192.168.30.128',5672,'/',credentials))
channel = connection.channel()
channel.queue_declare(queue='rpc_queue')
def fib(n):
if n == 0:
return 0
elif n == 1:
return 1
else:
return fib(n-1) + fib(n-2)
def on_request(ch, method, props, body):
n = int(body)
print(" [.] fib(%s)" % n)
response = fib(n)
ch.basic_publish(exchange='',
routing_key=props.reply_to,
properties=pika.BasicProperties(correlation_id =
props.correlation_id),
body=str(response))
ch.basic_ack(delivery_tag = method.delivery_tag)
channel.basic_qos(prefetch_count=1)
channel.basic_consume(on_request, queue='rpc_queue')
print(" [x] Awaiting RPC requests")
channel.start_consuming()
rpc_client.py
#!/usr/bin/env python
import pika
import uuid
class FibonacciRpcClient(object):
def __init__(self):
credentials = pika.PlainCredentials('jeffery', '1234')
self.connection = pika.BlockingConnection(pika.ConnectionParameters('192.168.30.128',5672,'/',credentials))
self.channel = self.connection.channel()
result = self.channel.queue_declare(exclusive=True)
self.callback_queue = result.method.queue
self.channel.basic_consume(self.on_response, no_ack=True,
queue=self.callback_queue)
def on_response(self, ch, method, props, body):
if self.corr_id == props.correlation_id:
self.response = body
def call(self, n):
self.response = None
self.corr_id = str(uuid.uuid4())
self.channel.basic_publish(exchange='',
routing_key='rpc_queue',
properties=pika.BasicProperties(
reply_to = self.callback_queue,
correlation_id = self.corr_id,
),
body=str(n))
while self.response is None:
self.connection.process_data_events()
return int(self.response)
fibonacci_rpc = FibonacciRpcClient()
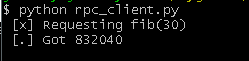
print(" [x] Requesting fib(30)")
response = fibonacci_rpc.call(30)
print(" [.] Got %r" % response)
运行例程的效果
服务端
客户端