一、今天我们所说的是基于SpringMVC的关于文件的上传和下载的问题的解决。(这里所说的上传和下载都是上传到服务器与从服务器上下载文件)。这里的文件包括我们常用的各种文件。如:文本文件(.txt),word文件(.doc),图片文件(.png .jpg等),歌曲文件(.mp3等)以及视频文件(.mp4等)等各种类型的文件。
下面让我们一步一步的来实现它。
二、首先我们需要导入一些jar包。如图所示:
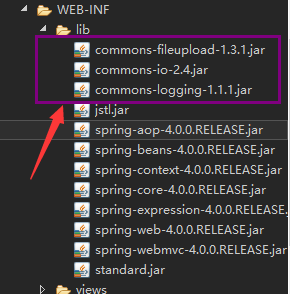
即在WEB-INF下的lib文件夹下导入圈起的三个jar包。
三、我们来建立一个简单名字为upload的jsp页面,并加入一个表单。如下所示:
<%@ page language="java" contentType="text/html; charset=UTF-8"
    pageEncoding="UTF-8"%>
<!DOCTYPE html PUBLIC "-//W3C//DTD HTML 4.01 Transitional//EN" "http://www.w3.org/TR/html4/loose.dtd">
<html>
<head>
<meta http-equiv="Content-Type" content="text/html; charset=UTF-8">
<title>Insert title here</title>
</head>
<body>
<form action="${pageContext.request.contextPath}/upload" method="post" enctype="multipart/form-data">
	文件:<input type="file" name="file"/><br>
	名字:<input type="text" name="name"/><br>
	<input type="submit" value="上传"/>
</form>
</body>
</html>
这里有一个需要我们注意的问题,就是form表单的enctype属性一定要改成multipart/form-data。否则的话,我们无法进行文件的上传。
四、我们需要在控制层写一个方法
@RequestMapping(value="/upload",method=RequestMethod.POST)
	public String testUpload(HttpServletRequest request,@RequestParam(value="name",required=false) String desc,@RequestParam(value="file") CommonsMultipartFile file) throws Exception{
		System.out.println(desc);
		ServletContext servletContext = request.getServletContext();
		String realPath = servletContext.getRealPath("/upload");
		File file1 = new File(realPath);
		if(!file1.exists()){
			file1.mkdir();
		}
		OutputStream out;
		InputStream in;
		String prefix = UUID.randomUUID().toString();
		prefix = prefix.replace("-","");
		String fileName = prefix+"_"+file.getOriginalFilename();
		System.out.println(fileName);
		out = new FileOutputStream(new File(realPath+"\"+fileName));
		in = file.getInputStream();
		IOUtils.copy(in, out);
		out.close();
		in.close();
		return "/WEB-INF/success.jsp";
	}
这里面最 后返回的是WEB-INF下面的一个jsp页面。
五、在SpringMVC的配置文件里加入以下的配置:
<bean id="multipartResolver" class="org.springframework.web.multipart.commons.CommonsMultipartResolver">
    <property name="defaultEncoding" value="utf-8"></property>
    <property name="maxUploadSize" value="5000000"></property>
</bean>
第一个<property></property>是设置编码;第二个<property ></property>是设置上传文件的大小,这里我们指定的大小是5000000个字节。
六、建立一个名字为success的jsp页面。(随便写点东西就行)
七、我们从upload页面开始运行,然后选择文件,就会将你的文件上传到你本机的服务器上。如图所示:
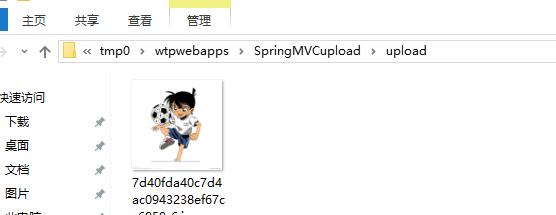
我们在相应的文件夹下就能够找到你所上传的文件。