- 环境:
192.168.117.132——zabbix server
192.168.117.133——zabbix proxy - 安装路径为/zabbix
- 安装nginx
1.安装包下载
http://nginx.org/en/download.html
此次使用稳定版1.18.0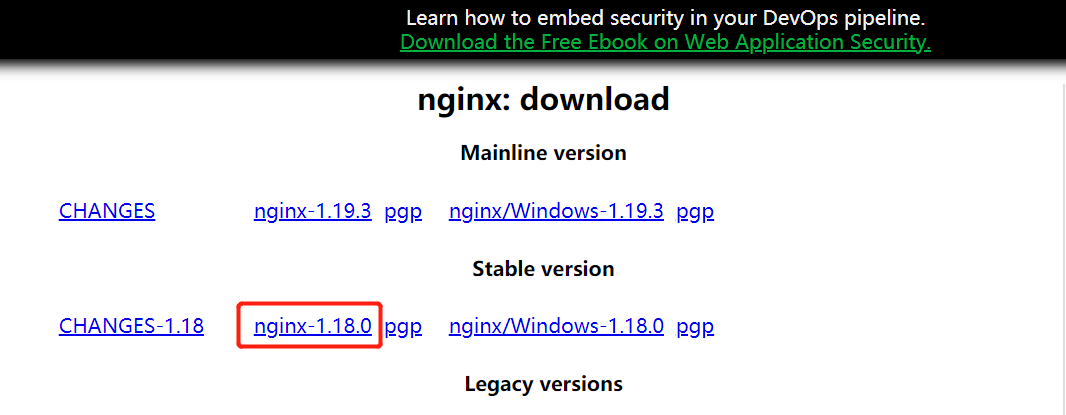
2.安装依赖
yum install -y gcc gcc-c++ automake zlib zlib-devel openssl-devel pcre pcre-devel
3.添加用户
useradd -m nginx
4.创建目录
mkdir -p /zabbix/nginx
5.编译安装
tar -xf nginx-1.18.0.tar.gz
cd nginx-1.18.0

./configure --prefix=/zabbix/nginx --user=nginx --group=nginx --with-stream --with-stream_ssl_module --with-threads --with-http_ssl_module --with-http_v2_module --with-http_realip_module --with-http_gzip_static_module --with-http_stub_status_module

make -j4 && make install
6.修改配置
创建2个目录

#nginx包含的配置文件目录
mkdir /zabbix/nginx/conf/conf.d


#创建zabbix前端代码目录
mkdir /zabbix/nginx/html/zabbix
#创建nginx主配置文件
cat > /zabbix/nginx/conf/nginx.conf << EOF
user nginx;
worker_processes auto;

events {
    use epoll;
    worker_connections  65535;
    multi_accept        on;
}

http {
    include       mime.types;
    default_type  application/octet-stream;
    #charset  utf-8;
    server_names_hash_bucket_size 128;
    large_client_header_buffers 4 64k;
    client_header_buffer_size 32k;
    log_format  main  '$remote_addr - $remote_user [$time_local] "$request" '
                      '$status $body_bytes_sent "$http_referer" '
                      '"$http_user_agent" "$http_x_forwarded_for" '
                       '$upstream_addr $upstream_response_time $request_time';
    sendfile       on;
    tcp_nopush     on;
    client_max_body_size 1024m;
    tcp_nodelay    on;
    keepalive_timeout  100;
    gzip  on;
    gzip_min_length  1k;
    gzip_buffers     4 8k;
    gzip_http_version 1.1;
    gzip_types       text/* text/css application/javascript application/x-javascript;
    server_tokens off;
    include /zabbix/nginx/conf/conf.d/*.conf;

}
EOF
#创建zabbix页面的nginx配置文件

cat > /zabbix/nginx/conf/conf.d/zabbix.web.conf << EOF
server {
    listen       80;
    server_name  localhost;
    access_log   /zabbix/nginx/logs/zabbix_access.log  main;
    error_log    /zabbix/nginx/logs/zabbix_error.log   error;
    location / {
        root   /zabbix/nginx/html/zabbix;
        index  index.php index.html index.htm ;
    }
    location ~ .php$ {
        fastcgi_pass   127.0.0.1:9000;
        fastcgi_param  SCRIPT_FILENAME /zabbix/nginx/html/zabbix$fastcgi_script_name;
        fastcgi_index  index.php;
        include        fastcgi_params;
    }
}
EOF
#添加systemctl
cat > /usr/lib/systemd/system/nginx.service << EOF
[Unit]
Description=The nginx HTTP and reverse proxy server
After=network.target remote-fs.target nss-lookup.target

[Service]
Type=forking
PIDFile=/zabbix/nginx/logs/nginx.pid
ExecStartPre=/usr/bin/rm -f /zabbix/nginx/logs/nginx.pid
ExecStartPre=/usr/sbin/nginx -t
ExecStart=/usr/sbin/nginx
ExecReload=/bin/kill -s HUP $MAINPID
KillSignal=SIGQUIT
TimeoutStopSec=5
KillMode=process
PrivateTmp=true

[Install]
WantedBy=multi-user.target
EOF

#拷贝二进制程序
cp /zabbix/nginx/sbin/nginx /usr/sbin/nginx
7.启动
systemctl start nginx

#添加开机启动
systemctl enable nginx
8.访问
#创建一个页面
cat > /zabbix/nginx/html/zabbix/index.html << EOF
this is a test
EOF
#浏览器输入ip地址访问下是否成功

至此nginx安装完成