I have learnt some experience about Big Data during my summer vocation,I was told that The first thing to start Big Data is to install a Linux system on my laptop,that is what I'm going to discuss about.The system which I have used was CentOs 6.5,besides,the jdk I used in this system was jdk1.8.1_171,which can be found in http://www.oracle.com(the official site of Oracle).The virtual machine I have used was VM Workstation 10(I will called it by VM in my following artical).The material which was used is CentOS 6.5.iso,jsutust like the following image:

So,let's start it.
The first thing to do is open the VM and click the button "create a new virtual machine" to creat it(which is called "创建新的虚拟机" by chinese , I used the version which is translated into chinese),then a optional view will bes shown just like this:
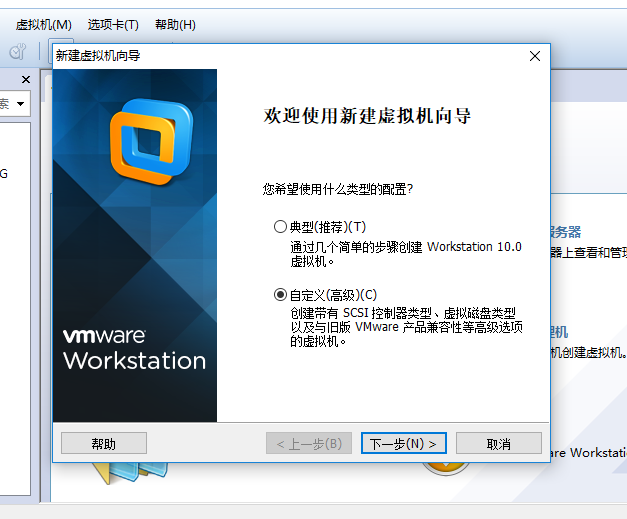
we choose customize(which is called "自定义" by chinese) to begin and Click next.We can continue clicking until this view is shown:
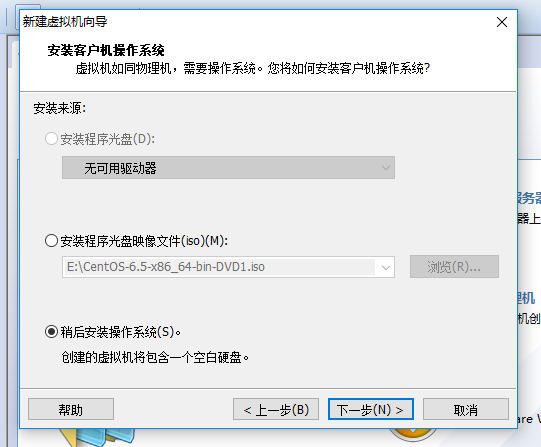
We'd better not to instal the iso file at this time,because if we install it know ,we will come to a view which means to have a quick installation,which will install some drivers we do not need.So we choose I'll install the operation system later.
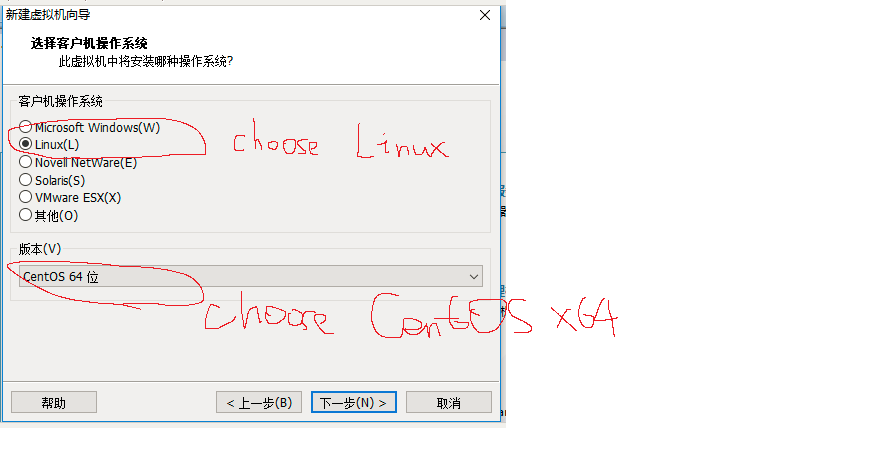
Next we will choose some settings related to our virtual machine,I'll show you on the picture.The positions which need to change I will marked with red pencil
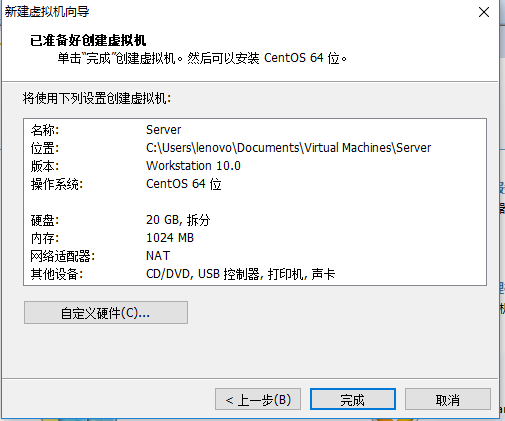
We will click "next" untill this picture(Remeber:The storage you give to the machine can be 512 MB or 1024 MB ,The later will be fatser but occupied more storage on you laptop.And the network model must be NAT!)
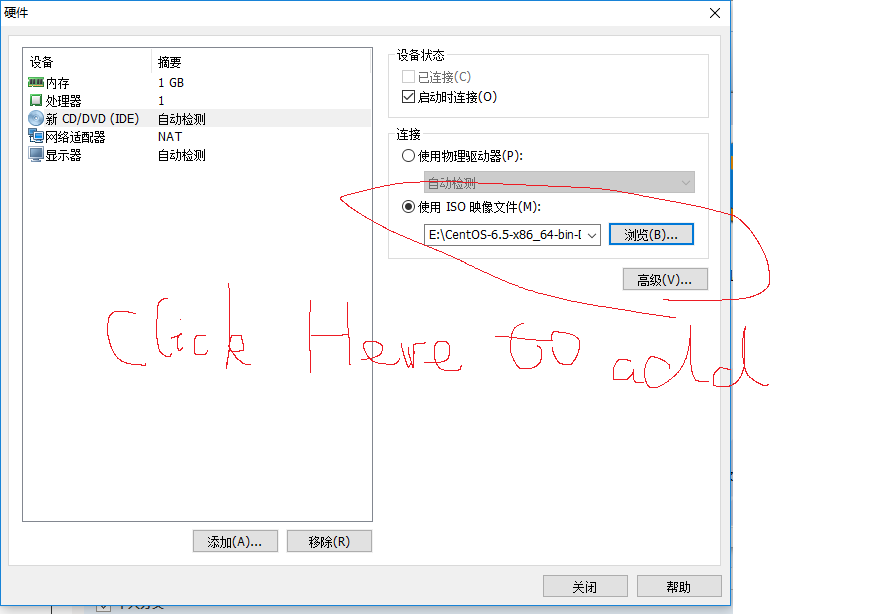
On this step we'll choose customize hardware and delete the drivers we needn't.

As you can see,the printer,audio driver and the controller of USB are what we need not,so we remove them.And at this time,you can click CD/DVD to add the iso file to initialize our virtual machine.
And then click close and finish,the virtual machine will be generated automatically.We open the virtual machine to set some properties of this new baby.
Choose install it and a view will be shown,we choose to skip it because we don't have media .We can click "OK" until we choose the language we use,we choose English as the language of course,and we choose to disgard the data and install it basically.The it will show us with a table to change our hostname,we'd better not to change the name because there are some settings later will use the name "localhost".
Then we choose to set the time and then set root password-which will be used everytime we enter the system.
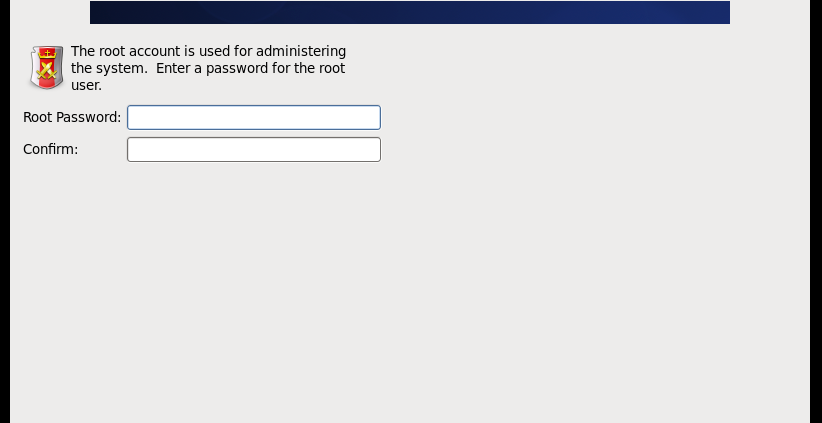
After set the password,we just need to click "next" to install.
After the installation is finished,we click reboot to restart the system.This is the end of Installation.