我好像特别喜欢做聊天室类的东东,刚折腾完微软的SignalR又折腾App。本来想研究研究XMPP的,由于服务器的搭建问题,先采用一个第三方的吧,看看效果如何。听到弟弟说他们公司用到了融云,我也下载个SDK玩玩。融云的Demo和文档已经非常详细了,我就不搬过来了。 融云官方文档地址:http://www.rongcloud.cn/docs/
第一步:首先把SDK导入到自己的项目中。还有其他依赖的framework都要加上。
第二步:我这里没有自己写UI,所以,直接用 <RongIMKit/RongIMKit.h> 融云 UI库。
第三步:在AppDelegate中初始化连接云服务器操作
#import <RongIMKit/RongIMKit.h>
#import <RongIMLib/RongIMLib.h>

/*遵守融云链接状态监听代理*/
@interface AppDelegate : UIResponder <UIApplicationDelegate,RCIMConnectionStatusDelegate>

@property (strong, nonatomic) UIWindow *window;


@end
- (BOOL)application:(UIApplication *)application didFinishLaunchingWithOptions:(NSDictionary *)launchOptions {
   /*即时通讯部分开始*/
    [[RCIM sharedRCIM] initWithAppKey:kMSChatAppKey];//AppKey
    [[MSUserTool sharedMSUserTool] resetLoginIMServer];
    //推送处理1
    if([application respondsToSelector:@selector(registerUserNotificationSettings:)]){
        UIUserNotificationSettings *settings = [UIUserNotificationSettings settingsForTypes:(UIUserNotificationTypeBadge | UIUserNotificationTypeAlert | UIUserNotificationTypeSound) categories:nil];
        [application registerUserNotificationSettings:settings];
    }
    else{
        UIRemoteNotificationType myTypes = UIRemoteNotificationTypeBadge |
        UIRemoteNotificationTypeAlert |
        UIRemoteNotificationTypeSound;
        [application registerForRemoteNotificationTypes:myTypes];
    }

    [[NSNotificationCenter defaultCenter] addObserver:self selector:@selector(didReceiveMessageNotification:) name:RCKitDispatchMessageNotification object:nil];
    [[RCIM sharedRCIM] setConnectionStatusDelegate:self];
   /*即时通讯部分结束*/
然后在.m文件中添加如下代码:
 -(void)application:(UIApplication *)application didRegisterForRemoteNotificationsWithDeviceToken:(NSData *)deviceToken
{
    NSString *token = [[[deviceToken description] stringByReplacingOccurrencesOfString:@"<" withString:@""] stringByReplacingOccurrencesOfString:@">" withString:@""];
    [[RCIMClient sharedRCIMClient] setDeviceToken:token];
}

-(void)onRCIMConnectionStatusChanged:(RCConnectionStatus)status
{
    //账号被别人顶下来了
    if (status == ConnectionStatus_KICKED_OFFLINE_BY_OTHER_CLIENT) {
        NSLog(@"您的账号被别人顶下来了。。。");

    }
}

- (void)didReceiveMessageNotification:(NSNotification *)notification {
    [UIApplication sharedApplication].applicationIconBadgeNumber =
    [UIApplication sharedApplication].applicationIconBadgeNumber + 1;
}
至此,AppDelegate代码部分结束了。主要是做一些RCIM的初始化操作。
第四步:搭建UI。我这里模拟了三个用户。用户ID分别为 1, 2 ,3.我在API调试中获取了token,直接写死了。后续我会发出如何调用ServerAPI获取token的方法,涉及到请求头设置和签名的生成方法。
新建一个Controller。这个Controller主要就是相当于好友列表。这个需要自己搭建UI。这里面要实现的功能就是点击里面的好友进入到聊天页面。还有点击最近联系跳转到最近的联系人页面。当然,如果想要聊天,需要用当前用户的token连接服务器,调用SDK的方法即可:
#import <UIKit/UIKit.h>
#import <RongIMKit/RongIMKit.h>
@interface MSChatController : UITableViewController<RCIMUserInfoDataSource>

@end
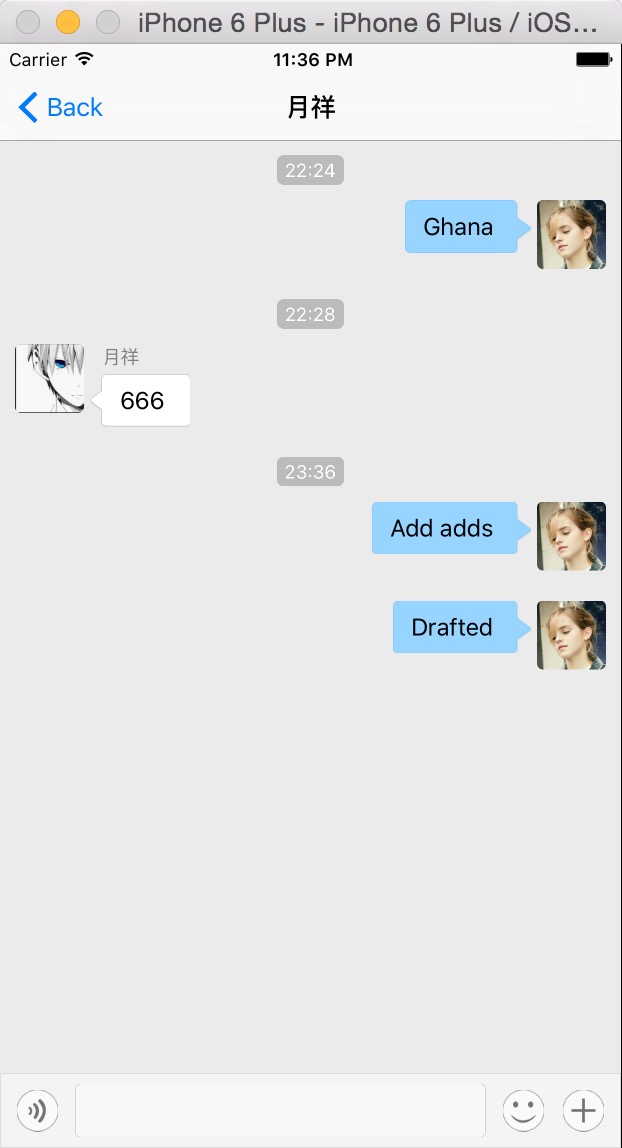
-(void)redirectToRecentController
{
    BOOL hasLogin = [[MSUserTool sharedMSUserTool] isLoginIMServer];
    //已经登录过了
    if (hasLogin) {
        NSLog(@"已经登陆过聊天服务器了...");
        [self toChatList];
        return;
    }
    //登录云
    NSString *token = [MSUserTool sharedMSUserTool].currentUser.userToken;
    [[RCIM sharedRCIM] connectWithToken:token
                                success:^(NSString *userId) {
                                    //记录登录状态
                                    [[MSUserTool sharedMSUserTool] loginIMServer];

                                    [[RCIM sharedRCIM] setUserInfoDataSource:self];
                                    dispatch_async(dispatch_get_main_queue(), ^{
                                        [self toChatList];
                                    });
                                } error:^(RCConnectErrorCode status) {

                                } tokenIncorrect:^{

                                }];
}

//跳转到聊天页面
-(void)toChatDetail:(MSCurrentUser *)user
{
    RCConversationViewController *conversationVC = [[RCConversationViewController alloc]init];
    conversationVC.conversationType = ConversationType_PRIVATE;//私人聊天类型
    conversationVC.targetId = [NSString stringWithFormat:@"%ld", user.userId ]; //对方ID
    conversationVC.title = user.userName;//对方昵称
    conversationVC.hidesBottomBarWhenPushed = YES;
    [self.navigationController pushViewController:conversationVC animated:YES];
}

//跳转到最近聊天记录页面
-(void)toChatList
{
    MSChatListViewController *chatListViewController = [[MSChatListViewController alloc]init];
    chatListViewController.hidesBottomBarWhenPushed = YES;
    [self.navigationController pushViewController:chatListViewController animated:YES];
}

//根据userId获取用户信息,实现此代理方法

- (void)getUserInfoWithUserId:(NSString *)userId completion:(void(^)(RCUserInfo* userInfo))completion
{
    RCUserInfo *user = [[RCUserInfo alloc] init];
    //获取当前用户信息,传递给RCUserInfo
    MSCurrentUser *loginUser = [[MSCurrentUser alloc] initWithUserId:[userId integerValue]];
    user.userId = [NSString stringWithFormat:@"%ld",loginUser.userId];
    user.name = loginUser.userName;
    user.portraitUri = loginUser.userPhoto;
    return completion(user);
}
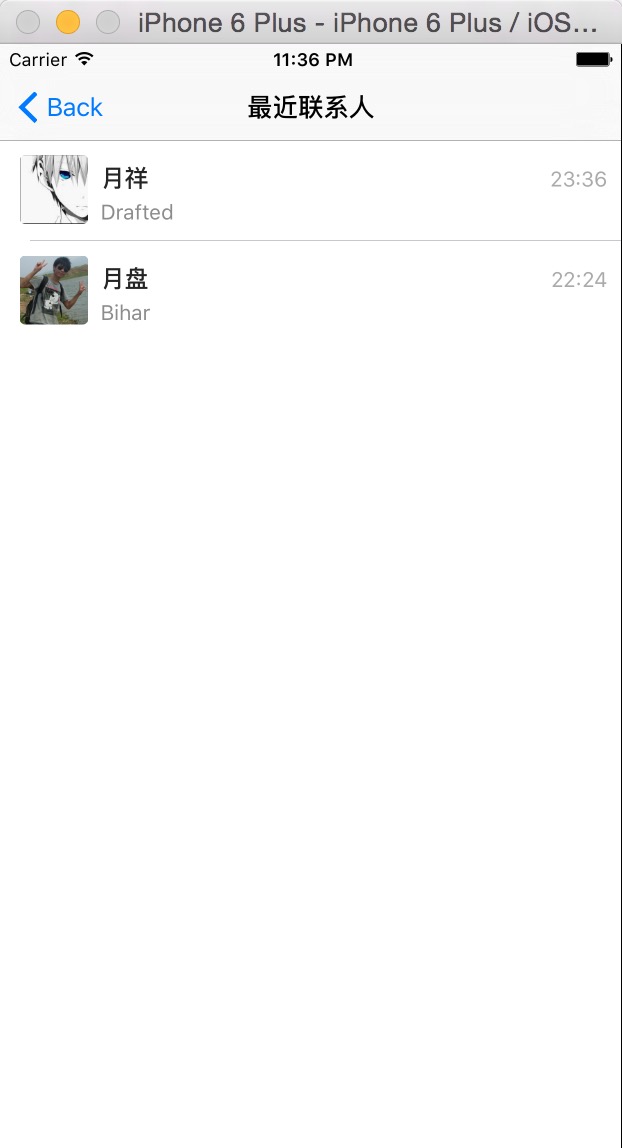
然后添加最主要也是比较简单的一个Controller,因为是继承自SDK的Controller所以,界面不用重新搭建。RCConversationListViewController (最近联系人ontroller) 。RCConversationViewController(聊天详情Controller)
然后,运行一下就可以啦,写的不够详细,其实感觉如果实现一个简单的SDK对接,很容易。他们给封装的太好了。只要掌握里面其中几个方法,就可以实现一个简单的聊天室。1V1或者群组聊天等。当然,真正的项目开发怎么可能这么容易。以此总结融云SDK的对接。
附: