按照官网上的新建一个maven项目,然后将类引入pom.xml文件中
<?xml version="1.0" encoding="UTF-8"?>
<project xmlns="http://maven.apache.org/POM/4.0.0"
         xmlns:xsi="http://www.w3.org/2001/XMLSchema-instance"
         xsi:schemaLocation="http://maven.apache.org/POM/4.0.0 http://maven.apache.org/xsd/maven-4.0.0.xsd">
    <parent>
        <artifactId>JavaInterfaceTest</artifactId>
        <groupId>com.peixm.code</groupId>
        <version>1.0-SNAPSHOT</version>
    </parent>
    <modelVersion>4.0.0</modelVersion>

    <artifactId>Chapter10</artifactId>

   <parent>
        <groupId>org.springframework.boot</groupId>
        <artifactId>spring-boot-starter-parent</artifactId>
        <version>2.0.0.RELEASE</version>
    </parent>


    <dependencies>
        <dependency>
            <groupId>org.springframework.boot</groupId>
            <artifactId>spring-boot-starter-web</artifactId>
        </dependency>
    </dependencies>

</project>
如果是一个pom.xml文件,直接把标红色的删掉,如果有多个pom.xml文件的话,那么就将蓝色部分放在最外面的pom.xml文件中,成为爷爷辈,比如我下面的
<?xml version="1.0" encoding="UTF-8"?>
<project xmlns="http://maven.apache.org/POM/4.0.0"
         xmlns:xsi="http://www.w3.org/2001/XMLSchema-instance"
         xsi:schemaLocation="http://maven.apache.org/POM/4.0.0 http://maven.apache.org/xsd/maven-4.0.0.xsd">
    <modelVersion>4.0.0</modelVersion>

    <parent>
        <groupId>org.springframework.boot</groupId>
        <artifactId>spring-boot-starter-parent</artifactId>
        <version>2.0.0.RELEASE</version>
    </parent>
    <groupId>com.peixm.code</groupId>
    <artifactId>JavaInterfaceTest</artifactId>
    <packaging>pom</packaging>
    <version>1.0-SNAPSHOT</version>
    <modules>
        <module>Chapter5</module>
        <module>Chapter6</module>
        <module>Chapter9</module>
        <module>Chapter10</module>
    </modules>


    <dependencies>

        <!-- https://mvnrepository.com/artifact/org.testng/testng -->
        <dependency>
            <groupId>org.testng</groupId>
            <artifactId>testng</artifactId>
            <version>6.14.3</version>
        </dependency>


    </dependencies>

</project>
根据官网,新建一个hello包,然后在里面新建一个SampleController.java
package hello;

import org.springframework.boot.*;
import org.springframework.boot.autoconfigure.*;
import org.springframework.web.bind.annotation.*;

@RestController
@EnableAutoConfiguration
public class SampleController {

    @RequestMapping("/")
    @ResponseBody
    String home() {
        return "Hello World!";
    }

    public static void main(String[] args) throws Exception {
        SpringApplication.run(SampleController.class, args);  //固定写法,程序的入口。
    }
}
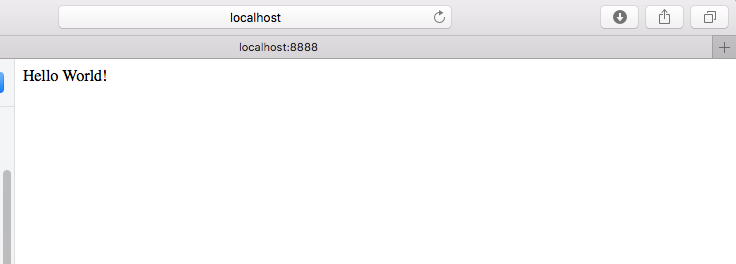
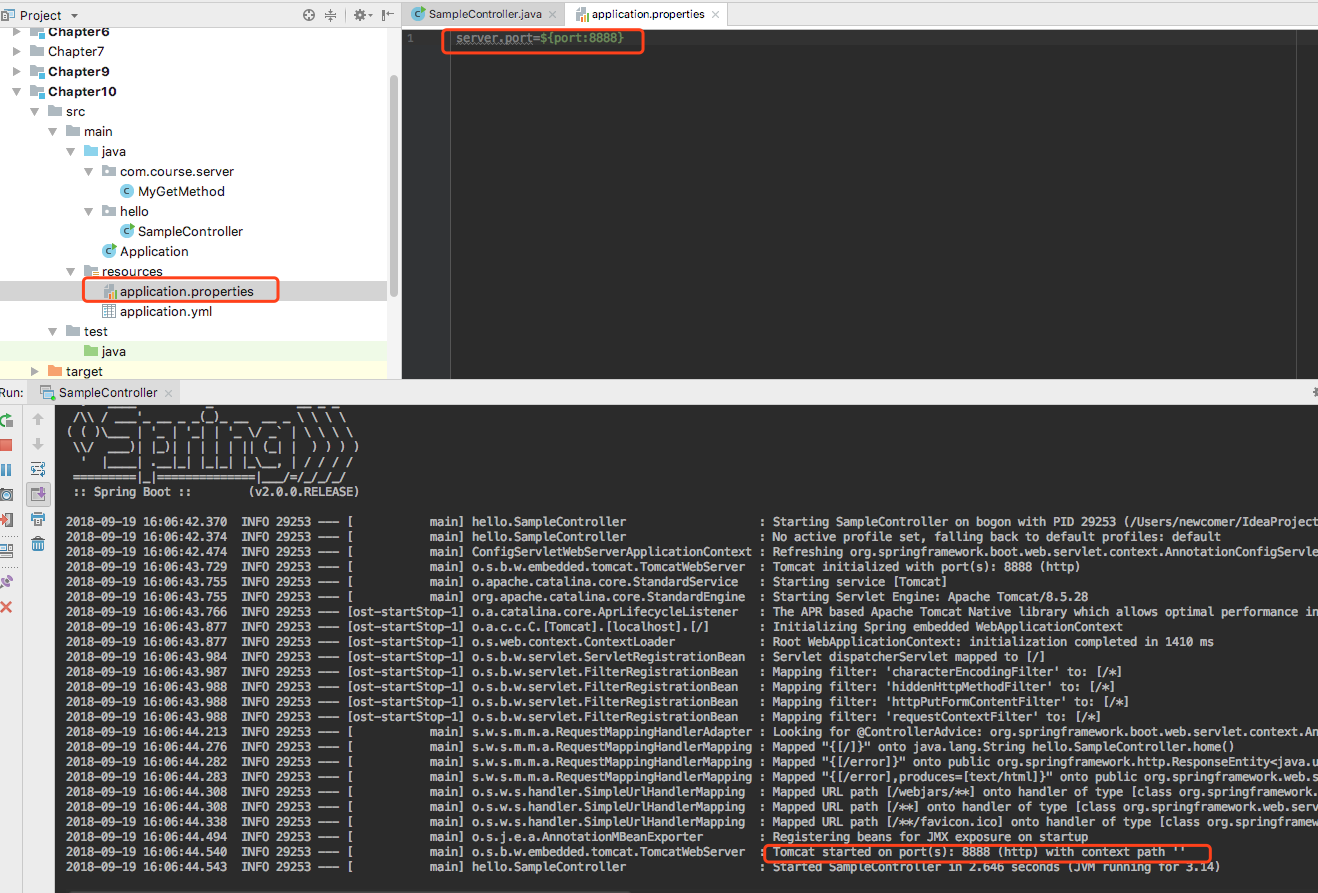
直接运行这个入口,那么会启动服务,他的默认端就是8080,那么我们可以在resourses下新建一个application.properties文件,把他的端口设置为8888。以下是运行的结果,证明启动了。
然后在浏览器中输入:localhost:8888 会返回一个响应的信息内容