在一些开发中可能会涉及到某些页面需要进行国际化显示的业务,此时通过SpringBoot可以很好的实现。
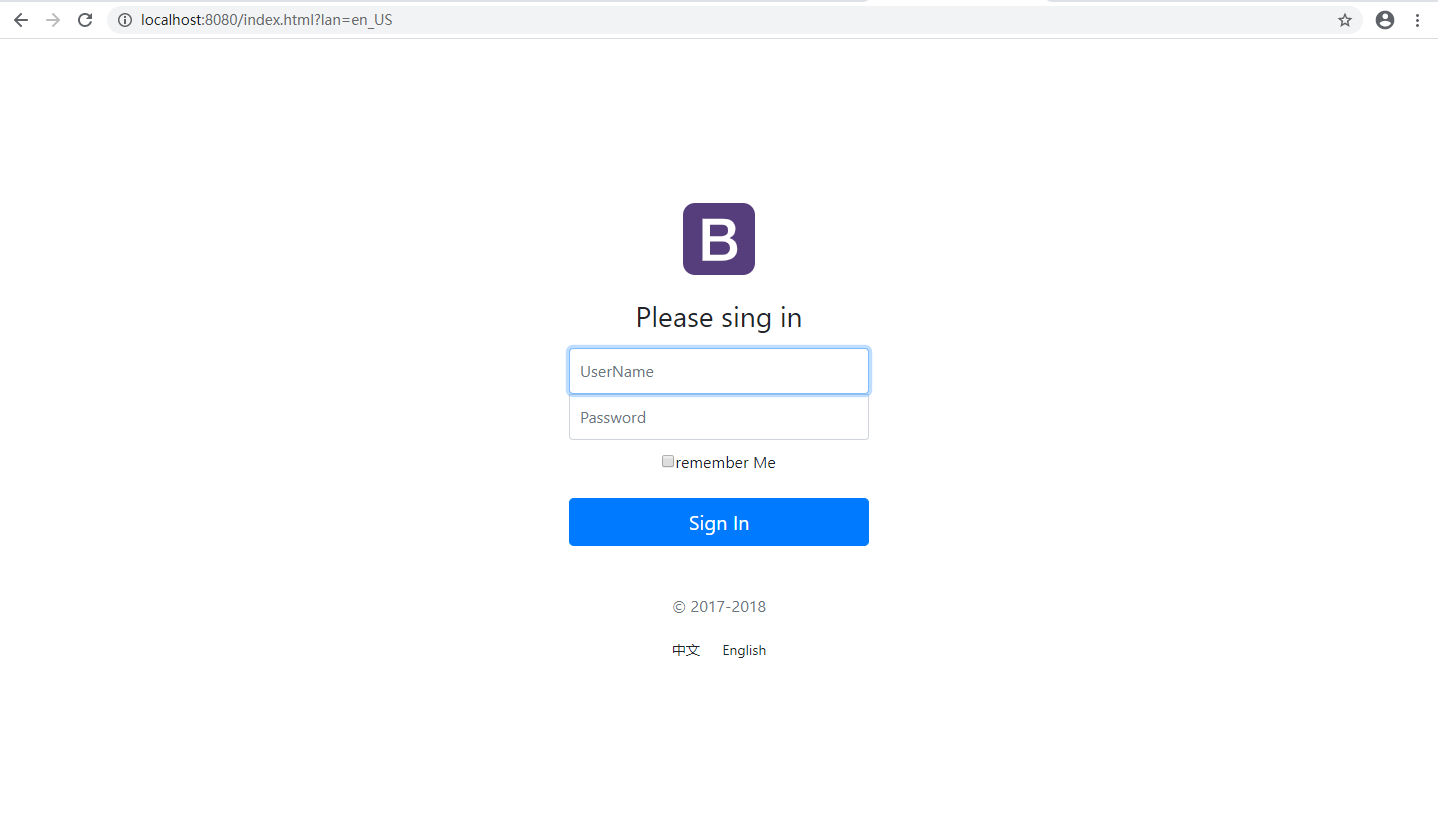
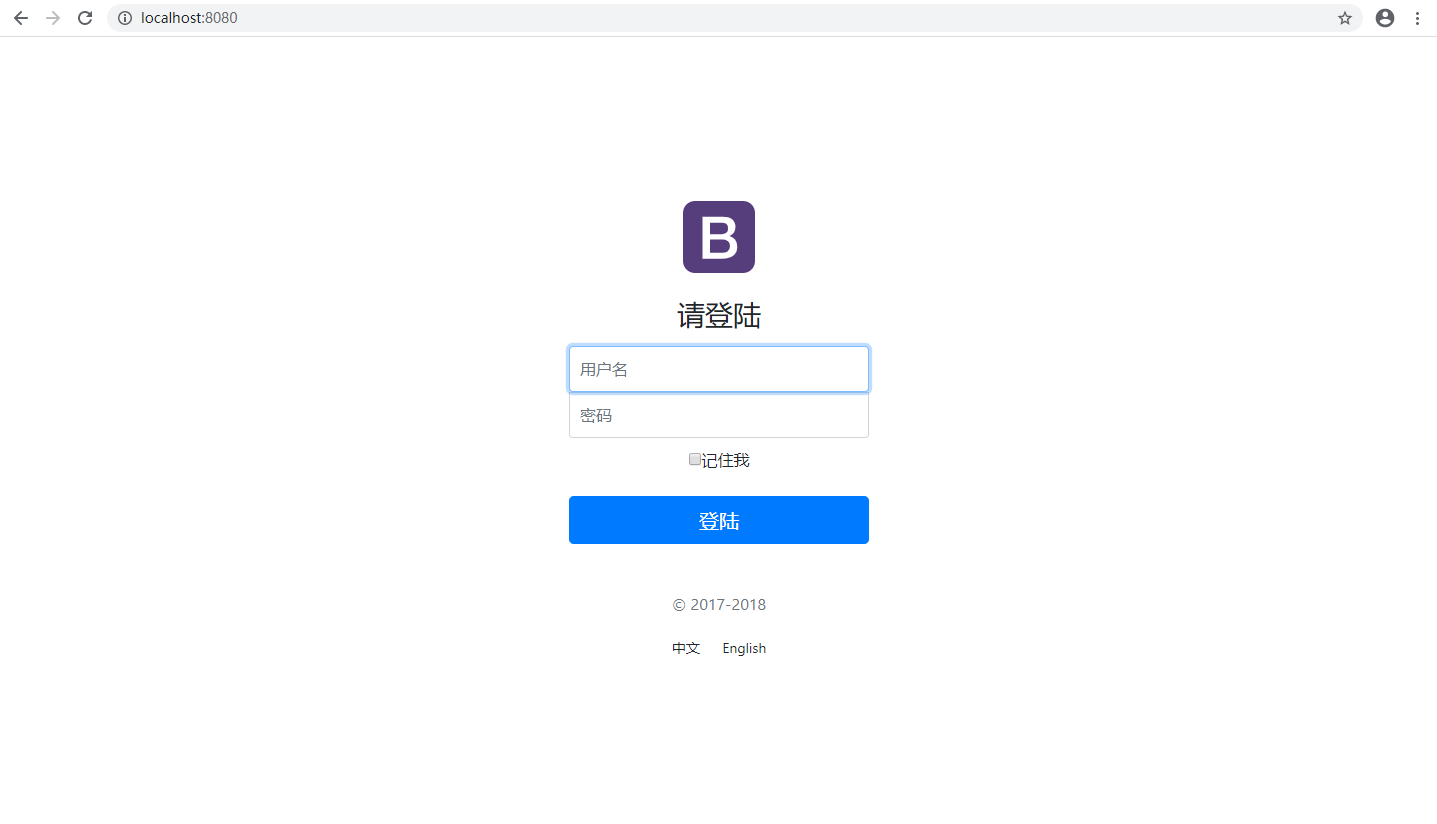
参考页面如下:
页面国际化可分为两种形态:
1.根据浏览器语言进行设置。
2.根据用户选择进行设置。
虽然两种形态,但是同样的实现方法。
开发环境:
IDEA:2019.3.1
SpringBoot:2.2.5
步骤一:引入相应的静态资源及thymeleaf模板引擎。
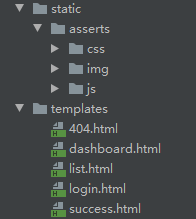
为了演示方便,我将静态资源全部引入项目,并且引入了模板引擎thymeleaf,pom文件如下:


 1 <?xml version="1.0" encoding="UTF-8"?>
 2 <project xmlns="http://maven.apache.org/POM/4.0.0" xmlns:xsi="http://www.w3.org/2001/XMLSchema-instance"
 3          xsi:schemaLocation="http://maven.apache.org/POM/4.0.0 https://maven.apache.org/xsd/maven-4.0.0.xsd">
 4     <modelVersion>4.0.0</modelVersion>
 5     <parent>
 6         <groupId>org.springframework.boot</groupId>
 7         <artifactId>spring-boot-starter-parent</artifactId>
 8         <version>2.2.5.RELEASE</version>
 9         <relativePath/> <!-- lookup parent from repository -->
10     </parent>
11     <groupId>com.seegot</groupId>
12     <artifactId>spring-boot-web-restful-01</artifactId>
13     <version>0.0.1-SNAPSHOT</version>
14     <name>spring-boot-web-restful-01</name>
15     <description>Demo project for Spring Boot</description>
16
17     <properties>
18         <java.version>1.8</java.version>
19         <thymeleaf.version>3.0.11.RELEASE</thymeleaf.version>
20         <!-- 布局功能的支持程序 thymeleaf3主程序  layout2以上版本-->
21         <!--thymeleaf2 layout1-->
22         <thymeleaf-layout-dialect.version>2.1.1</thymeleaf-layout-dialect.version>
23     </properties>
24
25     <dependencies>
26         <dependency>
27             <groupId>org.springframework.boot</groupId>
28             <artifactId>spring-boot-starter-web</artifactId>
29         </dependency>
30         <!--引入jquery-->
31         <dependency>
32             <groupId>org.webjars</groupId>
33             <artifactId>jquery</artifactId>
34             <version>3.4.1</version>
35         </dependency>
36         <!--引入bootstrap-->
37         <dependency>
38             <groupId>org.webjars</groupId>
39             <artifactId>bootstrap</artifactId>
40             <version>4.4.1-1</version>
41         </dependency>
42         <dependency>
43             <groupId>org.webjars</groupId>
44             <artifactId>chartjs</artifactId>
45             <version>26962ce-1</version>
46         </dependency>
47         <dependency>
48             <groupId>org.webjars</groupId>
49             <artifactId>popper.js</artifactId>
50             <version>2.0.2</version>
51         </dependency>
52         <dependency>
53             <groupId>org.projectlombok</groupId>
54             <artifactId>lombok</artifactId>
55         </dependency>
56         <dependency>
57             <groupId>org.springframework.boot</groupId>
58             <artifactId>spring-boot-starter-thymeleaf</artifactId>
59         </dependency>
60         <dependency>
61             <groupId>org.springframework.boot</groupId>
62             <artifactId>spring-boot-starter-test</artifactId>
63             <scope>test</scope>
64             <exclusions>
65                 <exclusion>
66                     <groupId>org.junit.vintage</groupId>
67                     <artifactId>junit-vintage-engine</artifactId>
68                 </exclusion>
69             </exclusions>
70         </dependency>
71     </dependencies>
72
73     <build>
74         <plugins>
75             <plugin>
76                 <groupId>org.springframework.boot</groupId>
77                 <artifactId>spring-boot-maven-plugin</artifactId>
78             </plugin>
79         </plugins>
80     </build>
81
82 </project>
静态文件目录
步骤二:编写国际化配置文件,抽取页面需要的国际化消息
从页面中我们可以看出需要进行国际化的字眼为:请登录、用户名、密码、记住我、登录。抽取完毕后去项目中进行设置。
在resources文件夹下创建i18n文件用来存放抽取出来的国际化模版配置。右键i18n文件夹选择New 创建Resource Bundle,根据提示填写及新增相关信息。
resouce bundle base name 是配置文件生成后的开头名称,locales toadd是要添加的模板语言。点击“➕”号创建相应信息,我的之前创建过,所以左侧会有相应提示。
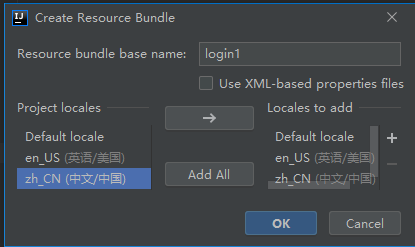
添加完成后点击OK
系统自动生成国际配置

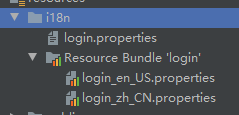
双击打开Resource Budle 'login'下的任意一个配置文件,选择Resource Bundle模式,进入之后点击“➕”号新增配置项,将抽取出来的相关信息按照中英文进行新增。

第三步:创建我们的视图解析器,我在component下创建了一个MyLocaleResolver类
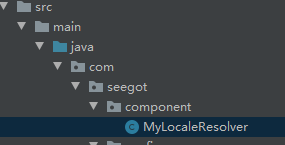
 1 package com.seegot.component;
 2
 3 import org.springframework.web.servlet.LocaleResolver;
 4 import org.thymeleaf.util.StringUtils;
 5
 6 import javax.servlet.http.HttpServletRequest;
 7 import javax.servlet.http.HttpServletResponse;
 8 import java.util.Locale;
 9
10 /**
11  * @program: spring-boot-web-restful-01
12  * @description:
13  * @author: PP Zhang
14  * @create: 2020-03-26 14:34
15  */
16
17 public class MyLocaleResolver implements LocaleResolver {
18     @Override
19     public Locale resolveLocale(HttpServletRequest httpServletRequest) {
20         String language = httpServletRequest.getParameter("lan");
21         Locale locale = Locale.getDefault();
22         if (!StringUtils.isEmpty(language)){
23             String[] split = language.split("_");
24             locale = new Locale(split[0],split[1]);
25         }
26         return locale;
27     }
28
29     @Override
30     public void setLocale(HttpServletRequest httpServletRequest, HttpServletResponse httpServletResponse, Locale locale) {
31
32     }
33 }
第四步:创建我们的拦截器,目的是为了拦截前端的请求,将我们配置好的国际化配置展示给前端。
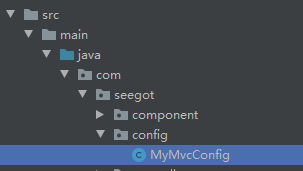
 1 package com.seegot.config;
 2
 3 import com.seegot.component.MyLocaleResolver;
 4 import org.springframework.context.annotation.Bean;
 5 import org.springframework.context.annotation.Configuration;
 6 import org.springframework.web.servlet.LocaleResolver;
 7 import org.springframework.web.servlet.config.annotation.ViewControllerRegistry;
 8 import org.springframework.web.servlet.config.annotation.WebMvcConfigurer;
 9
10 // 使用WebMvcConfigurer可以扩展springMVC功能
11 // ctrl + o 打开重写列表
12 // springboot2.x之前 需要继承 WebMvcConfigurerAdapter来重写相关方法。
13 // springboot2.x之后,需要实现WebMvcConfigurer接口来重写相关方法。
14 @Configuration
15 public class MyMvcConfig implements WebMvcConfigurer {
16
17     @Override
18     public void addViewControllers(ViewControllerRegistry registry) {
19         registry.addViewController("/seegot").setViewName("success");
20     }
21     @Bean
22     public  WebMvcConfigurer webMvcConfigurer(){
23         WebMvcConfigurer configurer = new WebMvcConfigurer() {
24             @Override
25             public void addViewControllers(ViewControllerRegistry registry) {
26                 registry.addViewController("/").setViewName("login");
27                 registry.addViewController("/index").setViewName("login");
28                 registry.addViewController("/index.html").setViewName("login");
29             }
30         };
31         return configurer;
32     }
33     @Bean
34     public LocaleResolver localeResolver(){
35         return  new MyLocaleResolver();
36     }
37 }
我们利用自己创建的MyMvcConfig中的localeResolver()方法拦截并返回了我们自己的视图解析器。
第五步:静态页面配置
 1 <!DOCTYPE html>
 2 <html lang="en" xmlns:th="http://www.thymeleaf.org">
 3     <head>
 4         <meta http-equiv="Content-Type" content="text/html; charset=UTF-8">
 5         <meta name="viewport" content="width=device-width, initial-scale=1, shrink-to-fit=no">
 6         <meta name="description" content="">
 7         <meta name="author" content="">
 8         <title>Signin Template for Bootstrap</title>
 9         <!-- Bootstrap core CSS -->
10         <link href="asserts/css/bootstrap.min.css" th:href="@{/webjars/bootstrap/4.4.1-1/css/bootstrap.css}" rel="stylesheet">
11         <!-- Custom styles for this template -->
12         <link href="asserts/css/signin.css" th:href="@{/asserts/css/signin.css}" rel="stylesheet">
13     </head>
14
15     <body class="text-center">
16         <form class="form-signin" action="dashboard.html">
17             <img class="mb-4" src="asserts/img/bootstrap-solid.svg" th:src="@{/asserts/img/bootstrap-solid.svg}"  alt="" width="72" height="72">
18             <h1 class="h3 mb-3 font-weight-normal" th:text="#{login-tip}">Please sign in</h1>
19             <label class="sr-only" th:text="#{login-username}">Username</label>
20             <input type="text" class="form-control" placeholder="Username" th:placeholder="#{login-username}" required="" autofocus="">
21             <label class="sr-only" th:text="#{login-password}">Password</label>
22             <input type="password" class="form-control" placeholder="Password" th:placeholder="#{login-password}" required="">
23             <div class="checkbox mb-3">
24                 <label>
25           <input type="checkbox" value="remember-me"  >[[#{login-remember}]]
26         </label>
27             </div>
28             <button class="btn btn-lg btn-primary btn-block" type="submit" th:text="#{login-btn}">Sign in</button>
29             <p class="mt-5 mb-3 text-muted">© 2017-2018</p>
30             <a class="btn btn-sm" th:href="@{/index.html(lan='zh_CN')}">中文</a>
31             <a class="btn btn-sm" th:href="@{/index.html(lan='en_US')}">English</a>
32         </form>
33
34     </body>
35
36 </html>
这里主要需要注意的是thymeleaf的模版的引用和语法的用法就可以了。
第六步:效果图
中文下
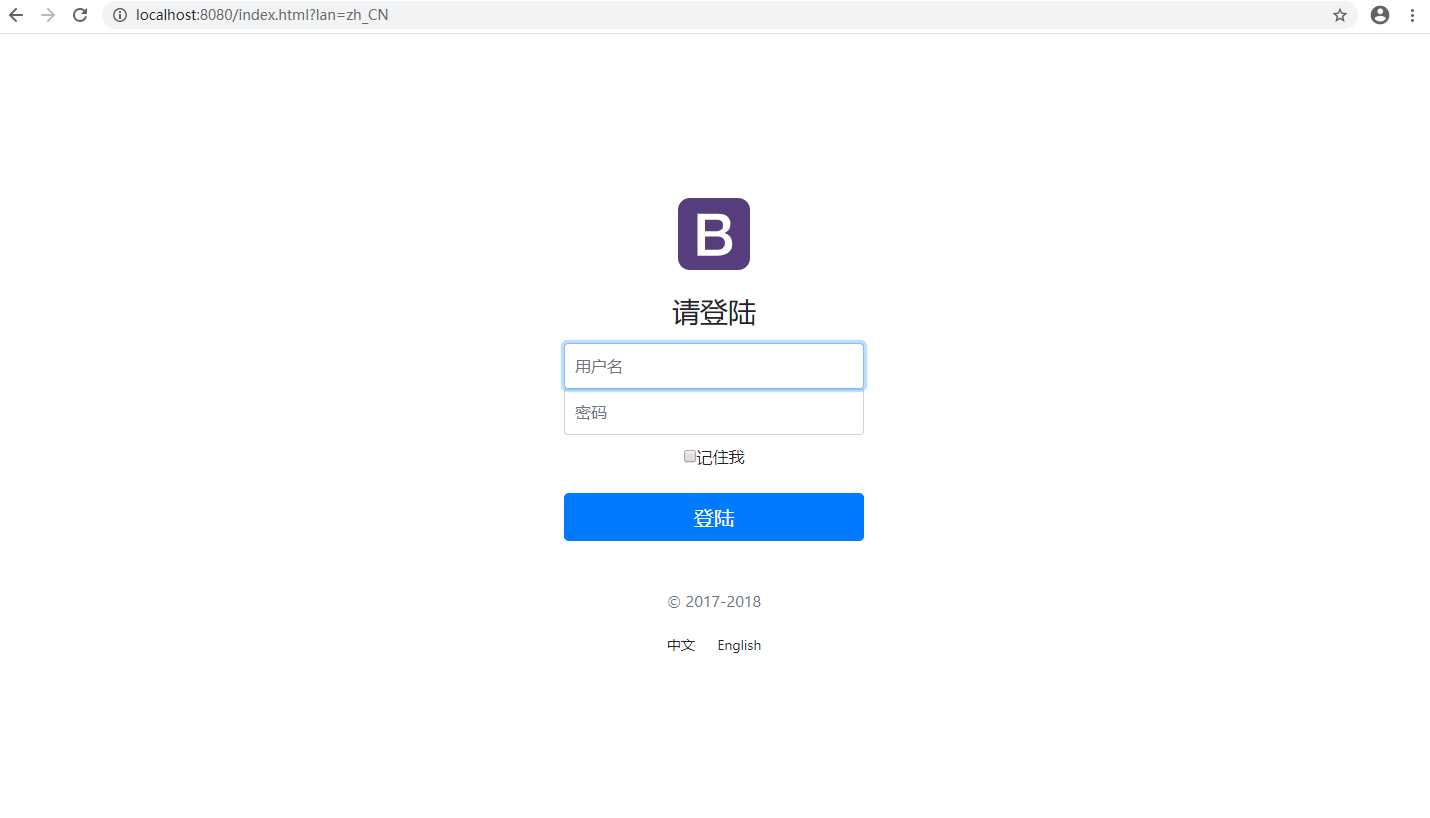
英文下