官网下载地址:https://archive.apache.org/dist/zookeeper/zookeeper-3.6.1/apache-zookeeper-3.6.1-bin.tar.gz
Zookeeper安装需要基于java的jdk环境,jdk安装这里不再详细描述,网上安装方法可以自己查询下,测试jdk是否安装成功cmd命令 java -version
文件下载成功后解压到自己指定的分区中,我是解压到D盘,进入解压目录的conf中,复制zoo_sample.cfg一份并修改名字为zoo.cfg,
# The number of milliseconds of each tick
tickTime=2000
# The number of ticks that the initial
# synchronization phase can take
initLimit=10
# The number of ticks that can pass between
# sending a request and getting an acknowledgement
syncLimit=5
# the directory where the snapshot is stored.
# do not use /tmp for storage, /tmp here is just
# example sakes.
dataDir=D:\apache-zookeeper-3.6.1-bin\data
# the port at which the clients will connect
clientPort=2181
# the maximum number of client connections.
# increase this if you need to handle more clients
#maxClientCnxns=60
#
# Be sure to read the maintenance section of the
# administrator guide before turning on autopurge.
#
# http://zookeeper.apache.org/doc/current/zookeeperAdmin.html#sc_maintenance
#
# The number of snapshots to retain in dataDir
#autopurge.snapRetainCount=3
# Purge task interval in hours
# Set to "0" to disable auto purge feature
#autopurge.purgeInterval=1

## Metrics Providers
#
# https://prometheus.io Metrics Exporter
#metricsProvider.className=org.apache.zookeeper.metrics.prometheus.PrometheusMetricsProvider
#metricsProvider.httpPort=7000
#metricsProvider.exportJvmInfo=true
- tickTime:这个时间是作为 Zookeeper 服务器之间或客户端与服务器之间维持心跳的时间间隔,也就是每个 tickTime 时间就会发送一个心跳。
- dataDir:顾名思义就是 Zookeeper 保存数据的目录,默认情况下,Zookeeper 将写数据的日志文件也保存在这个目录里。
- clientPort:这个端口就是客户端连接 Zookeeper 服务器的端口,Zookeeper 会监听这个端口,接受客户端的访问请求。
修改完配置后,可以执行bin目录中的zkServer.cmd脚本 ,如执行后cmd窗口闪退,可以再末尾添加 pause命令,可以查看具体错误原因。
如执行后报错误:找不到或无法加载主类 org.apache.zookeeper.server.quorum.QuorumPeerMain,是由于从版本3.5.5开始,带有bin名称的包才是我们想要的下载可以直接使用的里面有编译后的二进制的包,而之前的普通的tar.gz的包里面是只是源码的包无法直接使用。
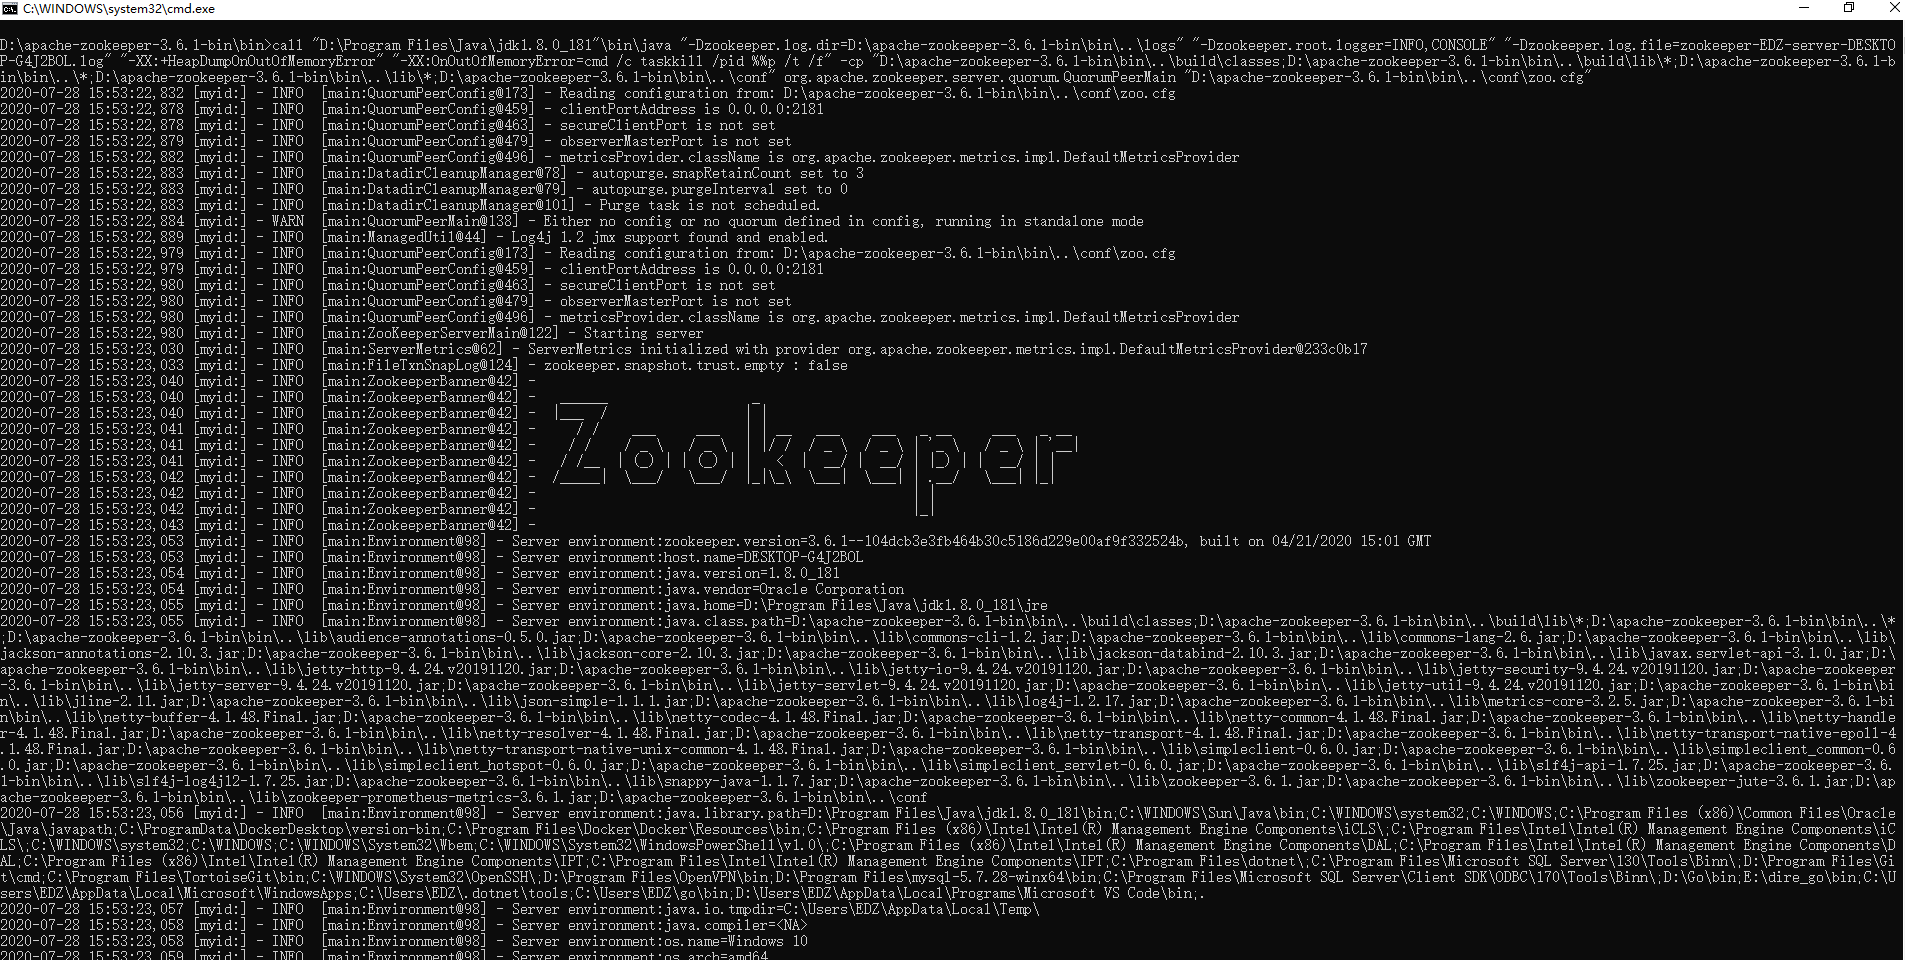
安装成功后效果图