安装数据库
1.安装多个MYSQL数据库(具体安装步骤,详见文档 “windows mysql8 安装” )
主库
1.在主库中my.ini文件中添加配置信息
log-bin = mysql-bin  #主从复制  表示启动二进制文件
server_id = 3306  #server_id编号 编号唯一 可以默认为端口号
binlog-do-db=quartz_backjob  #设置同步的数据库
#binlog-ignore-db=mysql  #可以设置不需要同步的数据库
具体的配置项目参照如下
For advice on how to change settings please see
# http://dev.mysql.com/doc/refman/5.6/en/server-configuration-defaults.html
# *** DO NOT EDIT THIS FILE. It's a template which will be copied to the
# *** default location during install, and will be replaced if you
# *** upgrade to a newer version of MySQL.
[client]
default-character-set = utf8mb4
[mysql]
default-character-set = utf8mb4
[mysqld]
character-set-client-handshake = FALSE
character-set-server = utf8mb4
collation-server=utf8mb4_unicode_ci
init_connect='SET NAMES utf8mb4'
# Remove leading # and set to the amount of RAM for the most important data
# cache in MySQL. Start at 70% of total RAM for dedicated server, else 10%.
innodb_buffer_pool_size = 128M
# Remove leading # to turn on a very important data integrity option: logging
# log_bin

#MYSQL 安装目录
basedir = D:\mysql-8.0.25-winx64

#MYSQL 数据存放目录
datadir = D:\mysql-8.0.25-winx64\data

#mysql端口
port = 3306

#主从复制  表示启动二进制文件
log-bin = mysql-bin

#server_id编号 编号唯一 可以默认为端口号
server_id = 3306

# Remove leading # to set options mainly useful for reporting servers.
# The server defaults are faster for transactions and fast SELECTs.
# Adjust sizes as needed, experiment to find the optimal values.
join_buffer_size = 128M
sort_buffer_size = 16M
read_rnd_buffer_size = 16M
sql_mode=NO_ENGINE_SUBSTITUTION,STRICT_TRANS_TABLES

#同步的数据库
binlog-do-db=quartz_backjob
#不需要同步的数据库
#binlog-ignore-db=mysql
2.重启mysql服务
3.使用root用户登录,(注意:一定要先cmd到mysql安装目录中的bin目录下)
mysql -u root -p 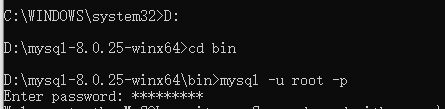
4.创建slave账号,并赋值权限,命令如下
mysql> CREATE USER 'slave'@'%' IDENTIFIED WITH 'mysql_native_password' BY 'slave123'
mysql> GRANT REPLICATION SLAVE ON *.* TO 'slave'@'%' ;
mysql> FLUSH PRIVILEGES; 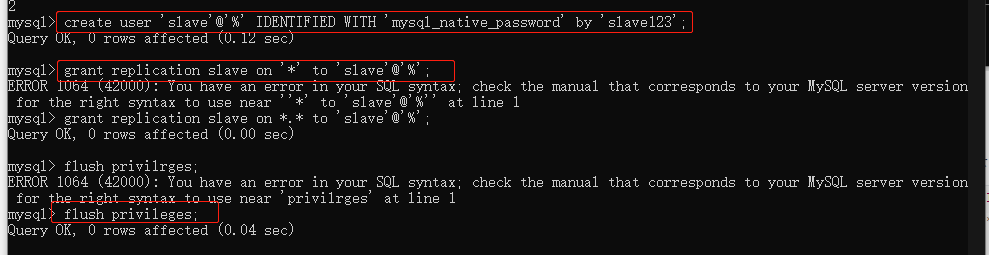
5.查看主数据库状态,注意这里的参数:File与Position,后续从库配置中会使用到
show master status;
从库
my.ini具体的配置项如下
For advice on how to change settings please see
# http://dev.mysql.com/doc/refman/5.6/en/server-configuration-defaults.html
# *** DO NOT EDIT THIS FILE. It's a template which will be copied to the
# *** default location during install, and will be replaced if you
# *** upgrade to a newer version of MySQL.
[client]
default-character-set = utf8mb4
[mysql]
default-character-set = utf8mb4
[mysqld]
character-set-client-handshake = FALSE
character-set-server = utf8mb4
collation-server=utf8mb4_unicode_ci
init_connect='SET NAMES utf8mb4'
# Remove leading # and set to the amount of RAM for the most important data
# cache in MySQL. Start at 70% of total RAM for dedicated server, else 10%.
innodb_buffer_pool_size = 128M
# Remove leading # to turn on a very important data integrity option: logging
# log_bin

#MYSQL 安装目录
basedir = E:\mysql

#MYSQL 数据存放目录
datadir = E:\mysql\data

#mysql端口
port = 3307

#server_id编号 编号唯一 可以默认为端口号
server_id = 3307

# Remove leading # to set options mainly useful for reporting servers.
# The server defaults are faster for transactions and fast SELECTs.
# Adjust sizes as needed, experiment to find the optimal values.
join_buffer_size = 128M
sort_buffer_size = 16M
read_rnd_buffer_size = 16M
sql_mode=NO_ENGINE_SUBSTITUTION,STRICT_TRANS_TABLES

#同步的数据库
binlog-do-db=quartz_backjob
#不需要同步的数据库
#binlog-ignore-db=mysql
1.登录从数据库
mysql -P3307 -uroot -p #3307为当前从数据库mysql端口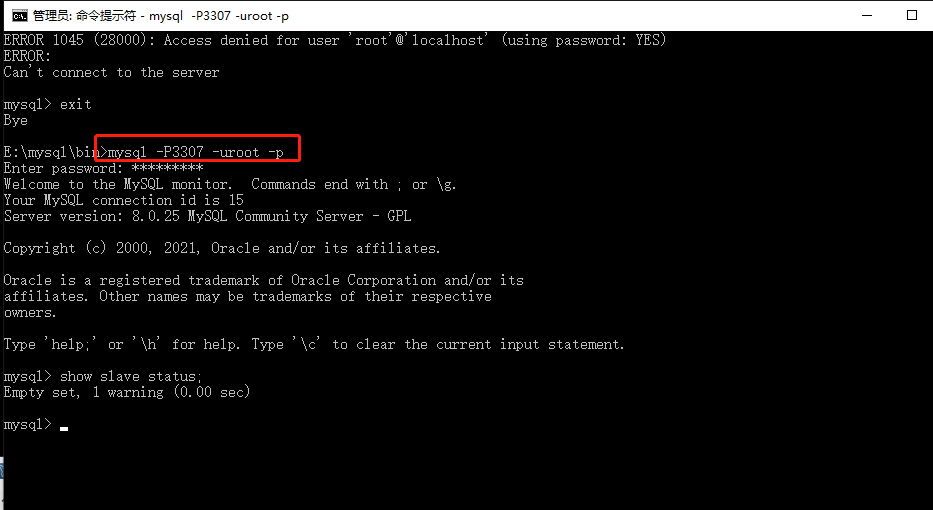
2.查看从数据库状态
show slave status;
3.在从数据库中配置主数据库的信息
change master to
master_host='192.168.0.63',master_port=3306,master_user='slave',master_password='slave123',master_log_file='mysql-bin.000001',master_log_pos=820;
参数解析:
master_host:Master数据库地址
master_port:Master数据库端口
master_user:用户名
master_log_file:对应Master数据库二进制日志文件
master_log_pos:对应Master数据库Position

4.启动slave
start slave;
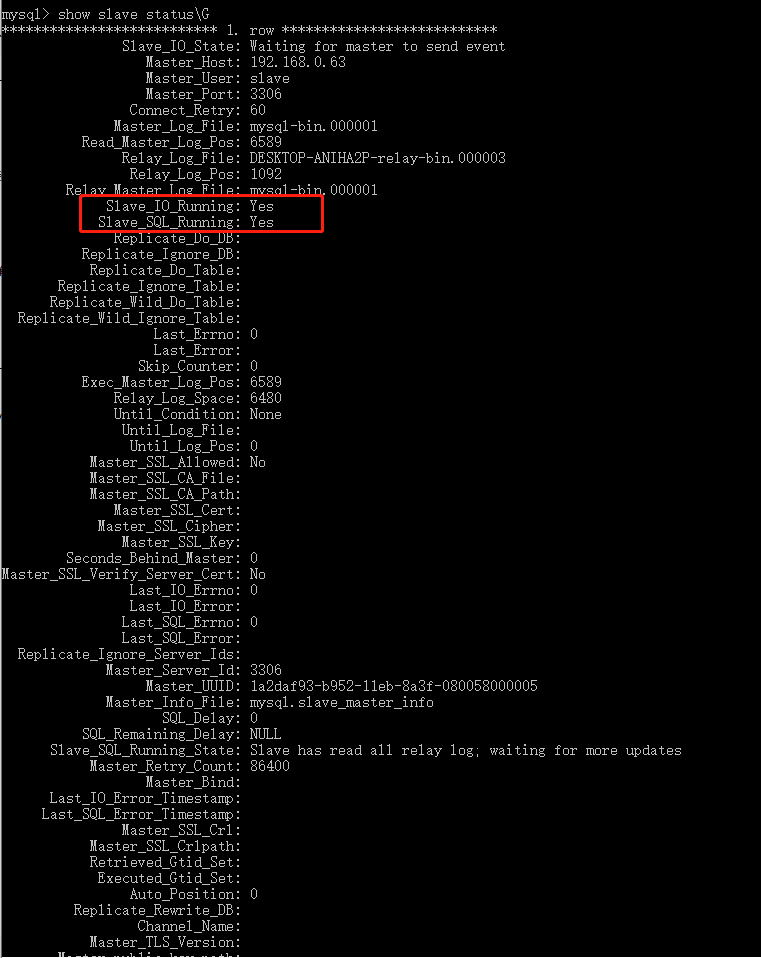
5.查看运行状态
show slave status\G 当这下面两个属性为Yes的时候,配置成功。
Slave_IO_Running: Yes
Slave_SQL_Running: Yes
注意:若出现同步失败(上面没显示两个yes),请查看Last_Error的错误信息,若错误信息为“Unknown database 'xxx'”,则可以将主数据库数据和表结构全部导出,并将此数据在从据库中导入。导入成功后,执行下面的语句再确保是否出错
stop slave;
start slave;
show slave status\G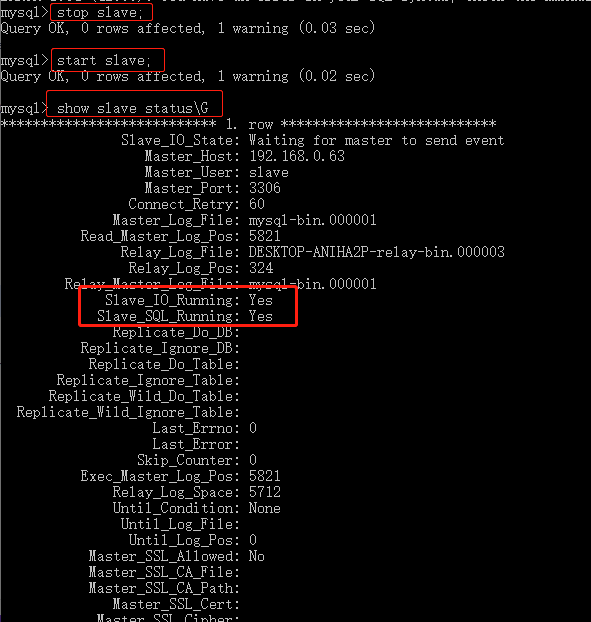
6.测试。将主库中的数据修改,查看从库是否同步成功。