WCF部署到控制台
1.下面通过一个简单的服务示例来认识WCF
1.新建项目,名称IBLL,解决方案名称WcfDemo,模板选择类库
2.修改Class1.cs文件名称为 IUserInfoService.cs
3.添加引用 System.ServiceModel
4.修改IUserInfoService.cs代码如下:

using System;
using System.Collections.Generic;
using System.Linq;
using System.ServiceModel;
using System.Text;
using System.Threading.Tasks;

namespace IBLL
{
    [ServiceContract]
    public interface IUserInfoService
    {
        [OperationContract]
        int Add(int a, int b);
    }
}
我们定义了一个IUserInfoService接口,注意在接口上申明了ServiceContract特性,即服务契约,表明该接口是一个服务。方法上声明了OperationContract特性,表示该方法是IUserInfoService的一个服务方法,客户端可远程调用该方法
5.新建项目,名称BLL,模板选择类库,修改Class1.cs文件名称为 UserInfoService.cs,引用项目IBLL,代码如下:
using IBLL;
using System;
using System.Collections.Generic;
using System.Linq;
using System.Text;
using System.Threading.Tasks;

namespace BLL
{
    public class UserInfoService : IUserInfoService
    {
        public int Add(int a, int b)
        {
            return a + b;
        }
    }
}
OK,到此我们的服务代码已经编写完成,下面我们必须为服务提供一个运行的宿主,通过该宿主程序来启动我们的服务。
6.在同一解决方案下新建一个项目,名称为WcfHost,类型为控制台应用程序
7.WcfHost项目中添加引用,引用项目IBLL,然后再添加引用:System.ServiceModel
8.修改Program.cs代码如下:
using System;
using System.Collections.Generic;
using System.Linq;
using System.ServiceModel;
using System.Text;
using System.Threading.Tasks;

namespace WcfHost
{
    class Program
    {
        static void Main(string[] args)
        {
            using (ServiceHost host = new ServiceHost(typeof(BLL.UserInfoService)))
            {
                host.Open();
                Console.WriteLine("服务已启动");
                Console.ReadKey();
                host.Close();
            }
        }
    }
}
以上,我们已经实现了服务以及为服务提供了一个运行宿主,即契约部分已经完成,下面我们为服务指定地址及绑定
9.修改app.config内容如下:
<?xml version="1.0" encoding="utf-8" ?>
<configuration>
  <system.serviceModel>
    <services>

      <service name="BLL.UserInfoService" behaviorConfiguration="behaviorConfiguration"><!--服务的对象-->
        <host>
          <baseAddresses>
            <add baseAddress="http://localhost:8000/"/><!--服务的IP和端口号-->
          </baseAddresses>
        </host>
        <endpoint address="" binding="basicHttpBinding" contract="IBLL.IUserInfoService"></endpoint><!--contract:服务契约-->
      </service>
    </services>

    <behaviors>
      <serviceBehaviors>
        <behavior name="behaviorConfiguration">
          <serviceMetadata httpGetEnabled="true"/>
        </behavior>
      </serviceBehaviors>
    </behaviors>
  </system.serviceModel>
</configuration>
10.设置WcfHost项目为启动项目,启动调试。控制台上显示服务已启动后,打开浏览器输入服务地址:http://localhost:8000/ ,浏览器中会打开我们的服务页面,这表示我们的服务已经启动成功,客户端可通过该地址访问我们的服务了。
下面,我们将创建一个客户端来访问我们的服务
11.在同一解决方案下新建一个项目,名称为WcfClient,类型为控制台应用程序,添加服务引用地址:http://localhost:8000/,客户端代码如下:
using System;
using System.Collections.Generic;
using System.Linq;
using System.Text;
using System.Threading.Tasks;
namespace WcfClient
{
class Program
{
static void Main(string[] args)
{
ServiceReference1.UserInfoServiceClient client = new ServiceReference1.UserInfoServiceClient();
Console.WriteLine(client.Add(3, 4));
Console.ReadKey();
}
}
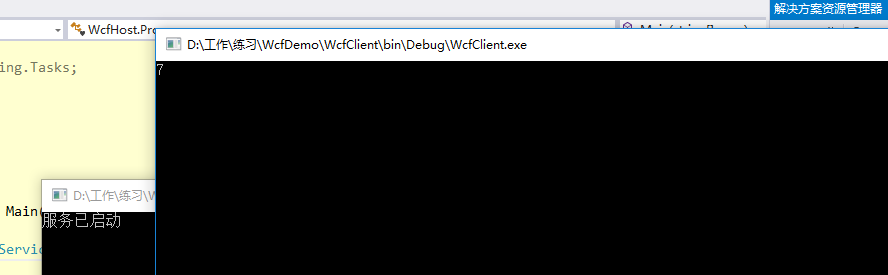
}
12.启动WcfHost,启动WcfClient,(记得找到bin/debug找.exe以管理员运行
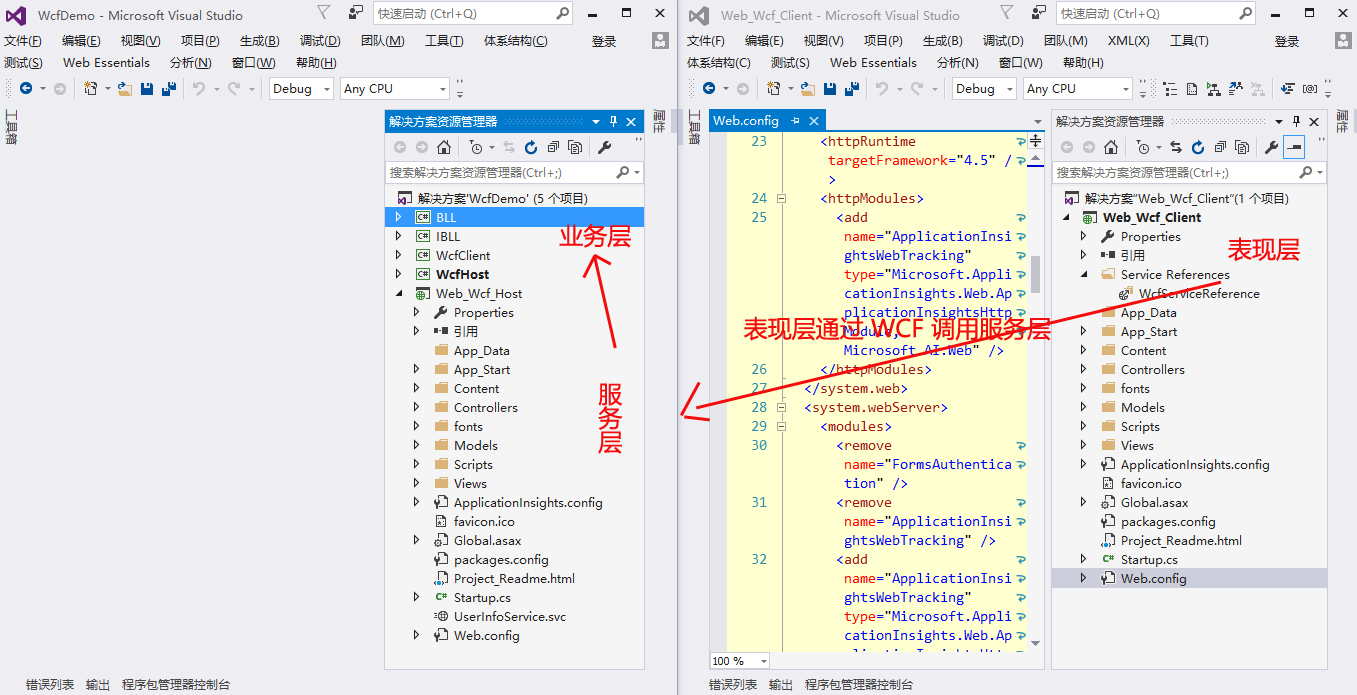
WCF部署到IIS
1-5步服务代码已经编写相同,下面我们必须为服务提供一个IIS宿主,那么当IIS启动起来后,我们的Wcf服务就起来了。
6.为WCF创建.svc文件(新建类,后缀改为.svc即可),仅仅包含一个ServiceHost指令,该指令具有一个必须的Service属性(该属性指明了相应的WCF服务的类型)和一些可选的属性,该.svc文件应放在Services项目的根目录下
<%@ ServiceHost Service="BLL.UserInfoService" %>
7.在根目录下创建一个Web.Config,将WCF的相应配置添加到配置文件中,与寄宿在上面控制台方式不同的是,在添加的终结点中无需指定地址,因为.svc所在的地址就是服务端地址,代码如下:(该配置放在configuration根节点下)
  <system.serviceModel><!--部署Wcf服务-->
    <services>
      <service name="BLL.UserInfoService" behaviorConfiguration="behaviorConfiguration"><!--服务的对象-->
      <endpoint address="" binding="basicHttpBinding" contract="IBLL.IUserInfoService"></endpoint><!--contract:服务契约-->
      </service>
    </services>
    <behaviors>
      <serviceBehaviors>
        <behavior name="behaviorConfiguration">
          <serviceMetadata httpGetEnabled="true"/>
        </behavior>
      </serviceBehaviors>
    </behaviors>
  </system.serviceModel>
好了,WCF服务端配置好了,下面配置客户端
8.客户端配置,添加服务引用,地址填.svc所在的地址,如:http://localhost:8707/UserInfoService.svc,命名空间:WcfServiceReference
添加完成后,会在服务端的Web.Config中自动添加下面代码
  <system.serviceModel>
    <bindings>
      <basicHttpBinding>
        <binding name="BasicHttpBinding_IUserInfoService" />
      </basicHttpBinding>
    </bindings>
    <client>
      <endpoint address="http://localhost:8707/UserInfoService.svc"
        binding="basicHttpBinding" bindingConfiguration="BasicHttpBinding_IUserInfoService"
        contract="WcfServiceReference.IUserInfoService" name="BasicHttpBinding_IUserInfoService" />
    </client>
  </system.serviceModel>
9.在客户端调用服务端方法(在Home控制器下添加该方法)
        public ActionResult Add()
        {
            WcfServiceReference.UserInfoServiceClient client = new WcfServiceReference.UserInfoServiceClient();
            int sum = client.Add(3, 4);
            return Content(sum.ToString());
        }