做自动化过程中时长会遇到一些截图操作,那么在做客户端的时候,应该怎么进行截图呢?
窗口截图
在pywinauto中存在自带的截图函数 capture_as_image()
源码:
def capture_as_image(self, rect=None):
        """
        Return a PIL image of the control.

        See PIL documentation to know what you can do with the resulting
        image.
        """
        control_rectangle = self.rectangle()
        if not (control_rectangle.width() and control_rectangle.height()):
            return None

        # PIL is optional so check first
        if not ImageGrab:
            print("PIL does not seem to be installed. "
                  "PIL is required for capture_as_image")
            self.actions.log("PIL does not seem to be installed. "
                             "PIL is required for capture_as_image")
            return None

        if rect:
            control_rectangle = rect

        # get the control rectangle in a way that PIL likes it
        width = control_rectangle.width()
        height = control_rectangle.height()
        left = control_rectangle.left
        right = control_rectangle.right
        top = control_rectangle.top
        bottom = control_rectangle.bottom
        box = (left, top, right, bottom)

        # check the number of monitors connected
        if (sys.platform == 'win32') and (len(win32api.EnumDisplayMonitors()) > 1):
                hwin = win32gui.GetDesktopWindow()
                hwindc = win32gui.GetWindowDC(hwin)
                srcdc = win32ui.CreateDCFromHandle(hwindc)
                memdc = srcdc.CreateCompatibleDC()
                bmp = win32ui.CreateBitmap()
                bmp.CreateCompatibleBitmap(srcdc, width, height)
                memdc.SelectObject(bmp)
                memdc.BitBlt((0, 0), (width, height), srcdc, (left, top), win32con.SRCCOPY)

                bmpinfo = bmp.GetInfo()
                bmpstr = bmp.GetBitmapBits(True)
                pil_img_obj = Image.frombuffer('RGB',
                                               (bmpinfo['bmWidth'], bmpinfo['bmHeight']),
                                               bmpstr,
                                               'raw',
                                               'BGRX',
                                               0,
                                               1)
        else:
            # grab the image and get raw data as a string
            pil_img_obj = ImageGrab.grab(box)

        return pil_img_obj
实战
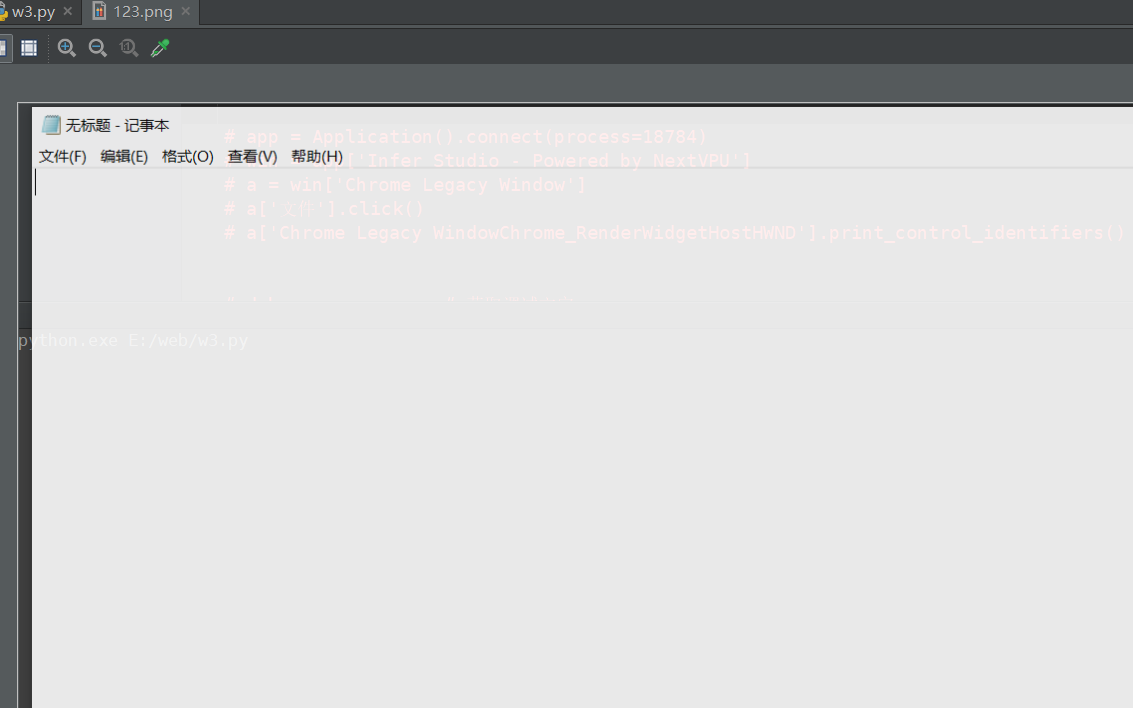
上面的操作方法已经了解了,我们实战进行操作,看看进行如何截图,这里我们截图后,要进行保存,可以根据路径保存或者直接保存在当前目录
# coding:utf-8
from pywinauto import Application

# 打开记事本
app = Application().start(r'C:WindowsSystem32
otepad.exe')
win = app['无标题 - 记事本']
# 截图进行保存
a = win.capture_as_image().save('123.png')