1. 使用easy-mock.com来模拟数据接口
2. npm install axios 安装
3.新建目录

其中的http.js 里面是对axios请求接口的前期参数配置与后期数据的处理,直接上代码
import axios from 'axios'

const instance = axios.create({
    headers: {
        'content-type': 'application/json;charset=UTF-8',
        'token': 'one'
    },
    baseURL: 'https://easy-mock.com/mock/5c01e1f6f221b94c907213d6/',
    timeout: 10000,
    withCredentials: true
})

// 添加请求拦截器
instance.interceptors.request.use(config => {
    // 在发送请求之前做某事,比如说 设置token
    config.headers['token'] = 'token';
    return config;
}, error => {
    // 请求错误时做些事
    return Promise.reject(error);
});

// 添加响应拦截器
instance.interceptors.response.use(response => {
    // 对响应数据做些事
    if (response.status === 200) {
        console.log(response)
        if (response.data && response.data.data.code === 1) {
            console.log('成功')
            response.data.data.value = '我是返回成功' // 在请求成功后可以对返回的数据进行处理,再返回到前台
        } else {
            console.log('返回到登录...')
        }
    }
    return response;
}, error => {
    return Promise.reject(error.response.data); // 返回接口返回的错误信息
})

export default instance;
index.js中就是对请求方法的简单封装,可以根据自己的需求来进行调整,代码如下
import axios from './http'

var depot = {}

depot.get = function ({ url, config = {}, cb }) {
    axios.get(url, config).then((res) => {
        if (res.status === 200) {
            let result = res.data;
            cb(result);
        }
    }).catch((error) => {
        console.log('请求错误:' + error);
    });
};

depot.post = function ({ url, data, cb }) {
    axios.post(url, data).then(
        (res) => {
            if (res.status === 200) {
                if (res.status === 200) {
                    let result = res.data;
                    cb(result);
                }
            }
        }).catch((error) => {
        console.log(error);
    });
};

export default () => {
    window.depot = depot;
};
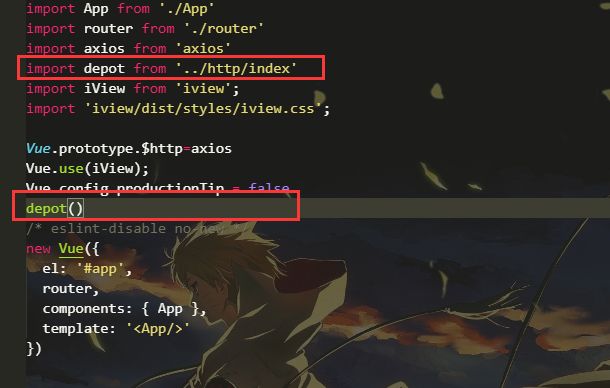
4. 在main.js中进行配置
5. 页面中的使用
  depot.get({
      url: 'demo/demo',
      data: {},
      cb: (res)=> {
        console.log(res)
      }
    })
这样一个简单的axios的全局封装就弄好了