之前的例子已经写了关于springcloud的注册中心,以及服务提供者和服务消费者,现在来写关于Eureka的集群。
为了简单起见,我们继续使用之前的项目,需要改动的地方有eureka的application.properties文件:
server.port=${port}
spring.application.name=eureka-server
eureka.client.service-url.defaultZone=${defaultZone}
eureka.client.register-with-eureka=true
eureka.client.fetch-registry=true
eureka.client.register-with-eureka和eureka.client.fetch-registry的默认值是true所以不用配置也可以。
port和defaultZone我们改为从系统启动时的参数获取,

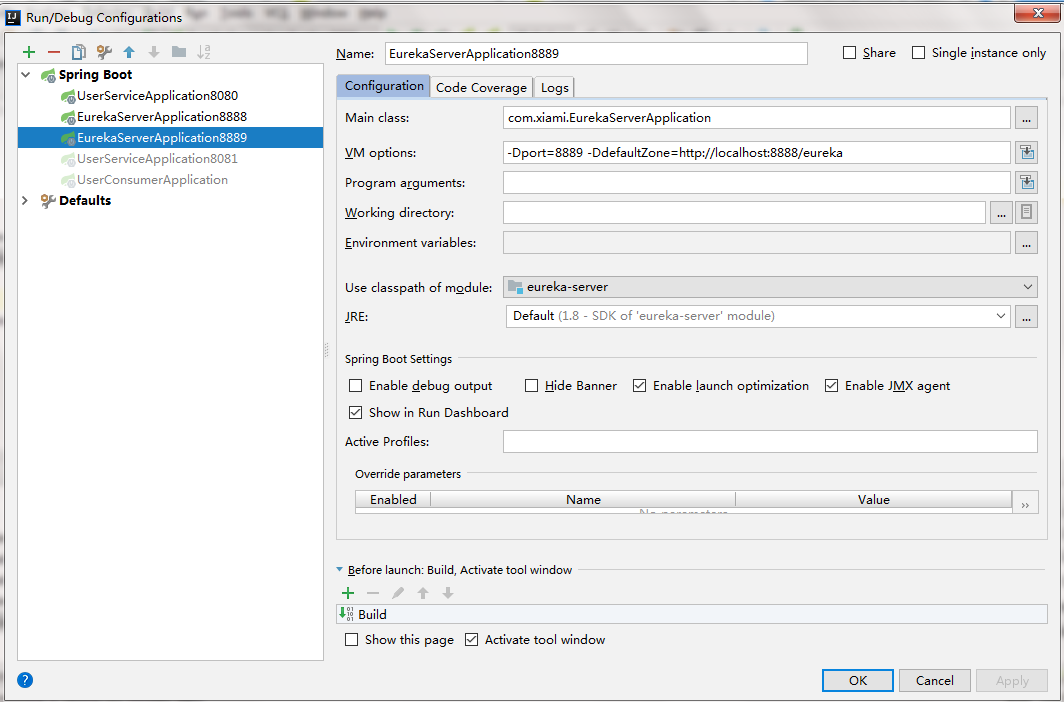
图1

图2
如图1和2,我们在启动eureka时多加启动参数-Dport=8888 -DdefaultZone=http://localhost:8889/eureke
和-Dport=8889 -DdefaultZone=http://localhost:8888/eureka,然后启动它们。

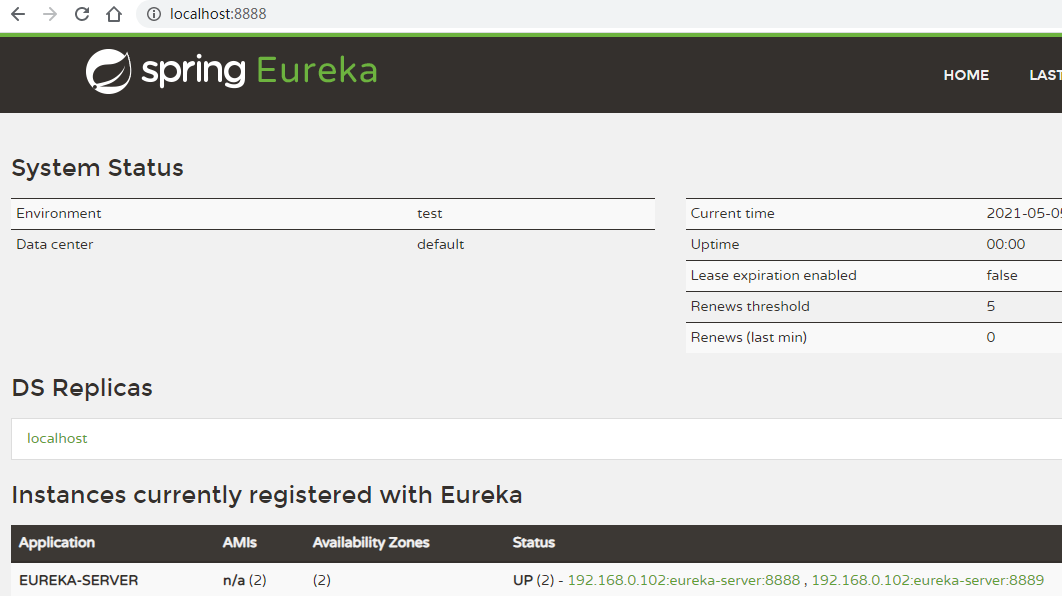
图3

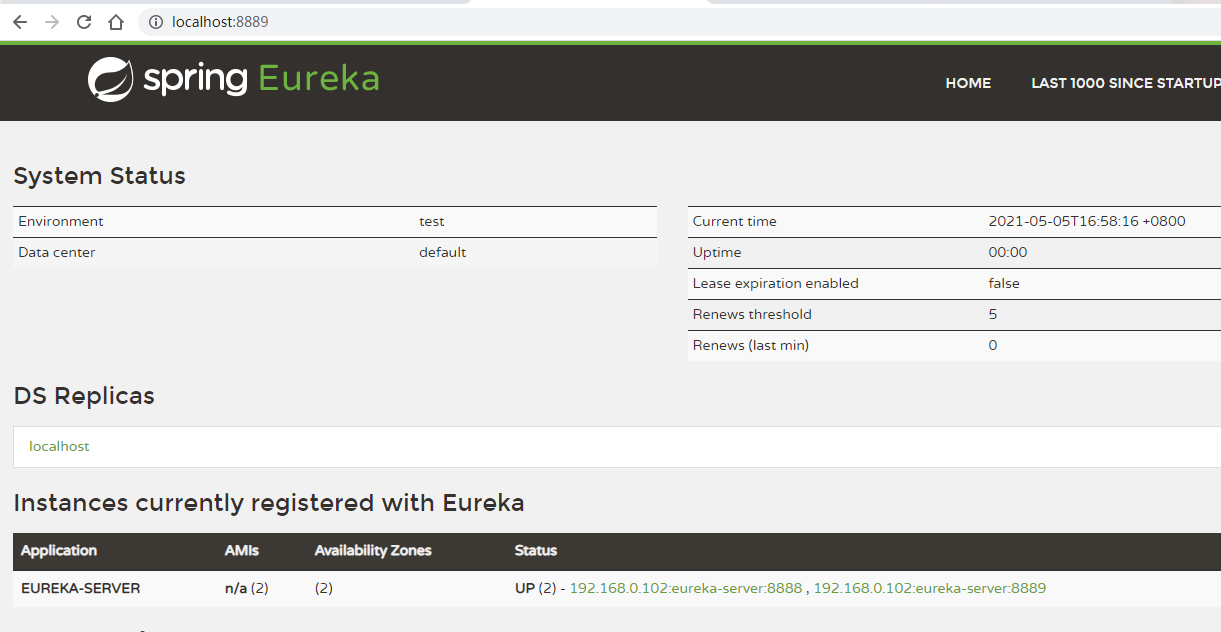
图4,
然后我们访问这两个eureka程序,如图3和4,可以看见已经集群好了,
我们的服务提供者的application.properties文件也需要修改,把defaultZone改为两个注册中心的地址:
server.port=${port}
spring.application.name=user-service
eureka.client.service-url.defaultZone=http://localhost:8888/eureka,http://localhost:8889/eureka

spring.datasource.driver-class-name=com.mysql.jdbc.Driver
spring.datasource.url=jdbc:mysql://localhost:3306/db_test?characterEncoding=utf-8&serverTimezone=GMT%2B8
spring.datasource.username=root
spring.datasource.password=root
我们的服务消费者的application.properties文件也需要修改,把defaultZone改为两个注册中心的地址:
server.port=8090
spring.application.name=user-consumer
eureka.client.service-url.defaultZone=http://localhost:8888/eureka,http://localhost:8889/eureka
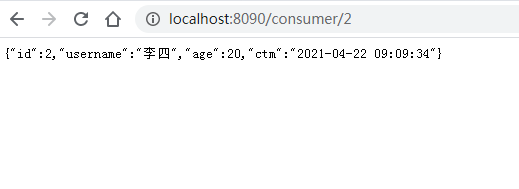
然后启动两个服务提供者和服务消费者,最后访问服务消费者提供的url:localhost:8090/consumer/2

显示成功。