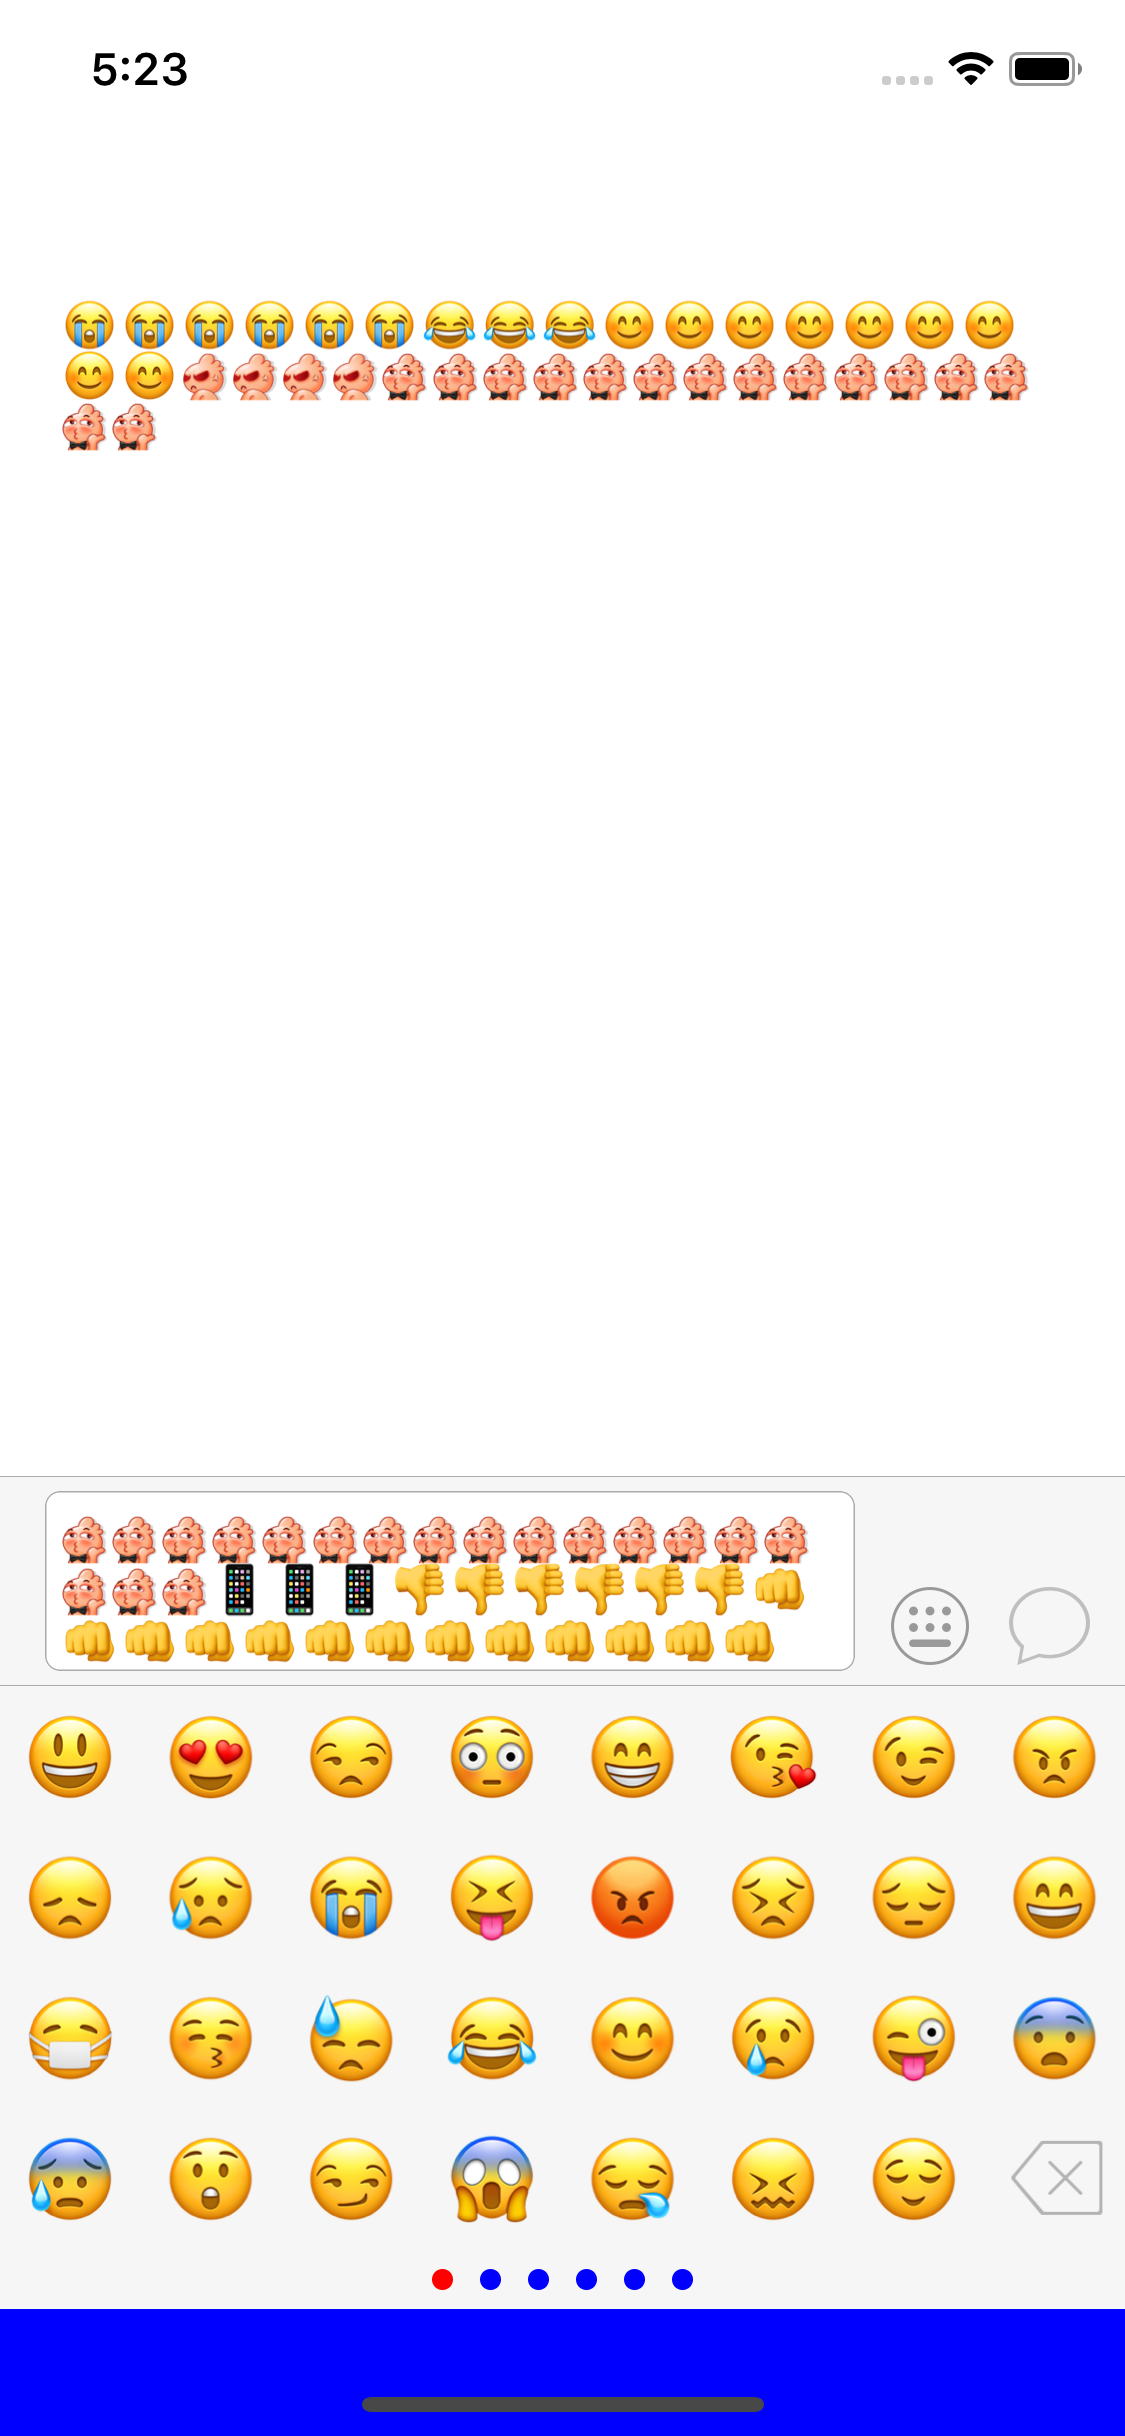
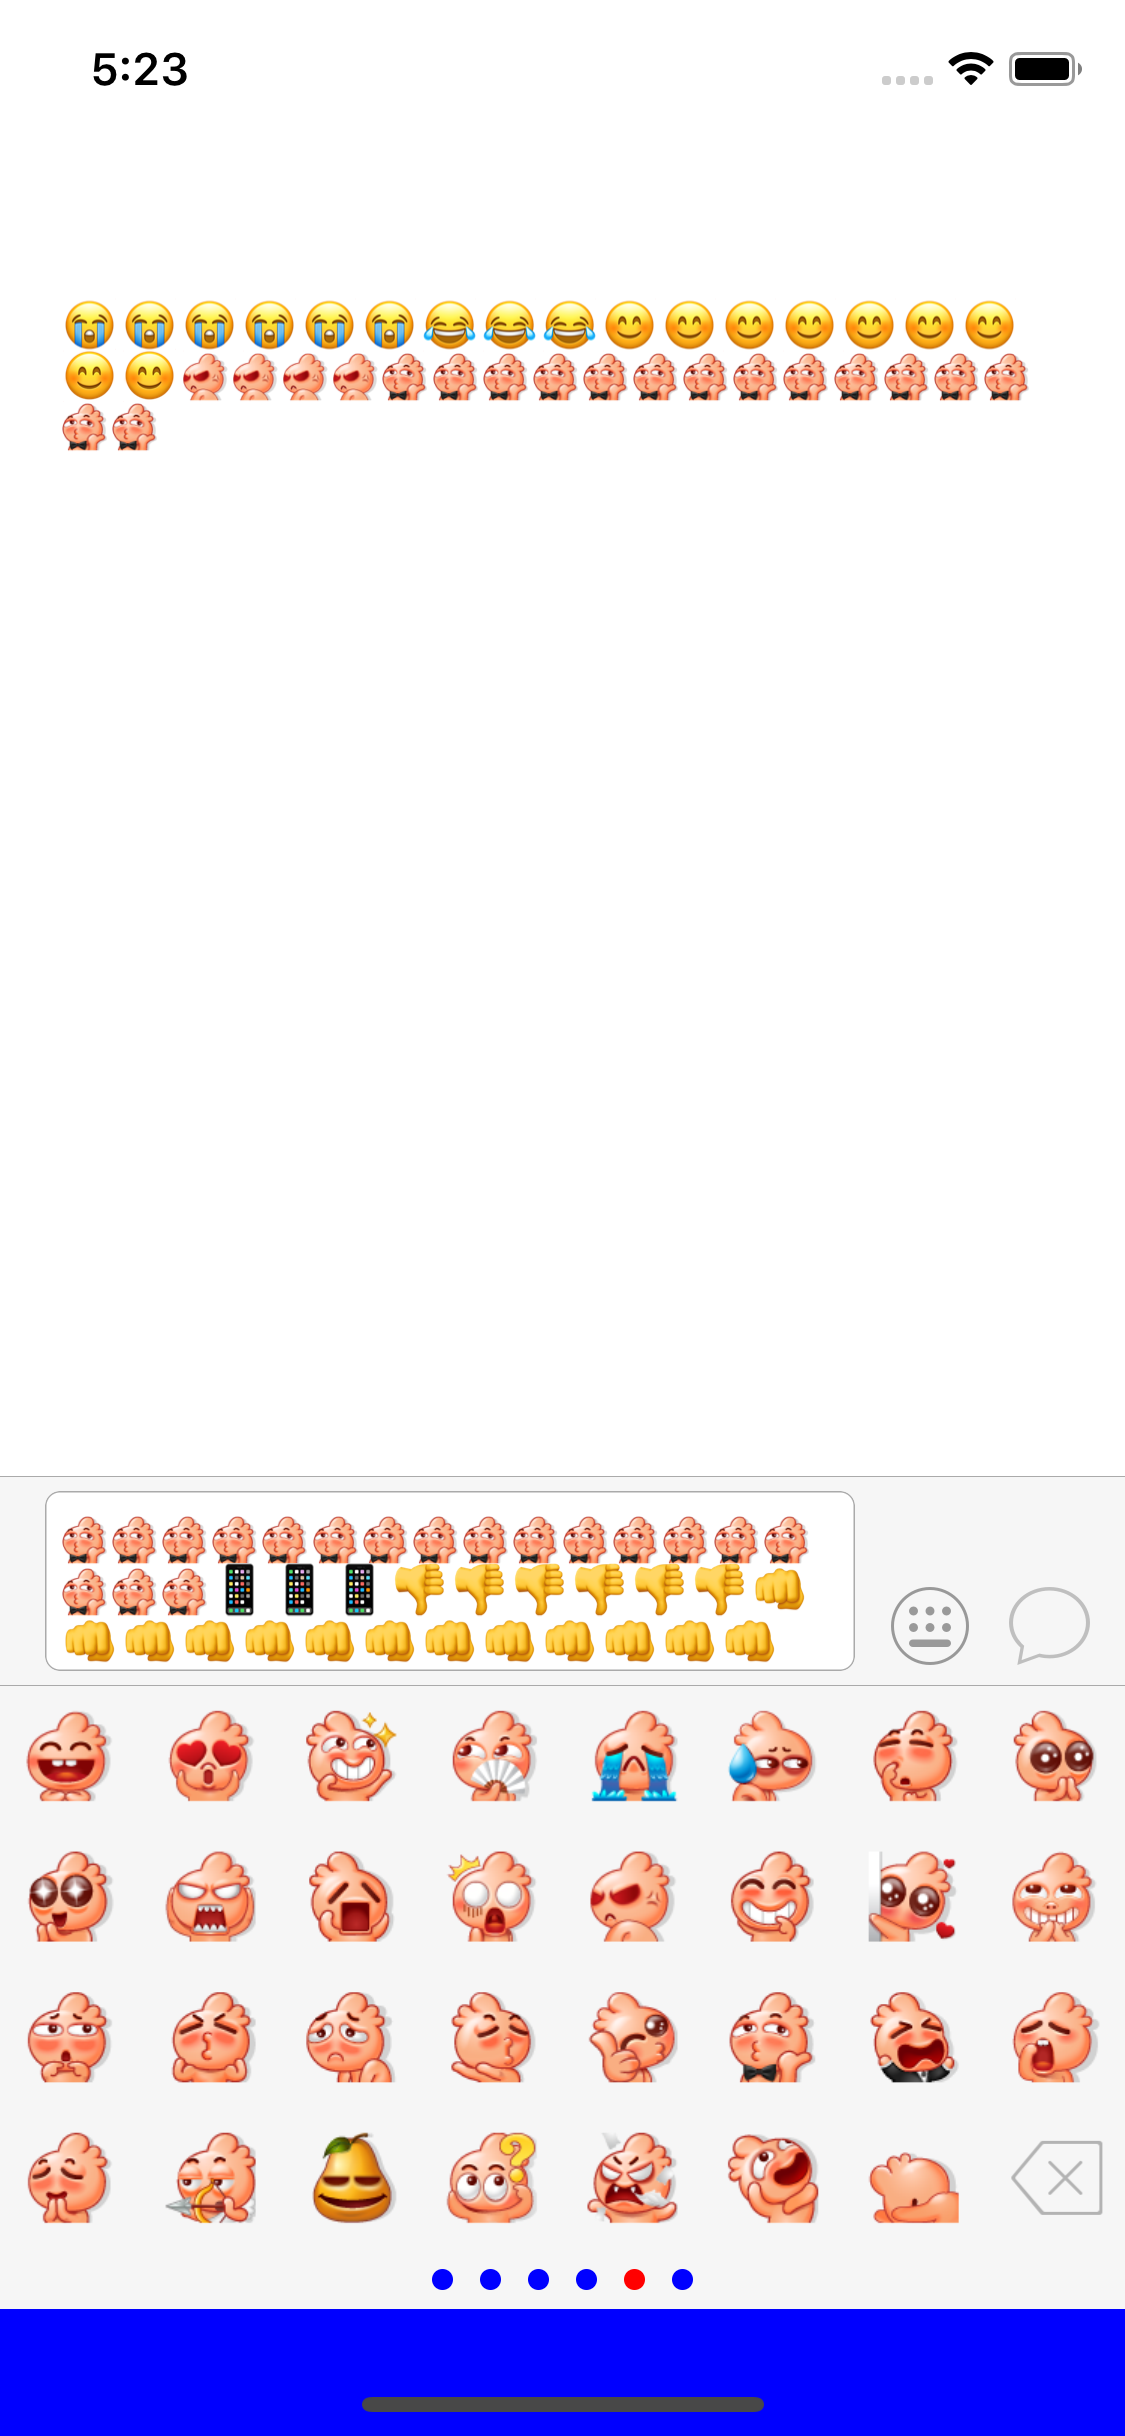
demo图片:


输入框
- 为了让输入框能够随着用户输入内容变化自动变化高度,这里的输入框使用UITextView来实现,监听textView的代理,当输入内容发生改变的时候计算当前输入的宽高,给予textView一个最小高度一个最大高度,当高度超过最大高度时,让textView滚动起来
    //验证文字高度
    func textHeight() ->  CGFloat{
        let rect = textView.attributedText.boundingRect(with: CGSize( textView.bounds.size.width - textView.textContainer.lineFragmentPadding*2, height: CGFloat.greatestFiniteMagnitude) , options: .usesLineFragmentOrigin, context: nil)
        return rect.height + textView.textContainerInset.top*2
    }

    //监听输入
    func textViewDidChange(_ textView: UITextView) {
        //内容改变 计算文字高度 同时更新键盘的高度
        let height = textHeight()
        if textHeight() <= keyBoardMaxheight {
            textView.isScrollEnabled = false
        }else{
            textView.isScrollEnabled = true
        }
        print(height)
        if height != last {
            last = height
            textView.setNeedsUpdateConstraints()
            if textView.isScrollEnabled{
                textView.scrollRangeToVisible(NSRange(location: textView.attributedText.length, length: 1))
            }
        }
    }
键盘监听
        NotificationCenter.default.addObserver(self, selector: #selector(keyBoardWillShow(_:)), name: UIResponder.keyboardWillShowNotification , object: nil)
        NotificationCenter.default.addObserver(self, selector: #selector(keyBoardWillHide(_:)), name: UIResponder.keyboardWillHideNotification , object: nil)

    //MARK:- 键盘弹起
    @objc func keyBoardWillShow(_ noti: Notification){

        let info = noti.userInfo
        let rect = (info?[UIResponder.keyboardFrameEndUserInfoKey] as! NSValue).cgRectValue
        //键盘偏移量
        let changeY = rect.size.height
                //键盘弹出的时间
        let duration = info?[UIResponder.keyboardAnimationDurationUserInfoKey] as! Double

        UIView.animate(withDuration: duration) {
            self.transform = CGAffineTransform(translationX: 0, y: -changeY)
        }
        if !emojiBtn.isSelected{
            //键盘升起来的时候让emojiView弹下去
            UIView.animate(withDuration: duration) {
                self.emojiView.transform = CGAffineTransform(translationX: 0, y: changeY)
            }
        }

    }
    //MARK:- 键盘落下
    @objc func keyBoardWillHide(_ noti: Notification){
        let info = noti.userInfo

        //键盘弹出的时间
        let duration = info?[UIResponder.keyboardAnimationDurationUserInfoKey] as! Double

        UIView.animate(withDuration: duration) {
            self.transform = CGAffineTransform.identity
        }
        if emojiBtn.isSelected{
            UIView.animate(withDuration: duration) {
                self.transform = CGAffineTransform(translationX: 0, y: -self.emojiViewHeight)
                self.emojiView.transform = CGAffineTransform.identity
            }
        }
    }
键盘切换
- 通过表情键盘按钮切换表情键盘,需要注意的切换键盘之前先把键盘resignFirstResponder,当处于表情键盘时,如果用户点击了输入框,也需要把键盘切换到默认键盘模式
    @objc func keyboardExchange(_ btn: UIButton){
        btn.isSelected = !btn.isSelected
        //键盘切换
        if textView.isFirstResponder{
            textView.resignFirstResponder()
        }
        if btn.isSelected {  //表情键盘
        }else{  //自定义键盘
            textView.becomeFirstResponder()
        }
    }

    func textViewShouldBeginEditing(_ textView: UITextView) -> Bool {
        if emojiBtn.isSelected {
            emojiBtn.isSelected = true
            keyboardExchange(emojiBtn)
        }
        return true
    }
表情装载
- 加载bundle中的资源需要Bundle.main.path(forResource: "emojiPackage.plist", ofType: nil, inDirectory: "EmojiKeyBoard.bundle")这种方式加载
- 对于每页的最后一个需要用delete图片填充
- 当前表情每页无法填充的部分空白的部分 用空白的内容填充保证同类表情能够撑满一整页
- 如果表情是自定义图片,需要拿到图片的绝对路径,加载时使用UIImage(contentsOfFile:),而不能使用UIImage(named: )
- 如果表情是emoji则需要通过扫描器将emoji表情扫描出来,emoji表情不是图片,在iOS中emoji表情当做普通文字来处理,大小通过font来控制
- swift4.0以后如果需要使用 setValuesForKeys,需要使用@objcMembers修饰class 或者 需要在每个属性的前面加上@objc,否则通过setValuesForKeys无法给对应属性赋值

class EmojiManager: NSObject {

    static let shared: EmojiManager = EmojiManager()

    var emojiPackages = [EmojiPackage]()

    var deletePath: String?

    override init() {
        super.init()
        //加载Emoji
        guard let path = Bundle.main.path(forResource: "emojiPackage.plist", ofType: nil, inDirectory: "EmojiKeyBoard.bundle") else{
            return
        }
        guard let dict = NSDictionary(contentsOfFile: path) as? [String:Any] else{
            return
        }

        guard let array = dict["packages"] as? [[String:String]] else{
            return
        }
        for dict  in array {
           emojiPackages.append(EmojiPackage(dict: dict))
        }

        //deletePath
        guard let deletePath = Bundle.main.path(forResource: "delete@3x.png", ofType: nil, inDirectory: "EmojiKeyBoard.bundle") else{
            return
        }
        self.deletePath = deletePath
    }
}
class EmojiPackage: NSObject {

    @objc var id: String?
    @objc var name: String?

    var emojis = [EmojiModel]()

    init(dict: [String: String]) {
        super.init()
        //一次性赋值
        setValuesForKeys(dict)

        guard let path = Bundle.main.path(forResource: "(id!)/info.plist", ofType: nil, inDirectory: "EmojiKeyBoard.bundle")else {
            return
        }
        guard let dt = NSDictionary(contentsOfFile: path) as? [String:Any] else {
            return
        }
        guard let array = dt["emojis"] as? [[String:String]] else {
            return
        }
        for var (i,dx) in array.enumerated() {
            if let png = dx["png"] {
                dx["png"] = id! + "/" + png
            }
            if i%31 == 0 && i != 0{
                emojis.append(EmojiModel(isDelete: true))
            }
            emojis.append(EmojiModel(dict: dx))
        }
        let r = emojis.count%32
        //填充空格  8*4
        if  r != 0{
            for _ in r..<31{
                emojis.append(EmojiModel(isSpace: true))
            }
            emojis.append(EmojiModel(isDelete: true))
        }

    }

    override func setValue(_ value: Any?, forUndefinedKey key: String) {

    }
}
@objcMembers
class EmojiModel: NSObject {

    var chs: String?
    var png: String?{
        didSet{
            if let png = png {
                if let path = Bundle.main.path(forResource: "EmojiKeyBoard.bundle", ofType: nil){
                    pngPath = path + "/" + png
                }

            }
        }
    }
    var code: String?{
        didSet{
            if let code = code{
                //创建扫描器
                let scanner = Scanner(string: code)
                var result: UInt32 = 0
                //利用扫描器扫出结果
                scanner.scanHexInt32(&result)
                //将结果转换成字符
                let c = Character(UnicodeScalar(result)!)
                //将字符转换成字符串
                emojiCode = String(c)
            }
        }
    }

    /// emoji表情解析后的code码
    var emojiCode: String?

    /// 图片的绝对路径
    var pngPath: String?

    /// 是否是移除键
    var isDelete: Bool = false

    /// 是否是空格
    var isSpace: Bool = false

     init(dict: [String: String]) {
        super.init()

        setValuesForKeys(dict)

    }

    init(isDelete: Bool) {
        super.init()
        self.isDelete = true
    }

    init(isSpace: Bool) {
        super.init()
        self.isSpace = true
    }

    override func setValue(_ value: Any?, forUndefinedKey key: String) {

    }
}
表情加载
- 使用collectonView 横向布局,表情cell用UIButton来加载即可显示文字又可显示图片
class EmojiCollectionView: UICollectionView {

    lazy var emojiManager: EmojiManager = {
       let manager = EmojiManager.shared
        return manager
    }()

    var emojiBlock: ((EmojiModel)->Void)?

    init(frame: CGRect,selectedEmoji:((EmojiModel)->Void)?) {
        super.init(frame: frame, collectionViewLayout: EmojiFlowLayout())
        delegate = self
        dataSource = self
        register(EmojiCell.self, forCellWithReuseIdentifier: "EmojiCell")
        emojiBlock = selectedEmoji

    }

    required init?(coder aDecoder: NSCoder) {
        super.init(coder: aDecoder)
    }
}

extension EmojiCollectionView: UICollectionViewDelegate,UICollectionViewDataSource {
    func numberOfSections(in collectionView: UICollectionView) -> Int {
        return emojiManager.emojiPackages.count
    }

    func collectionView(_ collectionView: UICollectionView, numberOfItemsInSection section: Int) -> Int {
        let emojiPackage = emojiManager.emojiPackages[section]
        return emojiPackage.emojis.count
    }

    func collectionView(_ collectionView: UICollectionView, cellForItemAt indexPath: IndexPath) -> UICollectionViewCell {

        let cell = collectionView.dequeueReusableCell(withReuseIdentifier: "EmojiCell", for: indexPath) as! EmojiCell
        let emojiPackage = emojiManager.emojiPackages[indexPath.section]
        let model = emojiPackage.emojis[indexPath.row]
        cell.model = model

        return cell
    }

    func collectionView(_ collectionView: UICollectionView, didSelectItemAt indexPath: IndexPath) {
        let emojiPackage = emojiManager.emojiPackages[indexPath.section]
        let model = emojiPackage.emojis[indexPath.row]
        emojiBlock?(model)
    }
}

class EmojiFlowLayout: UICollectionViewFlowLayout {

    let row: Int = 4   //行
    let col: Int = 8   //列

    override func prepare() {
        super.prepare()

        //设置宽高
        minimumLineSpacing = 0
        minimumInteritemSpacing = 0
        scrollDirection = .horizontal
        let width = UIScreen.main.bounds.size.width/CGFloat(col)
        itemSize = CGSize( width, height: width)
        let bmHeight = collectionView!.bounds.size.height - width*CGFloat(row)
        sectionInset = UIEdgeInsets(top: 0, left: 0, bottom: bmHeight, right: 0)
        collectionView?.isPagingEnabled = true
        collectionView?.showsVerticalScrollIndicator = false
        collectionView?.showsHorizontalScrollIndicator = false
    }
}

class EmojiCell: UICollectionViewCell {

    var model: EmojiModel? {
        didSet{
            emojiBtn.setImage(UIImage(contentsOfFile: model?.pngPath ?? ""), for: .normal)
            emojiBtn.setTitle(model?.emojiCode, for: .normal)
            if  let model = model {
                if model.isDelete{

                    emojiBtn.setImage(UIImage(contentsOfFile: EmojiManager.shared.deletePath ?? ""), for: .normal)
                }
                if model.isSpace{
                }
            }
        }
    }

    lazy var emojiBtn: UIButton = {
        let button = UIButton()
        button.titleLabel?.font = UIFont.systemFont(ofSize: 30)
        button.isUserInteractionEnabled = false

        return button
    }()

    override init(frame: CGRect) {
        super.init(frame: frame)
        setupUI()
    }

    required init?(coder aDecoder: NSCoder) {
        super.init(coder: aDecoder)
    }

    func setupUI(){
        contentView.addSubview(emojiBtn)
        emojiBtn.snp.makeConstraints { (maek) in
            maek.edges.equalToSuperview()
        }
    }
}
表情输入
- 删除键直接调用textView.deleteBackward()会自动删除一个单元
- 空格键直接return
- emoji表情,找到光标所在位置,通过textView.replace直接替换指定位置的内容为emoji码
- 如果是自定义图片则需要通过富文本NSTextAttachment加载图片,通过可变NSMutableAttributedString将NSTextAttachment加载出来,注意图片资源需要使用绝对路径,设置bounds图片好像不能居中,需要在y轴方向设置有一定偏移,富文本内容设置ok之后通过NSMutableAttributedString replaceCharacters方法将内容填充到指定光标的位置
- 使用富文本需要重新设置字体大小
- 让光标加载完表情之后让光标的位置后移一位
- 主动调用textViewDidChange让键盘监听方法能检测到输入
    private func showEmojiText(emojModel: EmojiModel){
        //删除键
        if emojModel.isDelete{
            self.textView.deleteBackward()
            return
        }
        //空格键
        if emojModel.isSpace{
            return
        }
        //获取emoji并显示UITextView上
        if emojModel.emojiCode != nil {
            //找到光标的位置
            let textRange = textView.selectedTextRange
            textView.replace(textRange!, withText: emojModel.emojiCode!)
            return
        }
        // 本地图片
        let font = textView.font!
        let range = textView.selectedRange
        if emojModel.pngPath != nil {
            let attr = NSMutableAttributedString(attributedString: textView.attributedText)
            let attach = EmojiAttachment()
            attach.absolutePath = emojModel.pngPath
            attach.chs = emojModel.chs
            attach.image = UIImage(contentsOfFile: emojModel.pngPath!)
            attach.bounds = CGRect(x: 0, y: -4,  font.lineHeight, height: font.lineHeight)
            //在光标所在位置插入表情
            attr.replaceCharacters(in: range, with: NSAttributedString(attachment: attach))
            textView.attributedText = attr
        }
        //重新设置字体大小
        textView.font = font

        //让选中的rang+1
        textView.selectedRange = NSRange(location: range.location+1, length: 0)

        //主动调用textDidChange方法
        textViewDidChange(textView)
    }
表情输出
- 我们知道当表情发送的时候,并不是把图片,或者把图片地址发给服务端,而是将图片的别名发送给服务端eg:表情别名 [哈哈]
- 监听textView的代理方法shouldChangeTextIn当用户点击发送按钮时开始检索图片并把图片替换成对应的别名
- NSMutableAttributedString的enumerateAttributes可以快速便利所有的富文本内容
- 通过dict[NSAttributedString.Key.init(rawValue: "NSAttachment")] 是否有值可以检索出所有的图片表情
- 为了能够将别名和NSAttachment绑定,这里创建了一个EmojiAttachment对象继承NSTextAttachment,前面创建EmojiAttachment的时候把别名chs传进来,这里拿到EmojiAttachment
- 通过NSMutableAttributedString replaceCharacters将chs替换到range对应位置并将表情发送出去
    func textView(_ textView: UITextView, shouldChangeTextIn range: NSRange, replacementText text: String) -> Bool {
        if text == "
"{  //点击了发送按钮
            let attr = NSMutableAttributedString(attributedString: textView.attributedText)
            attr.enumerateAttributes(in: NSRange(location: 0, length: textView.attributedText.length), options: []) { (dict, range, _) in
                //替换表情图片为对应的chs
                if let attach = dict[NSAttributedString.Key.init(rawValue: "NSAttachment")] as? EmojiAttachment {
                    attr.replaceCharacters(in: range, with: attach.chs!)
                }
            }
            emojiReturnBlock?(attr.string)
            return false
        }
        return true
    }

class EmojiAttachment: NSTextAttachment {

    /// ‘[哈哈]’
    var chs: String?
}
表情显示
- 当我们收到服务端返回的content的时候,要考虑里面是否包含有表情,如果有表情,则需要将表情筛选出来替换成对应的图片
- 服务端返回内容eg: 1234[哈哈][害羞],如果要将[]的内容筛查出来这里要使用正则表达式 "[.*?]"
- 由于筛选出来的list是个数组,发现替换的时候只有第一组能够正常替换成功,第二种表情替换失败,分析发现当使用图片对应的表情时,图片只占用一个位置,而[哈哈]占用了4个位置,这样替换第二个表情的时候range就不对了,所以后面的表情替换都可能失败,解决这个问题的方法就是从后向前替换表情,使用array.reversed()方法,将NSTextCheckingResult从后向前开始替换
- 替换过程中根据NSTextCheckingResult的range通过substring的方式将[哈哈]截取出来,遍历之前创建的所有表情,找到[哈哈]对应的图片,并使用该图片替换[哈哈]字符串,这样我们在显示的时候看到就是对应图片表情,而不是[哈哈]了
- 正则表达式功能强大,这里只用到了一点皮毛
class EmojiPrase: NSObject {

    /// lineHeight 文字单行高度
    static func findEmojiAttr(emojiText: String, font: UIFont) -> NSMutableAttributedString?{
        //将emojiText转换成富文本
        // 1234[哈哈] ,将哈哈解析出来
        let pattern = "\[.*?\]"

        guard let regular = try? NSRegularExpression(pattern: pattern, options: []) else{
            return nil
        }
        let attr = NSMutableAttributedString(string: emojiText)

        let results = regular.matches(in: emojiText, options: [], range: NSRange(location: 0, length: attr.length))

        //从后往前遍历
        for result in results.reversed(){
            //将字符串截取出来
            let chs = (emojiText as NSString).substring(with: result.range)

            //将字符串截出来然后匹配
            if let pngPath = findChsPngPath(chs: chs){
                let attach = NSTextAttachment()
                attach.image = UIImage(contentsOfFile: pngPath)
                attach.bounds =  CGRect(x: 0, y: -4,  font.lineHeight, height: font.lineHeight)
                attr.replaceCharacters(in: result.range, with: NSAttributedString(attachment: attach))
            }
        }
        return attr
    }

    private static func findChsPngPath(chs: String) -> String?{
        let manager = EmojiManager.shared
        for package in manager.emojiPackages {
            for emoji in package.emojis{
                if chs == emoji.chs{
                    return emoji.pngPath
                }
            }
        }
        return nil
    }
    //拿到label并显示出来
            let emojiInput = EmojiInputView(frame: .zero) { [weak self] (text) in
            let attr = EmojiPrase.findEmojiAttr(emojiText: text, font: (self?.textLabel.font)!)
            self?.textLabel.attributedText = attr
        }
结束语
- 写这边博客的目的是将最近研究的表情键盘的一些知识点和注意点进行归纳和总结,便于以后再用到查验,可能文中还有很多错误和不足的地方,欢迎指正,谢谢