当我们新建一个flask项目时,pycharm通常已经为项目定义了一个基本路由
@app.route('/')
def hello_world():
    return 'Hello World!'
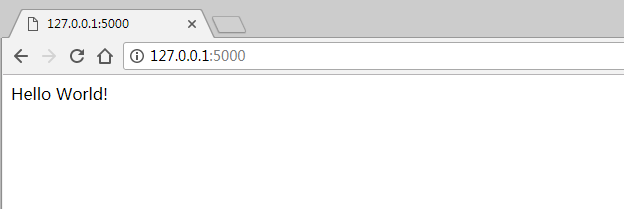
此时在浏览器中输入地址http://127.0.0.1:5000,页面会显示出"Hello World!"的字样
如下图所示
那么此时在flask后台程序中,到底发生了什么事情呢??
在上面的例子中,可以看到对hello_world视图函数被app.route这个有参装假器装饰
来看下app.route这个有参装饰器的内部实现原理
app是Flask主程序的类实例化本项目名得到的一个对象
app = Flask(__name__)
然后调用app对象的route方法来装饰hello_world视图函数
route方法的源码:
def route(self, rule, **options):
    def decorator(f):
        endpoint = options.pop('endpoint', None)
        self.add_url_rule(rule, endpoint, f, **options)
        return f
    return decorator
在用app.route装饰hello_world视图函数的时候,实际上app.route中还可以添加一些参数。
比如指定请求的方法的变量:methods=["GET","POST"]以及指定视图函数的endpoint,相当于Django中视图函数的别名等
在这里,rule参数相当于hello_world视图函数中的"/"路径,options参数中包含methods和endpoint等
在route装饰器里,返回decorator闭包函数。
在decorator闭包函数中,先从options中获取endpoint的值,endpoint的值默认为None
然后调用self.add_url_rule内部方法处理传递的参数rule,endpoint,f等,在这里self指的是app这个对象
查看app对象中的add_url_rule方法:
    @setupmethod
    def add_url_rule(self, rule, endpoint=None, view_func=None, **options):

        if endpoint is None:
            endpoint = _endpoint_from_view_func(view_func)
        options['endpoint'] = endpoint
        methods = options.pop('methods', None)

        # if the methods are not given and the view_func object knows its
        # methods we can use that instead.  If neither exists, we go with
        # a tuple of only ``GET`` as default.
        if methods is None:
            methods = getattr(view_func, 'methods', None) or ('GET',)
        if isinstance(methods, string_types):
            raise TypeError('Allowed methods have to be iterables of strings, '
                            'for example: @app.route(..., methods=["POST"])')
        methods = set(item.upper() for item in methods)

        # Methods that should always be added
        required_methods = set(getattr(view_func, 'required_methods', ()))

        # starting with Flask 0.8 the view_func object can disable and
        # force-enable the automatic options handling.
        provide_automatic_options = getattr(view_func,
            'provide_automatic_options', None)

        if provide_automatic_options is None:
            if 'OPTIONS' not in methods:
                provide_automatic_options = True
                required_methods.add('OPTIONS')
            else:
                provide_automatic_options = False

        # Add the required methods now.
        methods |= required_methods

        rule = self.url_rule_class(rule, methods=methods, **options)
        rule.provide_automatic_options = provide_automatic_options

        self.url_map.add(rule)
        if view_func is not None:
            old_func = self.view_functions.get(endpoint)
            if old_func is not None and old_func != view_func:
                raise AssertionError('View function mapping is overwriting an '
                                     'existing endpoint function: %s' % endpoint)
            self.view_functions[endpoint] = view_func
可以看到,当在视图函数中没有指定endpoint时,程序会调用_endpoint_from_view_func方法为endpoint赋值
def _endpoint_from_view_func(view_func):
    assert view_func is not None, 'expected view func if endpoint '
                                  'is not provided.'
    return view_func.__name__
可以看出,_endpoint_from_view_func实际上返回的就是view_func函数的函数名。
在上面的例子中,view_func指的是hello_world这个视图函数
所以此时,在options这个字典中有一个键为endpoint,对应的值为view_func函数的函数名
接着,程序从options字典中弹出"methods"的值,并对methods中的每个方法转换为大写,如果methods没有从程序中获取,则默认为"GET"
接着,程序从函数中获取"required_methods"的值,并进行去重,默认得到一个空集合
再对methods和required_methods进行"|="操作,也就是按位或运算
    |=(按位或)运算

    >>> a = 15
    >>> bin(a)
    '0b1111'
    >>> b = 100
    >>> bin(b)
    '0b1100100'
    >>> a |= b
    >>> a
    111
    >>> bin(a)
    '0b1101111'
    >>> 0b1101111
    111

    先把a这个十进制数转换成二进制,得到1111
    再把b这个十进制数转换成二进制,得到1100100

    对a和b的二进制格式进行按位或运算

    a   000  0111
    b   110  0100
        110  0111

    因为a转换成二进制只有四位,如果要和b的二进制格式做位运算,则必须在头部填充0到和b的二进制相同的长度,得到"0000111"

    或运算中,只要有一个数为1,则这一位上做或运算的结果就为1
    所以上面两个数做或运算得到的二进制数为"0b1100111"
    把这个二进制数转换成十进制,则为111,把111这个十进制数赋值给a
对methods和required_methods进行按位或运算,实际上就是把required_methods的值添加到methods方法集合里
接着程序调用self.url_rule_class方法处理rule(也就是"/"),methods和options字典
得到rule这个对象,在这里self同样指的是app这个对象
可以看到,url_rule_class指向的是Rule这个类的内存地址
url_rule_class = Rule
然后用Map类实例化得到self.url_map对象,调用self.url_map对象中的add方法处理rule这个对象
self.url_map = Map()
分析了上面的app.route的流程,知道使用app对象的route方法装饰rule,实际上就是执行了add_url_rule这个方法
那如果定义一个视图函数,调用app对象中的add_url_rule方法来处理对应的rule,是不是也可以完成route的装饰器功能呢
    from flask import Flask
    app = Flask(__name__)

    @app.route('/')
    def hello_world():
        return 'Hello World!'

    def login():
        return "登录成功!!"

    app.add_url_rule("/login",endpoint=None,view_func=login,methods=["GET"])
启动这个项目,在浏览器中打开"http://127.0.0.1:5000/login"地址,
得到的效果如下

由些我们可以知道,虽然flask的路由实现表面上是使用了route这个装饰器,实际上内部也是调用app对象中的add_url_rule方法来实现,类似于Django中中路由的用法
多个路由指向同一个视图函数
使用多个路由指向同一个视图函数
from flask import Flask
app = Flask(__name__)

@app.route('/')
def hello_world():
    return 'Hello World!'

def login():
    return "登录成功!!"

@app.route("/index1/")
@app.route("/index2/")
def index():
    return "This is the index page!!"

app.add_url_rule("/login",endpoint=None,view_func=login,methods=["GET"])
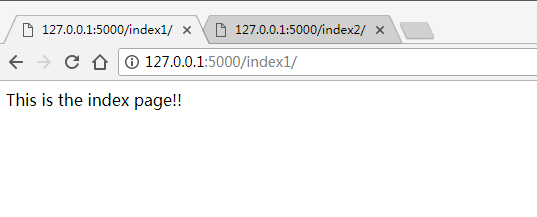
启动项目,在浏览器中分别打开http://127.0.0.1:5000/index1/和http://127.0.0.1:5000/index2/,可以看到前端页面指向同一个页面

使用正则表达式进行路由匹配
在Django中,可以有路由系统中调用正则表达式进行路由规则匹配,在flask中调用werkzeug插件也可以实现这个功能
from flask import Flask, render_template, redirect
from werkzeug.routing import BaseConverter

class RegexConverter(BaseConverter):
    def __init__(self,url_map,*items):
        super(RegexConverter,self).__init__(url_map)
        self.regex = items[0]

app = Flask(__name__)
app.debug = True
app.url_map.converters['regex'] = RegexConverter

@app.route('/')
def hello_world():
    return 'Hello World!'

@app.route('/user/<regex("[0-9]{4}"):user_id>')
def user1(user_id):
    return "User %s" % user_id

@app.route('/user/<regex("[a-z]{4,8}"):user_id>')
def user2(user_id):
    return "User %s" % user_id

@app.route("/index1/")
@app.route("/index2/")
def index():
    return "This is the index page!!"

@app.errorhandler(404)
def page_not_found(error):
    return render_template('404.html'),404

if __name__ == '__main__':
    app.run(debug=True)
启动项目,就可以使用正则表达式进行用户名的规则匹配了
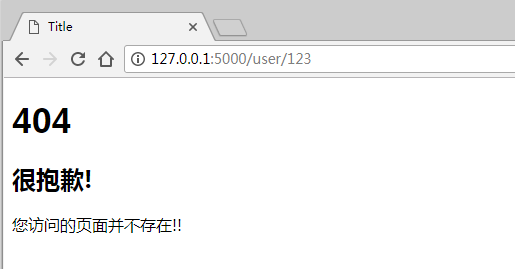
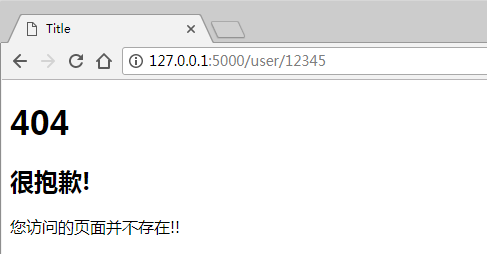
在上面的例子里,用户名可以由4位数字或4到8位的小写字母组成,还实现了404页面的路由
当用户输入的路由返回状态码为404时,执行page_not_found这个视图函数
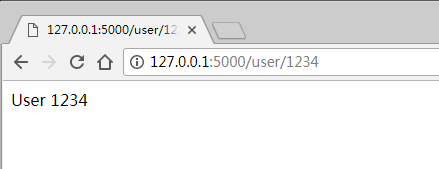
用浏览器分别打开包含不同类型用户名的URL,可以看到实现了正则表达式进行URL匹配
例1:输入3位数字的用户名
例2:输入4位数字的用户名
例3:输入5位数字的用户名
例4:输入3位小写字母的用户名
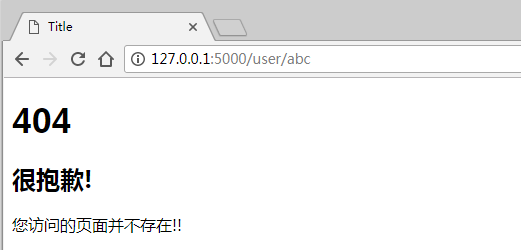
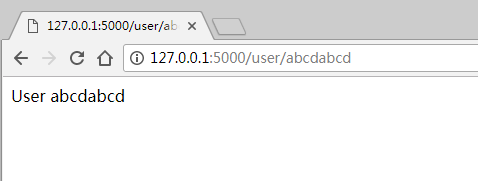
例5:输入4到8位小写字母的用户名

例6:输入9位小写字母的用户名

由此可以实现在路由中完成正则表达式的规则匹配了