1. 安装git2.7
git2.7具体安装步骤如下:
[root@host1 ~]# yum install curl-devel expat-devel gettext-devel openssl-devel zlib-devel gcc-c++ perl-ExtUtils-MakeMaker -y
[root@host1 src]# pwd
/usr/local/src
[root@host1 src]# wget https://github.com/git/git/archive/v2.7.4.zip
[root@host1 src]# ll
total 6756
-rw-r--r-- 1 root root 6918037 Nov 5 15:45 v2.7.4.zip
[root@host1 src]# unzip v2.7.4.zip
[root@host1 src]# cd git-2.7.4/
[root@host1 git-2.7.4]# make prefix=/usr/local/get all
[root@host1 git-2.7.4]# make prefix=/usr/local/git install
[root@host1 git-2.7.4]# rm -rf /usr/bin/git (删除原来的git1.8版本的软连接)
[root@host1 git-2.7.4]# ln -s /usr/local/git/bin/git /usr/bin/git (重新创建git2.7版本的软连接)
[root@host1 git-2.7.4]# git --version (查看git版本)
git version 2.7.4
2. git相关操作命令
git安装完成后,需要进行初始化操作,可以新建git有关目录。
git初始化
新建git有关目录:[root@host1 ~]# mkdir /git-test
初始化git:
[root@host1 ~]# cd /git-test/
[root@host1 git-test]# pwd
/git-test
[root@host1 git-test]# git init
Initialized empty Git repository in /git-test/.git/
添加版本库信息(提交代码或者文件的用户,邮箱等信息):
[root@host1 git-test]# git config --global user.name "rybtest"
[root@host1 git-test]# git config --global user.email "rybtest@163.com"
查看git 配置信息:
[root@host1 git-test]# git config --list
user.name=rybtest
user.email=rybtest@163.com
core.repositoryformatversion=0
core.filemode=true
core.bare=false
core.logallrefupdates=true
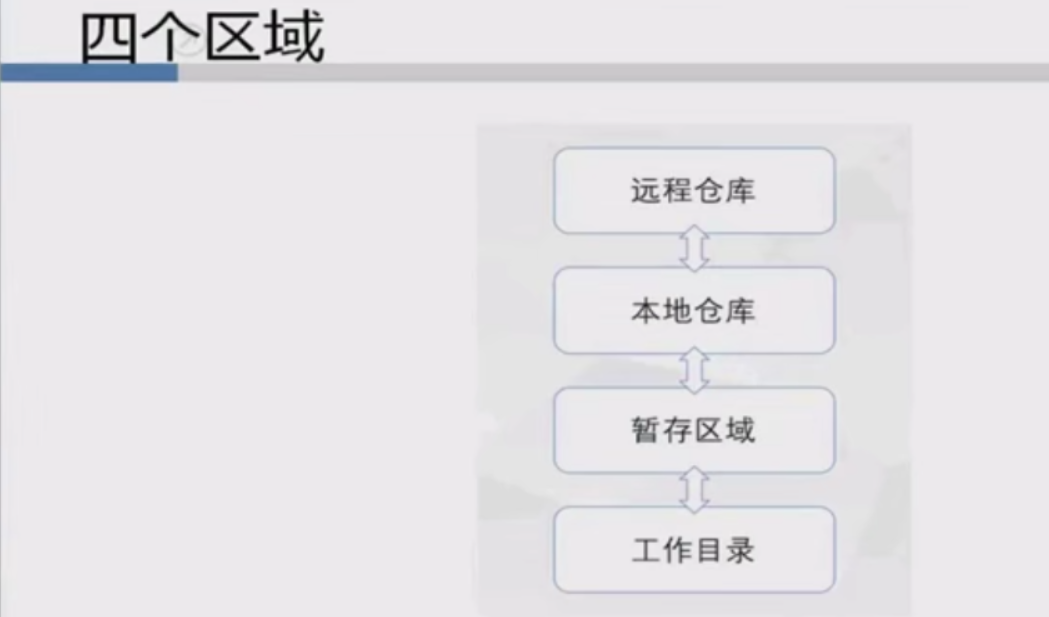
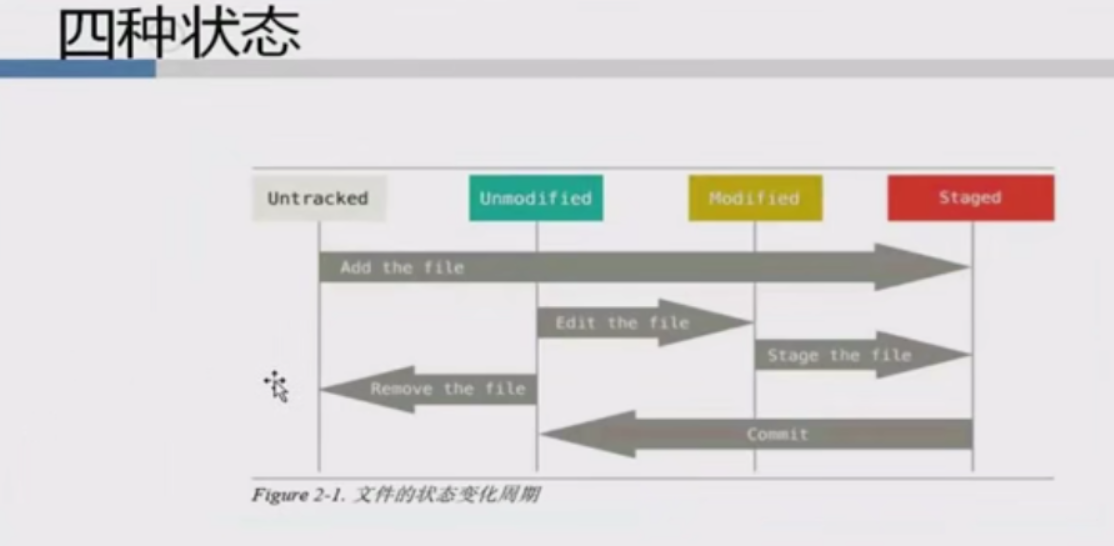
3. git基本原理
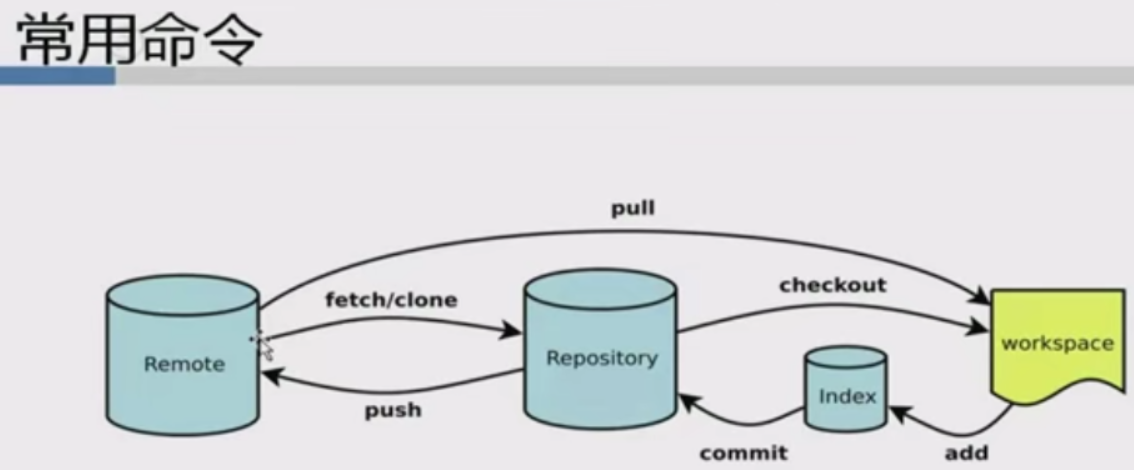
4. git常用命令

查看历史版本:[root@host1 git-test]# git log
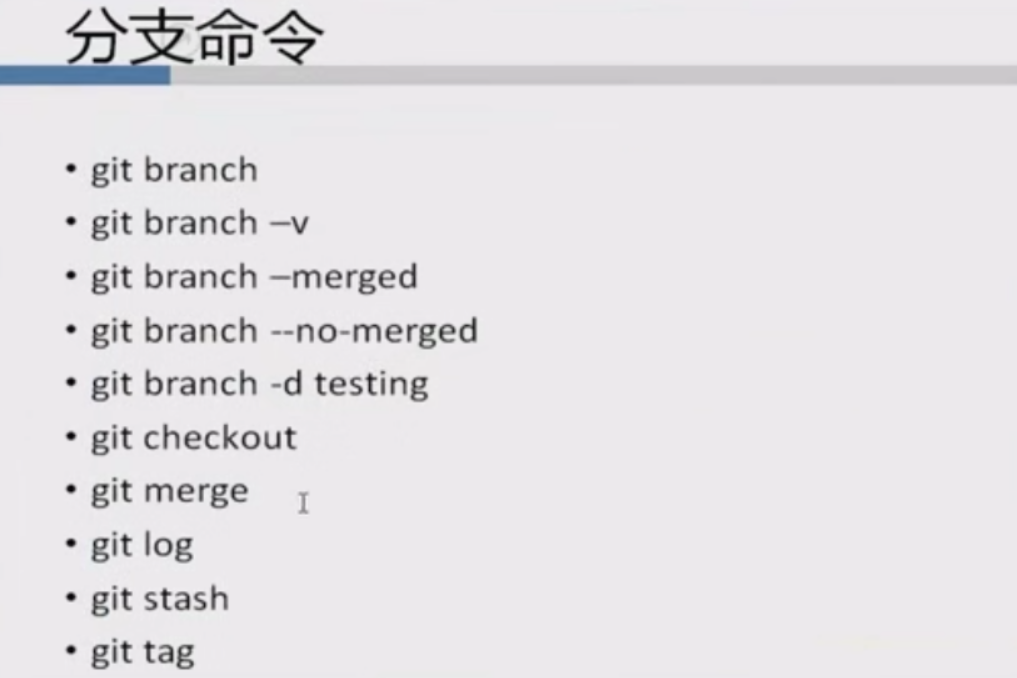
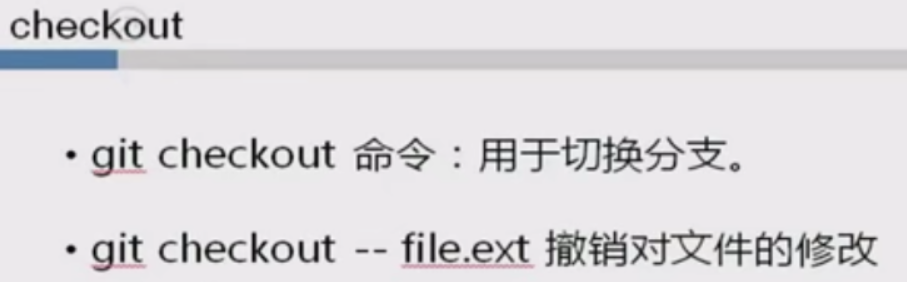
5. git 分支管理
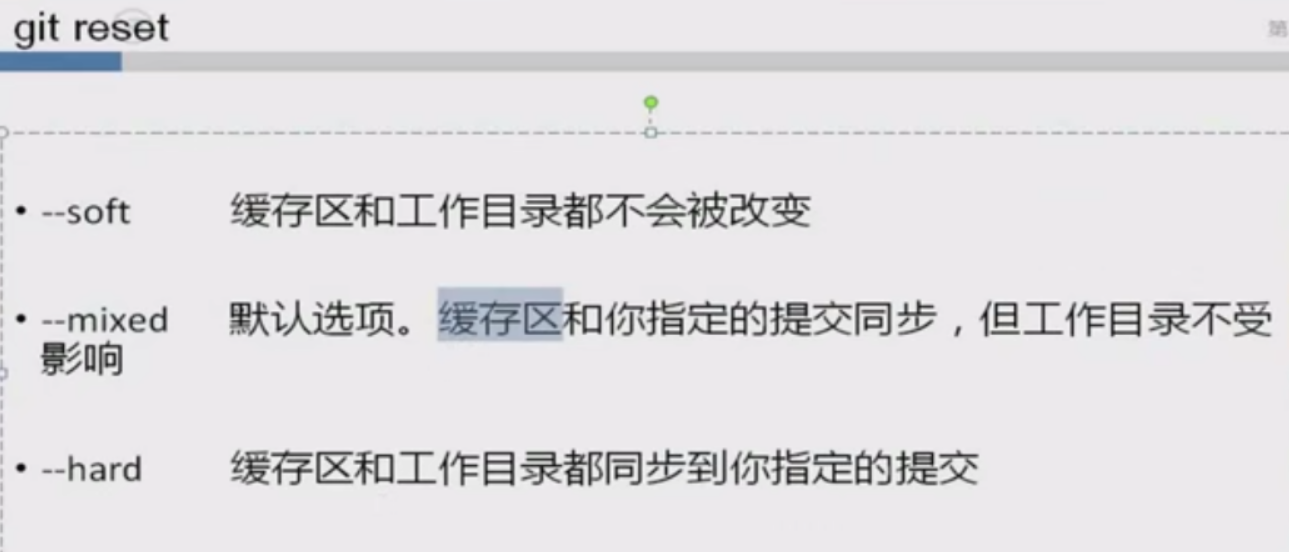
6. git高级管理


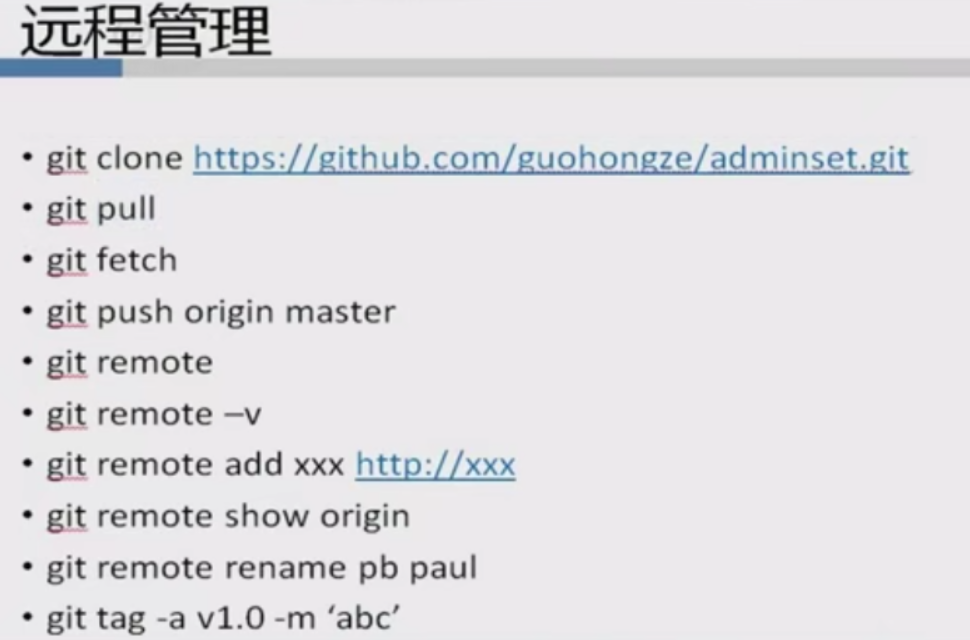
7. git远程管理
8. gitlab安装配置
具体安装步骤如下:
[root@host1 git-test]# yum install curl policycoreutils openssl-server openssh-clients
[root@host1 git-test]# systemctl enable sshd
[root@host1 git-test]# systemctl start sshd
[root@host1 git-test]# yum install postfix -y
[root@host1 git-test]# systemctl enable postfix
[root@host1 git-test]# systemctl start postfix
[root@host1 ~]# rpm -ivh gitlab-ce-8.9.0-ce.0.el7.x86_64.rpm
安装完成后开始进行配置:
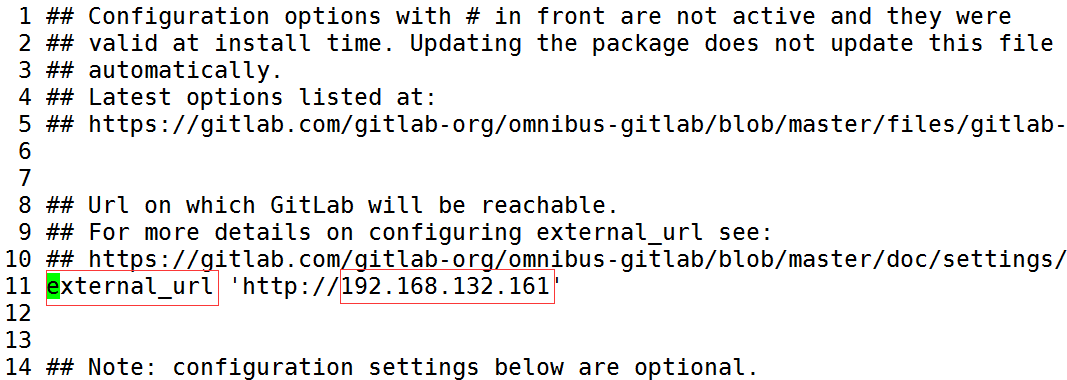
[root@host1 ~]# vim /etc/gitlab/gitlab.rb
[root@host1 ~]# gitlab-ctl reconfigure (执行此命令使修改生效,此命令执行大概需要10分钟 左右时间 会比较长)
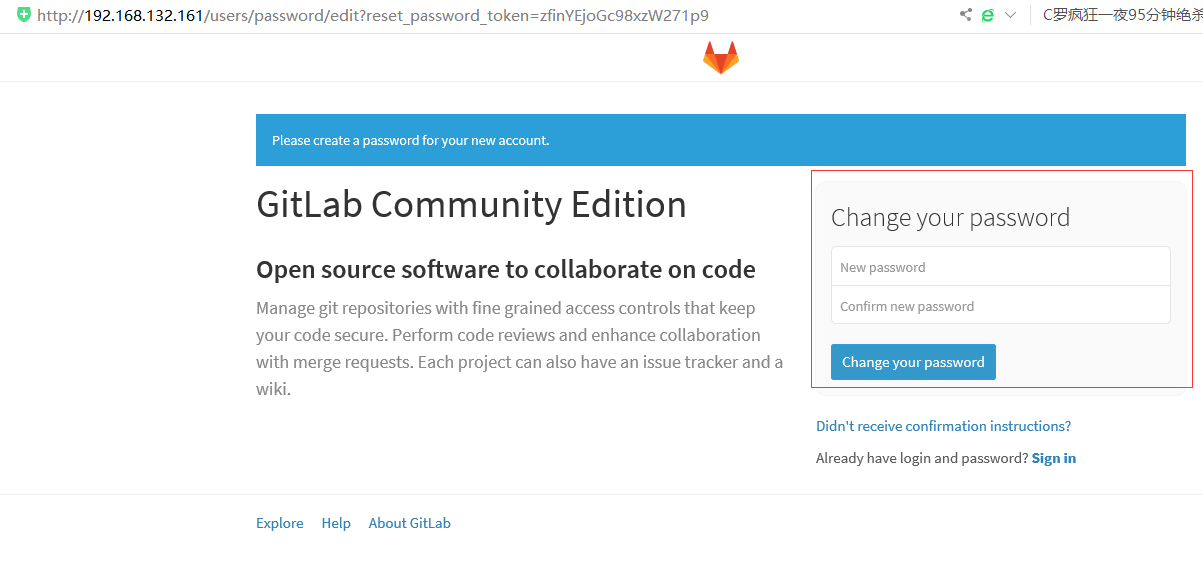
在浏览器里输入IP地址进行访问:http://192.168.132.161 ,有时候会报如下错误提示:一般都是由于内存太小导致,加大内存,最小2048MB内存,问题解决。
Whoops, GitLab is taking too much time to respond
加大内存问题解决后,再次输入本机ip地址访问成功如下图:需要设置密码,自定义即可!
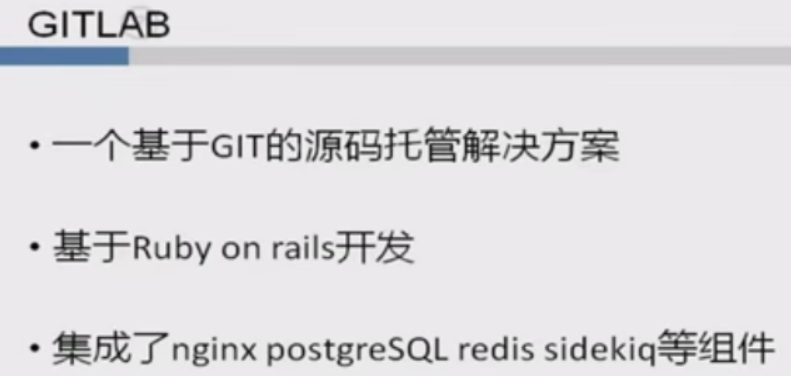
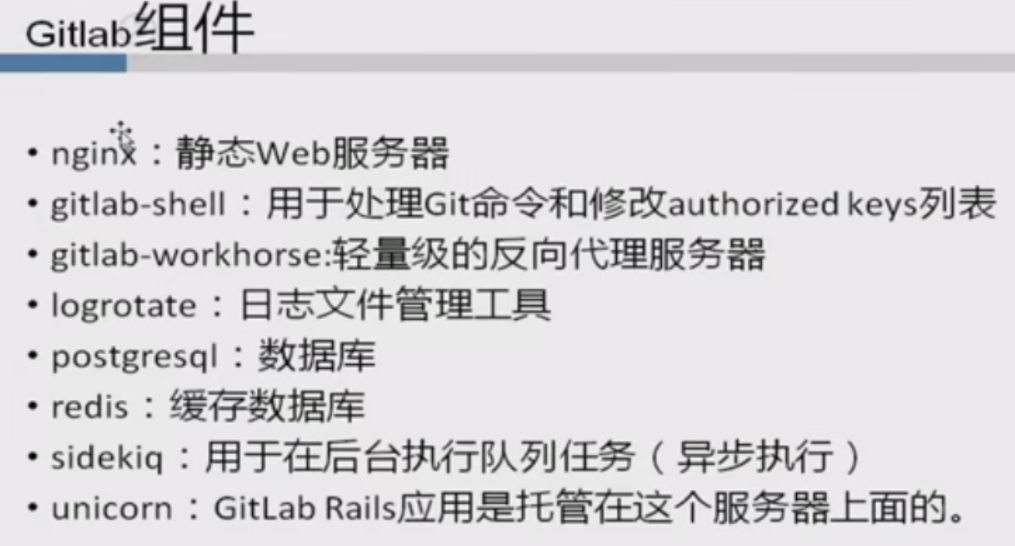
GITLAB介绍:


9. gitlab权限管理