一、nginx实现静态文件缓存实战
1、nginx静态文件缓存
如果要熟练使用nginx来实现文件的缓存,那下面的几个指令你必须要牢记于心
(1)指令1:proxy_cache_path
作用:设置缓存数据的相关信息

    Syntax:     proxy_cache_path path [levels=levels] [use_temp_path=on|off] keys_zone=name:size [inactive=time] [max_size=size] [manager_files=number] [manager_sleep=time] [manager_threshold=time] [loader_files=number] [loader_sleep=time] [loader_threshold=time] [purger=on|off] [purger_files=number] [purger_sleep=time] [purger_threshold=time];
    Default:     —
    Context:     http

    值:
        path:缓存目录的位置
        levels:指定使用几级缓存目录
        keys_zone:指定缓存区域的名称和缓存空间的大小

    例子:
        proxy_cache_path /data/nginx/cache levels=1:4 keys_zone=mycache:10m;
    说明
        1:表示一级目录可以由1个字符来构成
        4:表示二级目录可以由4个字符来构成
        mycache:是这个缓存区域的名称
        10m:可以缓存10M大小的数据

    缓存结果
        /data/nginx/cache/c/29ad/b7f54b2df7773722d382f4809d65029c

    说明
        /data/nginx/cache/:这里是缓存目录
        c:因为一级目录可以由1个字符构成,所有这里随机出现一个c
        29ad:二级目录由4个随机字符构成
        b7f54b2df7773722d382f4809d65029c:缓存的数据
(2)指令2:proxy_cache
作用:调用缓存

    Syntax:     proxy_cache zone | off;
    Default:     proxy_cache off;
    Context:     http, server, location
    注意:      该指令写在不同的位置,缓存数据对象也不同
(3)指令3:proxy_cache_min_uses
作用:指定一个文件至少需要被用户访问多少次以后,才会被缓存,默认1

    Syntax:     proxy_cache_min_uses number;
    Default:     proxy_cache_min_uses 1;
    Context:     http, server, location
(4)指令4:proxy_cache_purge
Syntax:     proxy_cache_purge string ...;
    Default:     —
    Context:     http, server, location

    使用场景:上游服务器中的资源发生了更改,但是缓存中的数据尚未过去,这个时候就需要手动执行purge让缓存中的数据过去
    使用举例:
        http {
            proxy_cache_path /data/nginx/cache levels=1:4 keys_zone=mycache:10m;

            server {
                listen 10.220.5.196:80;
                location / {
                    proxy_pass http://10.220.5.180:80:
                    proxy_cache mycache;
                    ....
                    ....
                }

                location = /cleanCache {
                    allow=
                    deny=
                    proxy_cache_purge mycache;  #这里需要指定上面定义的缓存名称
                    ...
                    ...
                    ...
                }
            }
        }
(5)指令5:proxy_cache_valid
作用:定义缓存数据的有效期

    Syntax:     proxy_cache_valid [code ...] time;
    Default:     —
    Context:     http, server, location

    例子:
        proxy_cache_valid 200 302 10m;
        proxy_cache_valid 301      1h;
        proxy_cache_valid any      1m;
(6)指令6:proxy_cache_key
作用:指定缓存的key的名称

    Syntax:     proxy_cache_key string;
    Default:     proxy_cache_key $scheme$proxy_host$request_uri;
    Context:     http, server, location

    例子:
        proxy_cache_key "$host$request_uri $cookie_user";
        proxy_cache_key "$uri"
2、nginx实现缓存配置
(1)环境准备
centos7.5
NGINX服务器端IP:172.20.10.8/28
HTTPD服务器端IP:172.20.10.7/28
HTTPD服务器端IP:172.20.10.9/28
客户端IP:172.20.10.4/28
(2)NGINX服务器端
使用yum下载nginx需要使用网络yum源,复制下面的代码到你的yum仓库即可下载
[ken]
name=ken
enabled=1
gpgcheck=0
baseurl=https://mirrors.aliyun.com/epel/7Server/x86_64/
下载nginx
[root@ken ~]# yum install nginx -y
配置nginx文件
# For more information on configuration, see:
#   * Official English Documentation: http://nginx.org/en/docs/
#   * Official Russian Documentation: http://nginx.org/ru/docs/

user nginx;
worker_processes auto;
error_log /var/log/nginx/error.log;
pid /run/nginx.pid;

# Load dynamic modules. See /usr/share/nginx/README.dynamic.
include /usr/share/nginx/modules/*.conf;

events {
    worker_connections 1024;
}

http {
    log_format  main  '$remote_addr - $remote_user [$time_local] "$request" '
                      '$status $body_bytes_sent "$http_referer" '
                      '"$http_user_agent" "$http_x_forwarded_for"';
 access_log  /var/log/nginx/access.log  main;

    sendfile            on;
    tcp_nopush          on;
    tcp_nodelay         on;
    keepalive_timeout   65;
    types_hash_max_size 2048;

    include             /etc/nginx/mime.types;
    default_type        application/octet-stream;

    # Load modular configuration files from the /etc/nginx/conf.d directory.
    # See http://nginx.org/en/docs/ngx_core_module.html#include
    # for more information.
    #include /etc/nginx/conf.d/*.conf;
proxy_cache_path /ken levels=1:2 keys_zone=kenken:100m;
add_header host $server_addr;
add_header cachestatus $upstream_cache_status;   #添加本条可以在浏览器中看到是否命中缓存
    server {
        listen       80 default_server;
 listen       [::]:80 default_server;
        server_name  _;
        root         /var/www/html;

        # Load configuration files for the default server block.
        # include /etc/nginx/default.d/*.conf;

        location / {
        proxy_pass http://172.20.10.7:80;
        proxy_set_header host $host;
        proxy_set_header realip $remote_addr;

        proxy_cache kenken;
        proxy_cache_min_uses 3;
        proxy_cache_valid any 10m;
        }
    }
}
创建缓存目录
[root@ken ~]# mkdir /ken
更改缓存目录的属主和属组
[root@ken ~]# chown -R nginx.nginx /ken
启动nignx
[root@ken ~]# systemctl start nginx
[root@ken ~]# ss -tnl | grep 80
LISTEN     0      128          *:80                       *:*
LISTEN     0      128         :::80                      :::*
3、配置web服务端
下载httpd
[root@ken ~]# yum install httpd -y
准备测试文件
[root@ken ~]# echo "this is 172.20.10.7 for test">>/var/www/html/index.html
启动httpd
[root@ken ~]# systemctl restart httpd
4、浏览器测试
输入nginx服务器端的IP地址
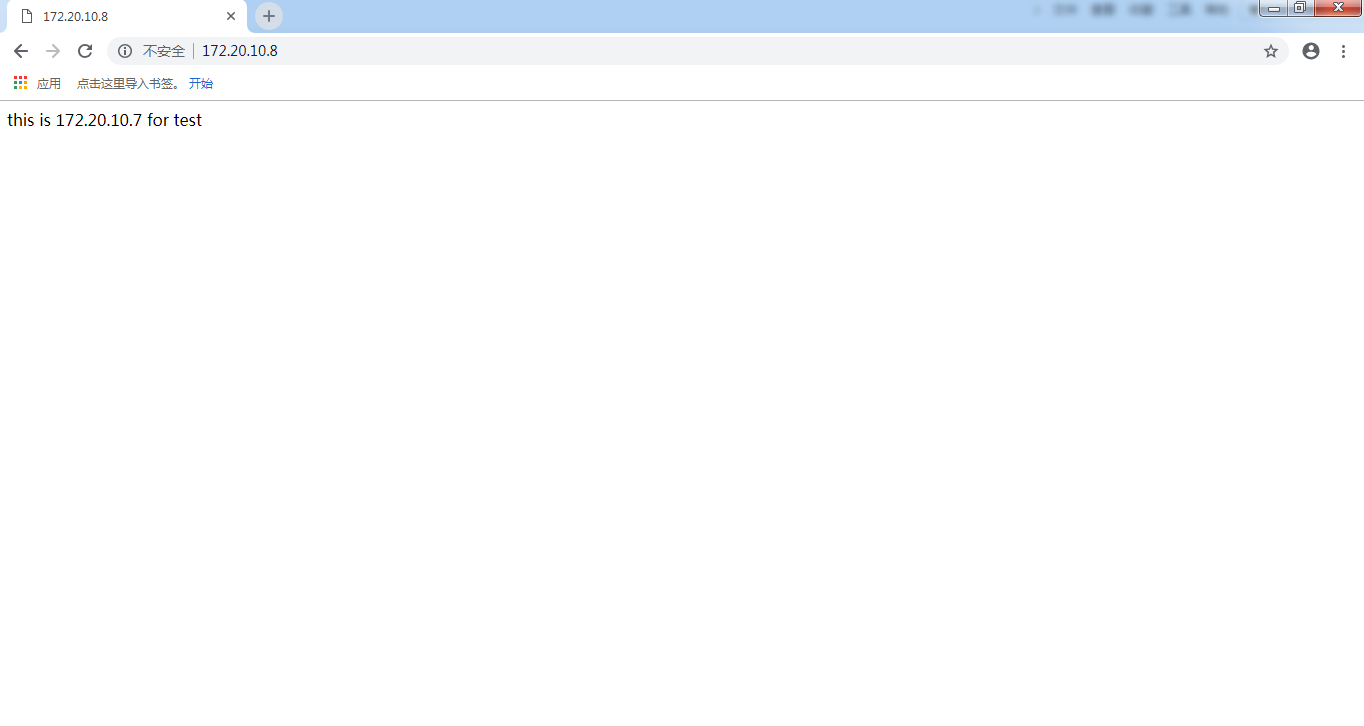
输入172.20.10.8的地址成功访问172.20.10.7的页面
查看web服务器端的访问日志
[root@ken ~]# tail -f /var/log/httpd/access_log

172.20.10.8 - - [02/Oct/2018:22:40:43 +0800] "GET / HTTP/1.0" 200 29 "-" "Mozilla/5.0 (Windows NT 6.1; WOW64) AppleWebKit/537.36 (KHTML, like Gecko) Chrome/69.0.3497.92 Safari/537.36"
成功捕捉到来自172.20.10.8的访问请求
我们去查看nginx服务端是否已经有缓存产生
[root@ken /]# ls /ken/e/55/58be92261b4ffa2c4fe7e92be2f0255e
测试成功!
在nginx服务器端已经产生了缓存,再次刷新浏览器界面,在web服务器端都不会再产生访问日志,因为现在客户请求是直接从缓存提取的,没有再往后方节点来访问文件,这样可以大大提高网站的负载和并发能力。
二、NGINX实现动态文件缓存实战
在完成了上面的静态文件缓存之后,相信动态文件的缓存对你来说也是轻而易举了,下面我们一鼓作气完成对动态文件的缓存吧。
1、环境准备
centos7.5
NGINX服务器端IP:172.20.10.8/28
WEB服务器端IP:172.20.10.9/28
2、配置NGINX服务器端
下载php
[root@ken ~]# yum install php php-fpm -y
配置nginx文件

# For more information on configuration, see:
#   * Official English Documentation: http://nginx.org/en/docs/
#   * Official Russian Documentation: http://nginx.org/ru/docs/

user nginx;
worker_processes auto;
error_log /var/log/nginx/error.log;
pid /run/nginx.pid;

# Load dynamic modules. See /usr/share/nginx/README.dynamic.
include /usr/share/nginx/modules/*.conf;

events {
    worker_connections 1024;
}

http {
    log_format  main  '$remote_addr - $remote_user [$time_local] "$request" '
                      '$status $body_bytes_sent "$http_referer" '
                      '"$http_user_agent" "$http_x_forwarded_for"';
 access_log  /var/log/nginx/access.log  main;

    sendfile            on;
    tcp_nopush          on;
    tcp_nodelay         on;
    keepalive_timeout   65;
    types_hash_max_size 2048;

    include             /etc/nginx/mime.types;
    default_type        application/octet-stream;

    # Load modular configuration files from the /etc/nginx/conf.d directory.
    # See http://nginx.org/en/docs/ngx_core_module.html#include
    # for more information.
    #include /etc/nginx/conf.d/*.conf;
fastcgi_cache_path /kenken levels=1:2 keys_zone=kenken:100m;
add_header host $server_addr;
add_header cachestatus $upstream_cache_status;
    server {
        listen       80 default_server;
 listen       [::]:80 default_server;
        server_name  _;
        root         /var/www/html;
        index index.php;
        # Load configuration files for the default server block.
        # include /etc/nginx/default.d/*.conf;

        location ~^/.*(.php)$ {
        fastcgi_pass 172.20.10.9:9000;
        fastcgi_index index.php;
        include fastcgi.conf;

        fastcgi_cache kenken;
        fastcgi_cache_valid any 10m;
        fastcgi_cache_key $request_uri;
        }
}
}
创建缓存目录,并修改权限
[root@ken ~]# mkdir /kenken
[root@ken ~]# chown -R nginx.nginx /kenken
nginx语法检测
[root@ken ~]# nginx -t
nginx: the configuration file /etc/nginx/nginx.conf syntax is ok
nginx: configuration file /etc/nginx/nginx.conf test is successful
启动nginx
[root@ken ~]# systemctl restart nginx
3、配置web服务器端
下载所需服务程序
[root@ken ~]# yum install httpd php-fpm php -y
配置php-fpm
[root@ken ~]# vim /etc/php-fpm.d/www.conf
...
 10 ;   '/path/to/unix/socket' - to listen on a unix socket.
 11 ; Note: This value is mandatory.
 12 listen = 172.20.10.9:9000   #修改为本机ip地址
 13
 14 ; Set listen(2) backlog. A value of '-1' means unlimited.
 15 ; Default Value: -1
 16 ;listen.backlog = -1
 17
 18 ; List of ipv4 addresses of FastCGI clients which are allowed to connect.
 19 ; Equivalent to the FCGI_WEB_SERVER_ADDRS environment variable in the original
 20 ; PHP FCGI (5.2.2+). Makes sense only with a tcp listening socket. Each address
 21 ; must be separated by a comma. If this value is left blank, connections will be
 22 ; accepted from any ip address.
 23 ; Default Value: any
 24 listen.allowed_clients = 172.20.10.8  #修改为nginx服务端地址
...
启动php-fpm
[root@ken ~]# systemctl restart php-fpm
[root@ken ~]# ss -tnl
State       Recv-Q Send-Q               Local Address:Port                              Peer Address:Port
LISTEN      0      128                    172.20.10.9:9000                                         *:*
准备动态测试文件
[root@ken ~]# cd /var/www/html/
[root@ken html]# ls
index.html
[root@ken html]# vim index.php
<?php
phpinfo();
?>
重启nginx
[root@ken ~]# systemctl restart nginx
浏览器输入nginx服务端ip地址进行测试
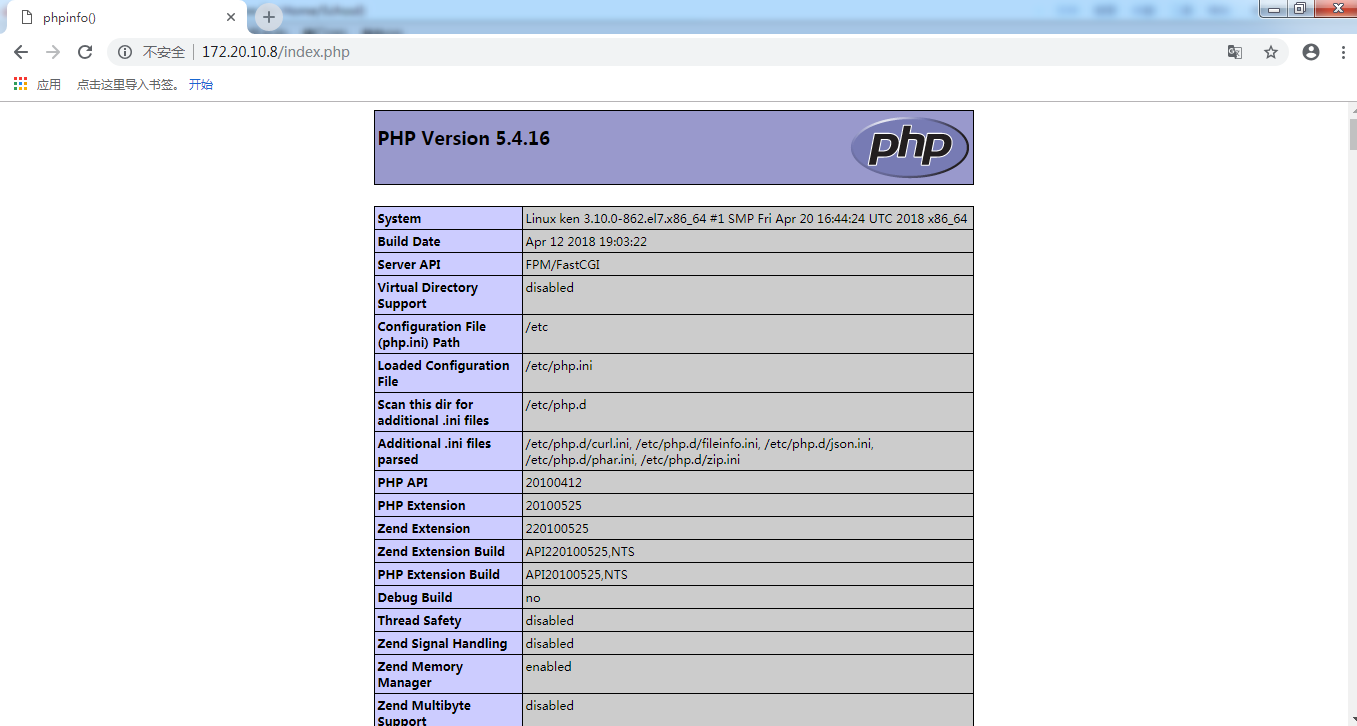
访问成功,刷新几次查看nginx是否已经产生缓存
[root@ken ~]# ls /kenken/
1/ b/ e/
[root@ken ~]# ls /kenken/b/fe/c86156f7dcfecf44876ca30d1bac7feb
动态文件缓存成功!