关于Spring的书籍都会花很大篇幅来讲解Spring如何注入各种bean的问题,非常令人头疼,自己在工作中还从来没有用到过。
所以就要跳过那些篇章,直接学习基于注解的组件扫描。

发现spring2是不支持组件自动扫描的,所以上一篇spring的代码要做改动
1重新从myeclipse导入spring3的library
2更改applicationContext.xml,支持spring3,且填入一句<context:component-scan base-package="org.example"/>
<?xml version="1.0" encoding="UTF-8"?>
<beans xmlns:xsi="http://www.w3.org/2001/XMLSchema-instance" xmlns="http://www.springframework.org/schema/beans"
    xmlns:cache="http://www.springframework.org/schema/cache" xmlns:context="http://www.springframework.org/schema/context"
    xmlns:task="http://www.springframework.org/schema/task" xmlns:tx="http://www.springframework.org/schema/tx"
    xsi:schemaLocation="
           http://www.springframework.org/schema/beans   http://www.springframework.org/schema/beans/spring-beans-3.2.xsd
           http://www.springframework.org/schema/cache   http://www.springframework.org/schema/cache/spring-cache-3.2.xsd
           http://www.springframework.org/schema/context http://www.springframework.org/schema/context/spring-context-3.2.xsd
           http://www.springframework.org/schema/task    http://www.springframework.org/schema/task/spring-task-3.2.xsd
           http://www.springframework.org/schema/tx      http://www.springframework.org/schema/tx/spring-tx-3.2.xsd
       "
    default-lazy-init="true">

    <context:component-scan base-package="org.example"/>

</beans>
3加入新的测试方法:
    /**
    * @Title: testComponentScan
    * @Description: 测试组件扫描机制
    * @param     设定文件
    * @return void    返回类型
    * @throws
     */
    @Test
    public void testComponentScan(){
        String conf = "applicationContext.xml";
        ApplicationContext ac = new ClassPathXmlApplicationContext(conf);
        ExampleBean example = ac.getBean("exampleBean",ExampleBean.class);
        example.Execute();
    }
4输出结果

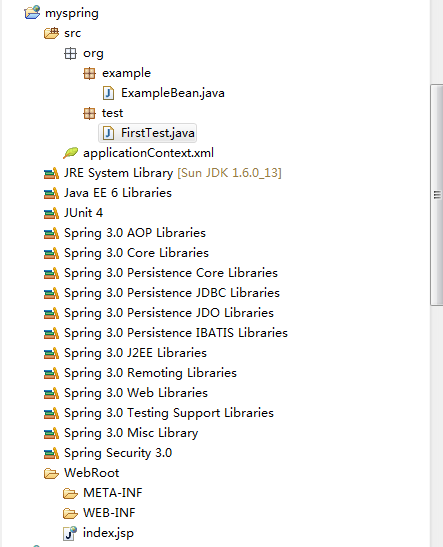
目录截图: