在做特征匹配等图像处理的项目时,需要用到SURF和ORB等特征提取算法,这就需要用到配置xfeatures.hpp头文件以及相应的库。但是这一模块3.0版本以后以opencv_contrib模块独立出来,所以在使用这一模块时,需要对其进行编译。下面介绍OpenCV及其相应的opencv_contrib的编译步骤。
首先进入OpenCV的github网页:OpenCV · GitHub ,打开界面如下:
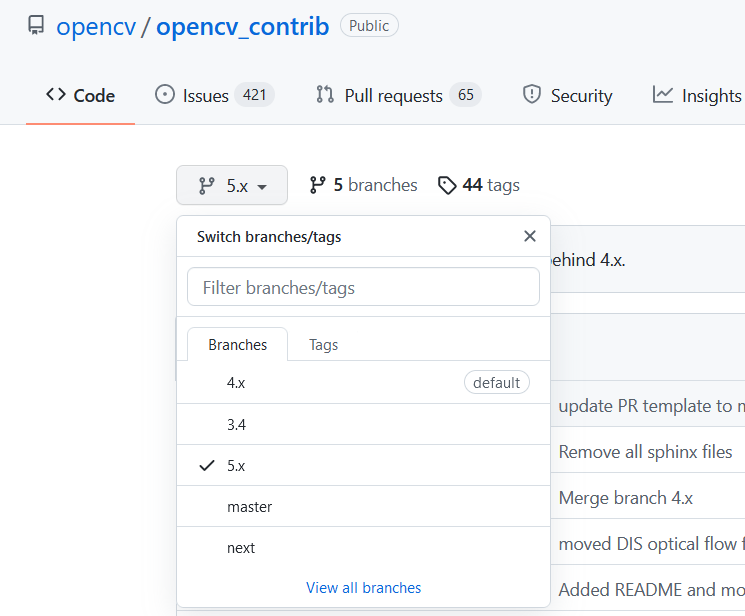
然后,分别点击opencv和opencv_contrib页面,并分别选择下载5.x版本的压缩包,下载页面如下:

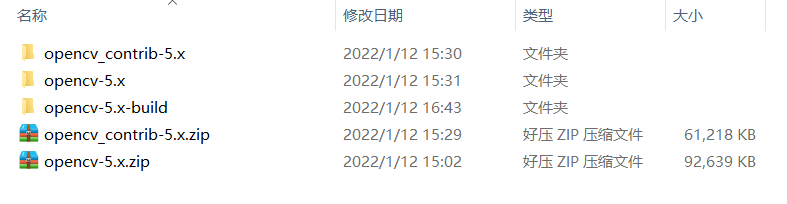
将两个下载好的压缩包解压到相应的文件夹下,然后新建build文件夹,存放编译的文件:
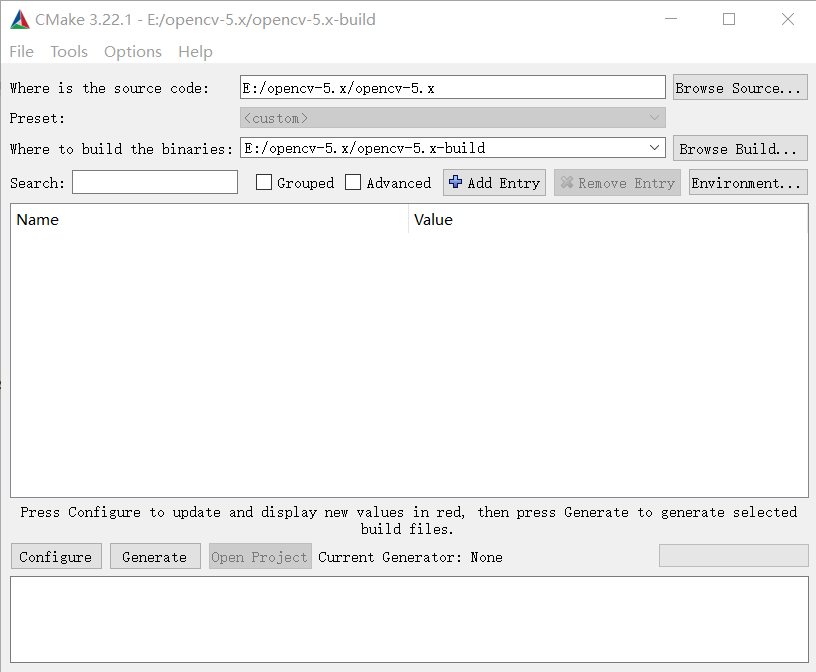
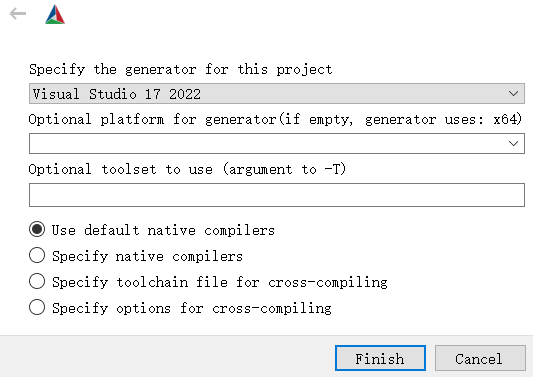
打开cmake,然后在Where is the source code一栏填入opencv-5.x源代码的目录,在Where to build the binaries一栏填入新建的opencv-5.x-build目录,选择Visual Studio 17 2022,点击Configure:
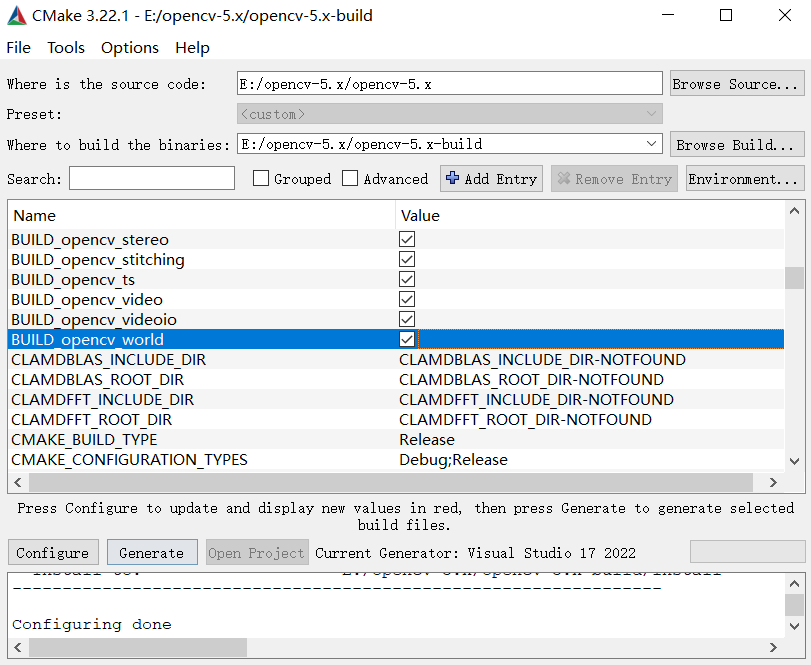
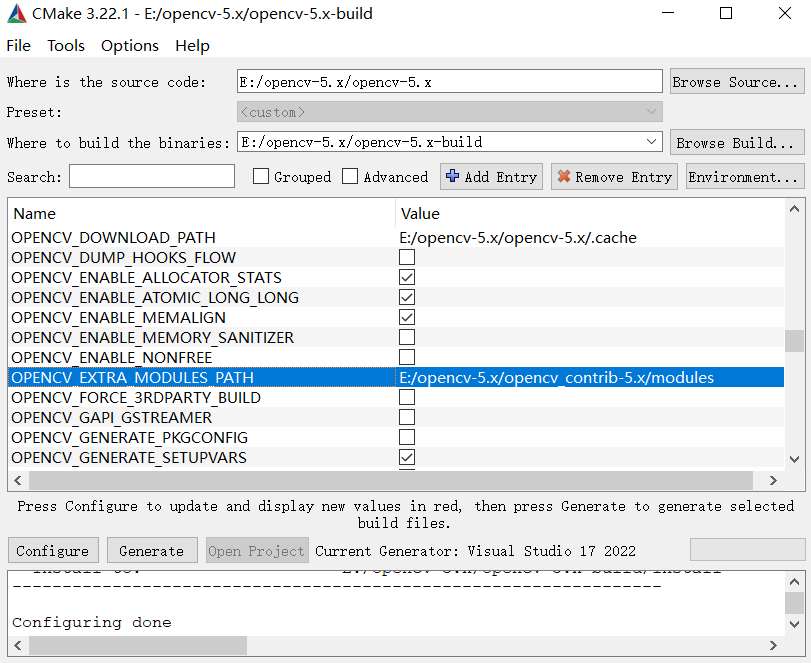
Configure完毕后,出现如下界面,需要在BUILD_opencv_world一栏打勾,在OPENCV_EXTRA_MODULES_PATH一栏填入opencv_contrib-5.x下面modules所在目录,然后点击Generate:
Generate完成后,在“目的路径”----opencv-5.x-build目录下找到OpenCV.sln文件:

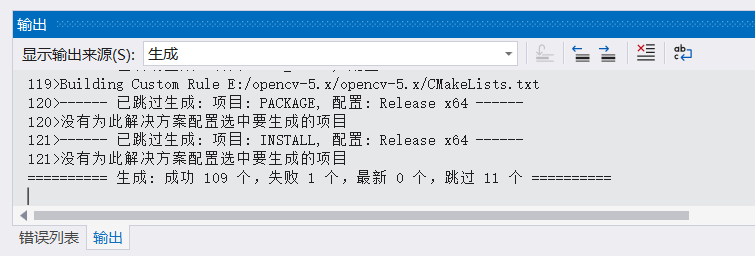
选择VS 2022打开该工程文件,选择Release x64,点击 生成 >>>生成解决方案,开始编译。编译结束后,结果如下:
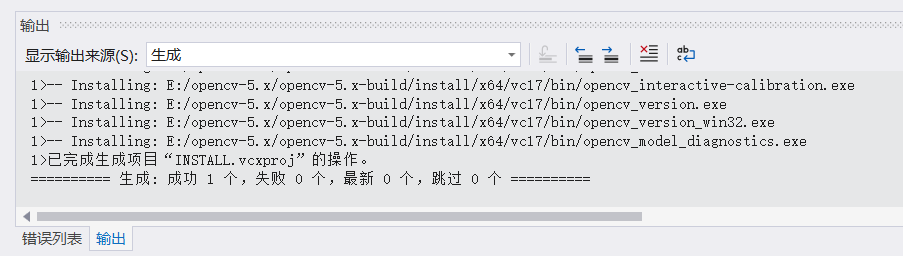
然后,找到CMakeTargets目录,在INSTALL选型右键,选择 仅用于项目>>>仅生成INSTALL,即可编译生成dll相关文件,编译过程如下:
之后,就可以在项目属性里面编辑:在 VC++目录>>>包含目录 下填写:E:\opencv-5.x\opencv-5.x-build\install\include E:\opencv-5.x\opencv-5.x-build\install\include\opencv2
在 VC++目录>>>库目录 下填写:E:\opencv-5.x\opencv-5.x-build\install\x64\vc17\lib
在 链接器>>>输入>>>附加依赖项 中填写:opencv_world500.lib,则完成一个项目的配置。
下面以ORB匹配算法验证环境配置是否正确,实现ORB匹配算法的代码如下:
#include <opencv2\opencv.hpp>
#include <opencv2\core\core.hpp>
#include <opencv2\highgui\highgui.hpp>

#include <opencv2\imgproc\imgproc.hpp>
#include <opencv2\imgproc\types_c.h>

#include <opencv2\xfeatures2d.hpp>
#include <opencv2\xfeatures2d\nonfree.hpp>

#include <cmath>
#include <vector>

using namespace cv;
using namespace std;

void main()
{
    double start = static_cast<double>(getTickCount());

    Mat src1, gray1, src2, gray2;
    src1 = imread("img_0.bmp");
    src2 = imread("img_1.bmp");

    cvtColor(src1, gray1, CV_BGR2GRAY);
    cvtColor(src2, gray2, CV_BGR2GRAY);

    morphologyEx(gray1, gray1, MORPH_GRADIENT, Mat());
    morphologyEx(gray2, gray2, MORPH_GRADIENT, Mat());

    vector<KeyPoint> keypoints1, keypoints2;
    Mat image1_descriptors, image2_descriptors;

    //采用ORB算法提取特征点
    Ptr<ORB> orb = ORB::create(500);
    orb->setFastThreshold(0);

    orb->detectAndCompute(gray1, Mat(), keypoints1, image1_descriptors);
    orb->detectAndCompute(gray2, Mat(), keypoints2, image2_descriptors);

    BFMatcher matcher(NORM_HAMMING, true);   //汉明距离做为相似度度量

    vector<DMatch> matches;
    matcher.match(image1_descriptors, image2_descriptors, matches);

    sort(matches.begin(), matches.end());

    Mat match_img;

    //保存匹配对序号
    vector<int> queryIdxs(matches.size()), trainIdxs(matches.size());
    for (size_t i = 0; i < matches.size(); i++)
    {
        queryIdxs[i] = matches[i].queryIdx;
        trainIdxs[i] = matches[i].trainIdx;
    }

    Mat H12;  //变换矩阵

    vector<Point2f> points1; KeyPoint::convert(keypoints1, points1, queryIdxs);
    vector<Point2f> points2; KeyPoint::convert(keypoints2, points2, trainIdxs);

    int ransacReprojThreshold = 5;  //拒绝阈值
    H12 = findHomography(Mat(points1), Mat(points2), cv::RANSAC, ransacReprojThreshold);
    Mat points1t; vector<char> matchesMask(matches.size(), 0);
    perspectiveTransform(Mat(points1), points1t, H12);

    int mask_sum = 0;

    for (size_t i1 = 0; i1 < points1.size(); i1++)  //保存‘内点’
    {
        if (norm(points2[i1] - points1t.at<Point2f>((int)i1, 0)) <= ransacReprojThreshold) //给内点做标记
        {
            matchesMask[i1] = 1;
            mask_sum++;
        }
    }

    Mat Mat_img;
    drawMatches(src1, keypoints1, src2, keypoints2, matches, Mat_img, Scalar(0, 0, 255), Scalar::all(-1), matchesMask);

    imshow("result", Mat_img);

    imwrite("result.png", Mat_img);

    double time = ((double)getTickCount() - start) / getTickFrequency();
    cout << "The running time is:" << time << "seconds" << endl;

    cout << "The feature points found in picture 1:" << keypoints1.size() << endl;
    cout << "The feature points found in picture 2:" << keypoints2.size() << endl;
    cout << "The match results found in total:" << matches.size() << endl;
    cout << "The correct match results:" << mask_sum << endl;

    waitKey(0);
}
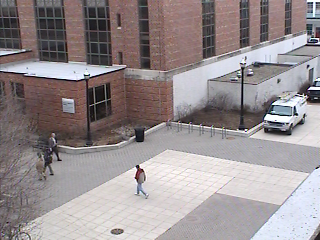
现有一幅可见光图像及其相应的红外图像,若要实现两者之间的配准,运行上述代码,可得如下匹配结果:

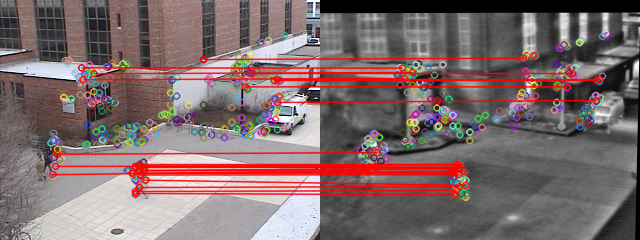
由此可见,配置完全ok!