前面我们介绍了SpringCloud注册中心Eureka,但是存在一个单点故障的问题,一个注册中心远远不能满足实际的生产环境,现在我们介绍一下如何搭建一个Eureka集群。
一:集群环境搭建
我们先建两个注册中心工程,一个叫eureka_register_master,一个叫eureka_register_salve。master的端口是7998,salve的端口是7999。
eureka_register_master的配置文件application.properties如下:
server.port=7998
eureka.client.register-with-eureka=false
eureka.client.fetch-registry=false
spring.application.name=eureka-server
eureka.instance.hostname=master
eureka.client.service-url.defaultZone=http://salve:7999/eureka
eureka_register_salve的配置文件application.properties如下:
server.port=7998
eureka.client.register-with-eureka=false
eureka.client.fetch-registry=false
spring.application.name=eureka-server
eureka.instance.hostname=master
eureka.client.service-url.defaultZone=http://salve:7999/eureka
eureka_register_master的启动文件如下:
package com.ysl;

import org.springframework.boot.SpringApplication;
import org.springframework.boot.autoconfigure.SpringBootApplication;
import org.springframework.cloud.netflix.eureka.server.EnableEurekaServer;

@EnableEurekaServer
@SpringBootApplication
public class Application {
    public static void main(String[] args){
        SpringApplication.run(Application.class,args);
    }
}
eureka_register_salve的启动文件如下:
package com.ysl;

import org.springframework.boot.SpringApplication;
import org.springframework.boot.autoconfigure.SpringBootApplication;
import org.springframework.cloud.netflix.eureka.server.EnableEurekaServer;

@EnableEurekaServer
@SpringBootApplication
public class Application {
    public static void main(String[] args){
        SpringApplication.run(Application.class,args);
    }
}
启动:
如果是jar启动需要 加参数 --spring.profiles.active=matser或者 --spring.profiles.active=salve
分别打开http://127.0.0.1:7998/ 和 http://127.0.0.1:7999/ 如下图:
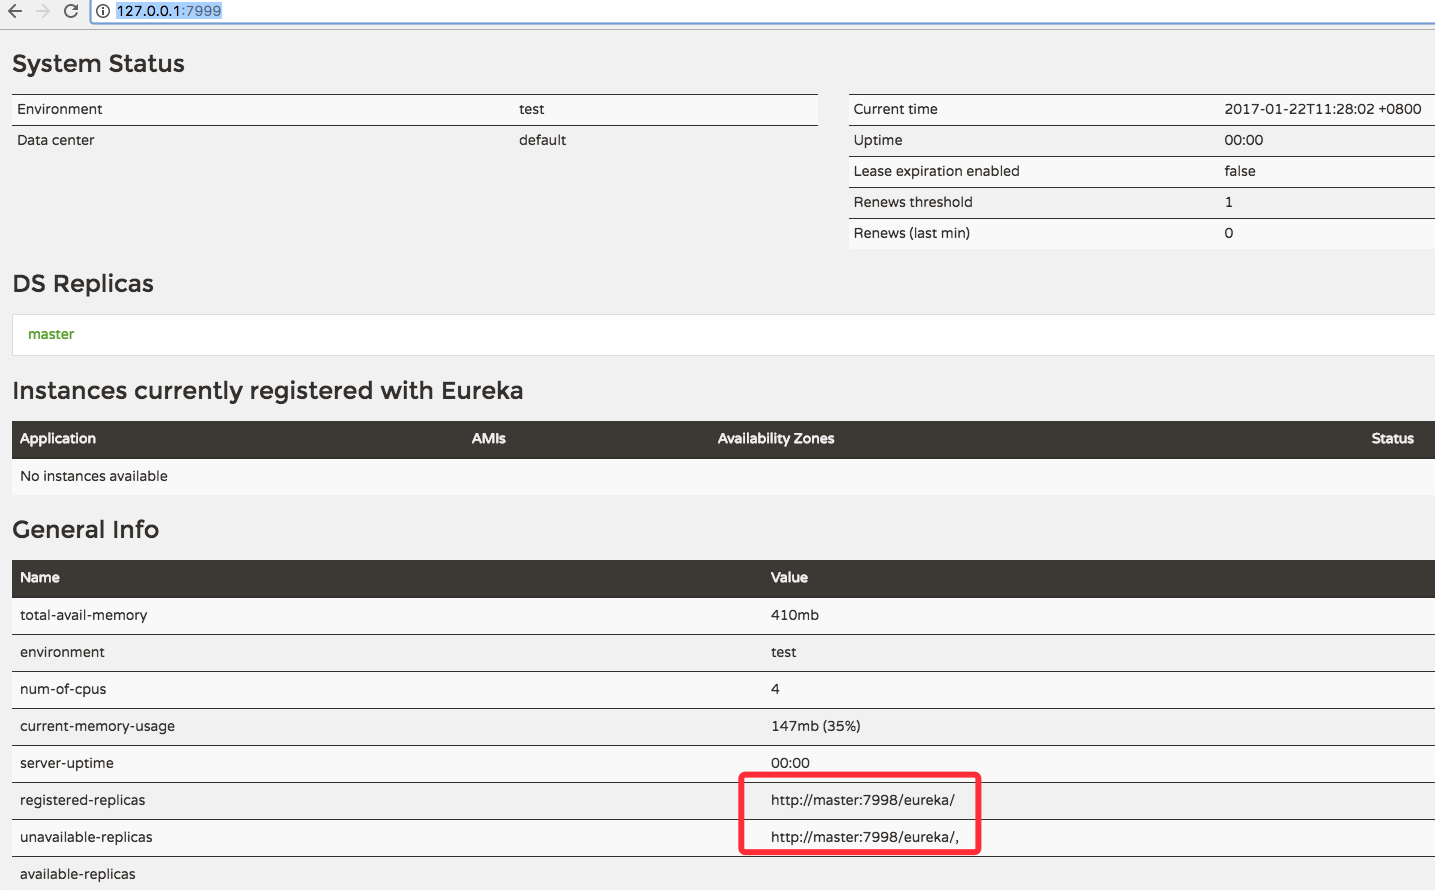
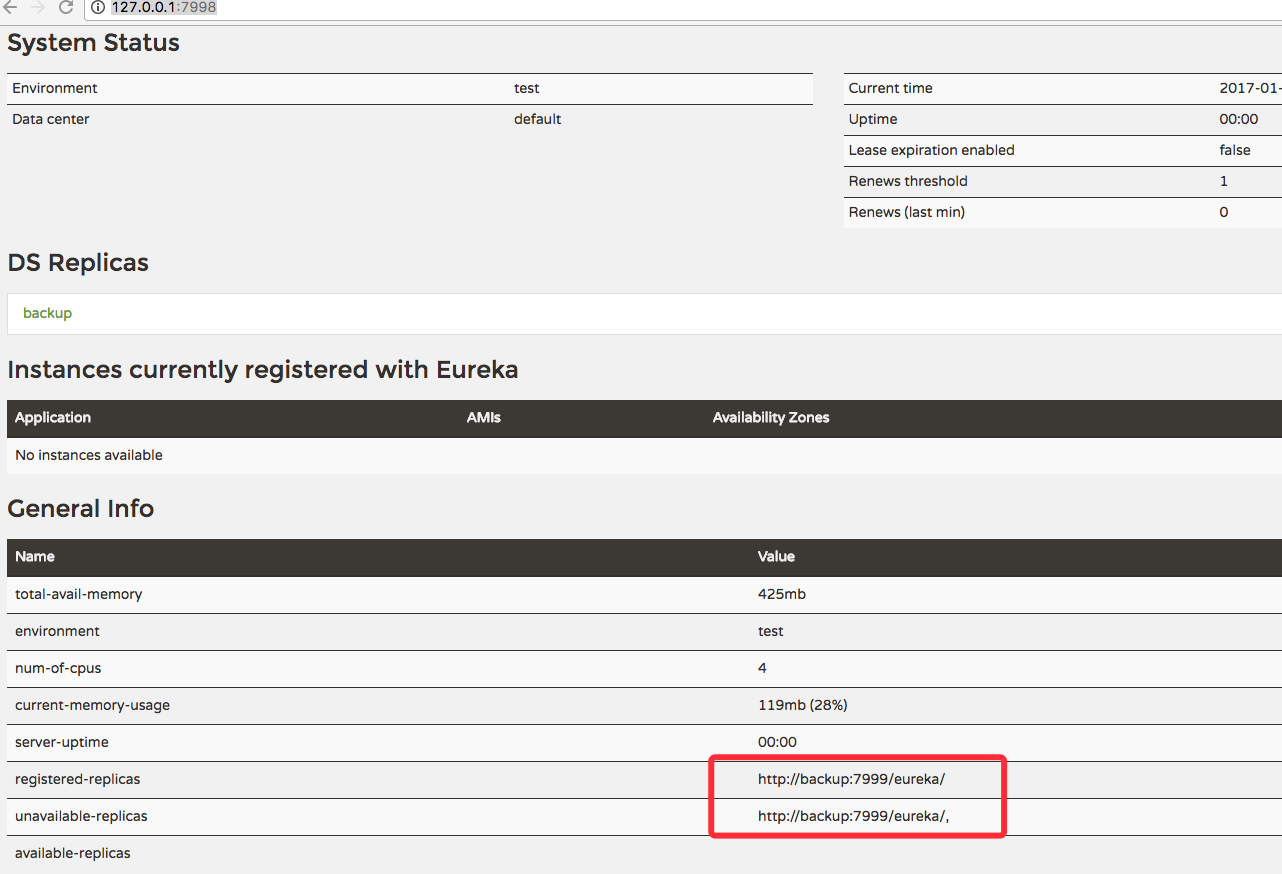
通过上图可以看端口7998是matser它的registered-replicas指向了http://backup:7999/eureka/, 端口7999是backup它的registered-replicas指向了http://master:7999/eureka/
二:服务端注册
设置了多个注册中心后,我们的服务配置不需要太多改动只需将service01工程的application.properties的serviceUrl修改如下:
eureka.client.serviceUrl.defaultZone=http://master:7998/eureka/,http://salve:7999/eureka/,
当然也可以绑定一个地址,eureka.client.serviceUrl.defaultZone=http://master:7998/eureka/ 这两种绑定都可以。
三:集群理解
虽然上面我们以双节点作为例子,但是实际上因负载等原因,我们往往可能需要在生产环境构建多于两个的Eureka Server节点。那么对于如何配置serviceUrl来让集群中的服务进行同步,需要我们更深入的理解节点间的同步机制来做出决策。我们通过一张图来理解集群。
