第一步,拆分组件

一共拆分为4个组件
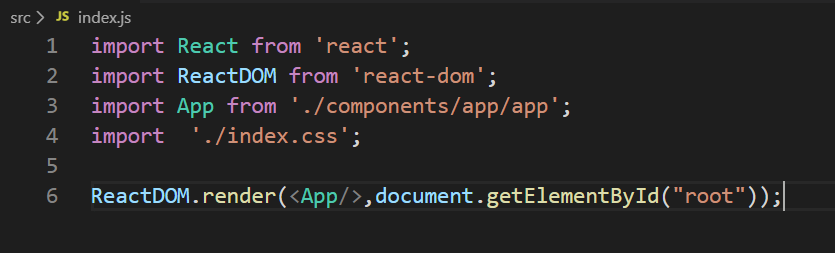
同时,需要在入口文件 index.js 中,写入:
第二步,实现静态组件
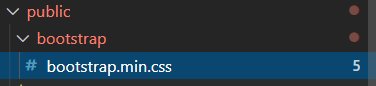
①实现静态组件需要用到的 bootstrap.css 可以放在 public 文件夹下,然后在 index.html 中引入

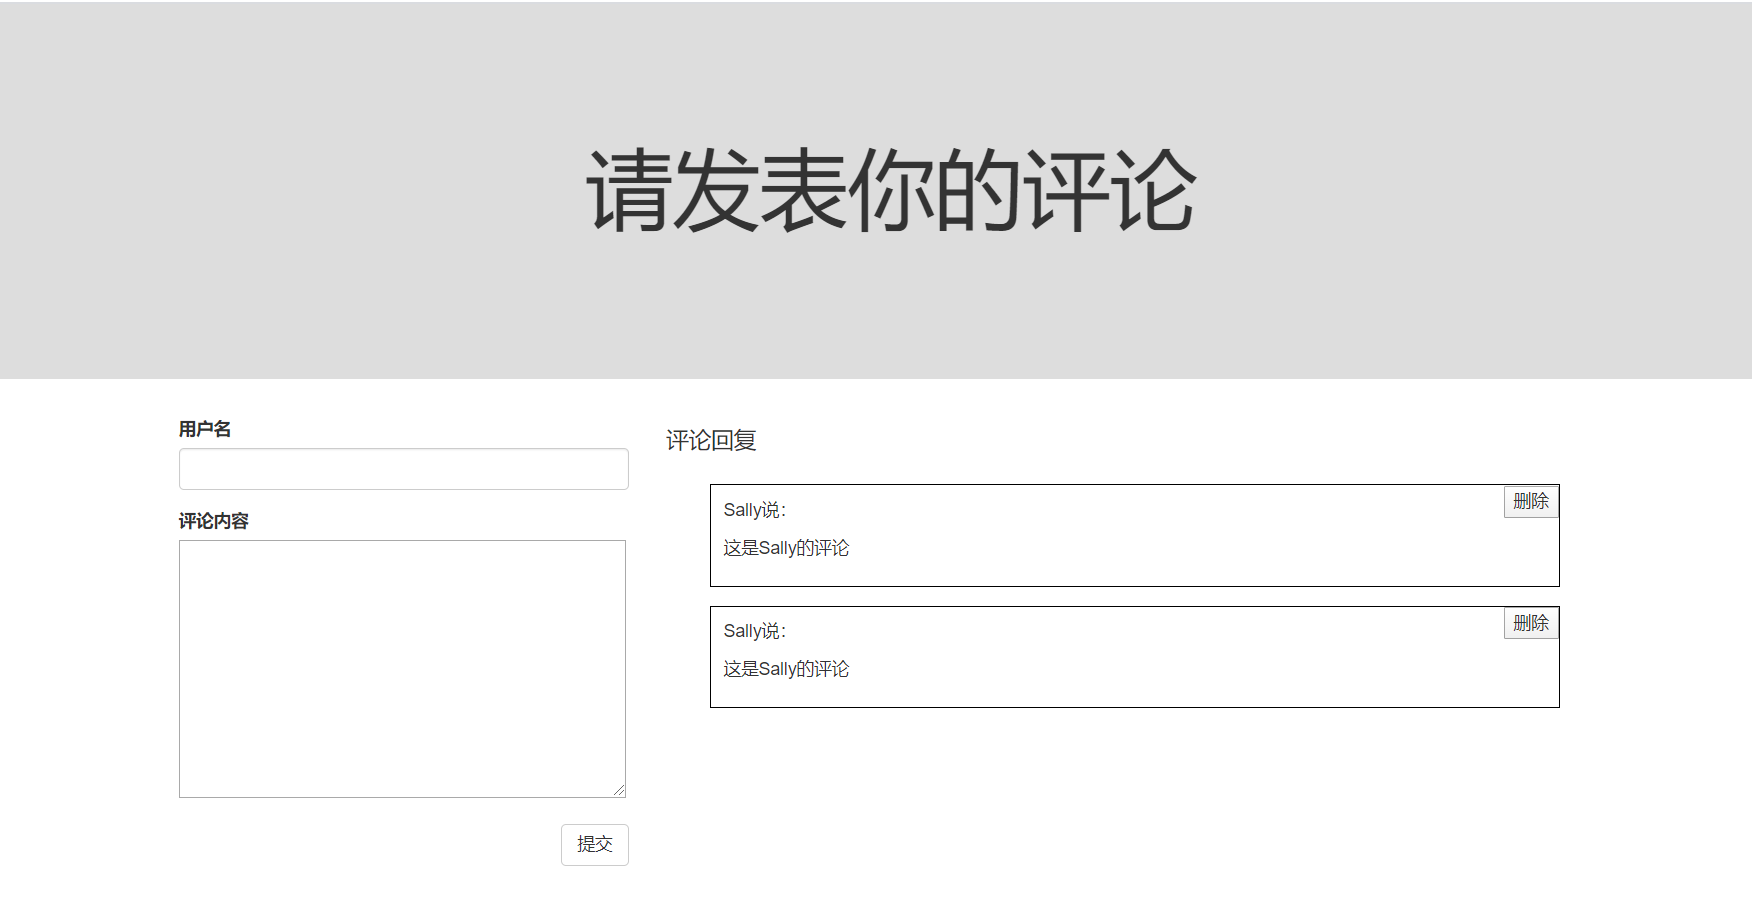
②根组件APP组件中先进行初步的布局

这里需要注意,组件的首字母要求大写,不能写成 comment_add 形式,
否则报错:

下一步,将 Comment_add 、 Comment_list 组件分别渲染出来,并以同样的方式在 Comment_list 中渲染 Comment_item 组件标签,得到静态组件
第三步,动态渲染数据
①考虑 Comment_add 和 Comment_item 组件都需要数据,所以数据应该保存在 App 组件中,且数据应该是一个数组,数组中的每个元素是一个对象,
首先在根组件中定义 state

并通过 Comment_list 组件标签,将 数据传给 Commet_list 再传给 Comment_item 组件便签
注意,这里Comment_list 组件标签接收的是一个 comments 数组,而Comment_item 接收的是一个 comment 对象
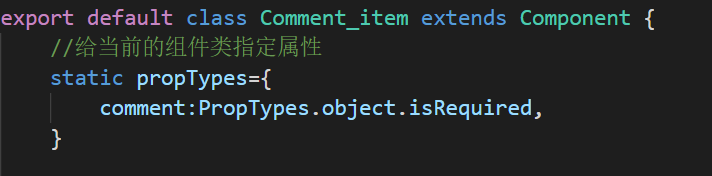
给当前的组件类指定属性的简洁格式是:
注意,现得引入 PropTypes 这个包,才可以使用 props 这个属性,通过 npm install --save prop-types 命令可以全局安装这个包,
然后直接在组件类中引入,

Comment_list 将comment 对象传给 Comment_item时,需要用到 map 结构

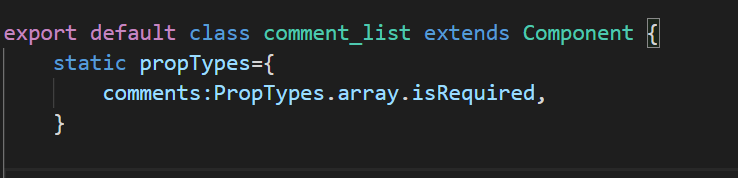
Comment_item 限制接收数据类型是对象:
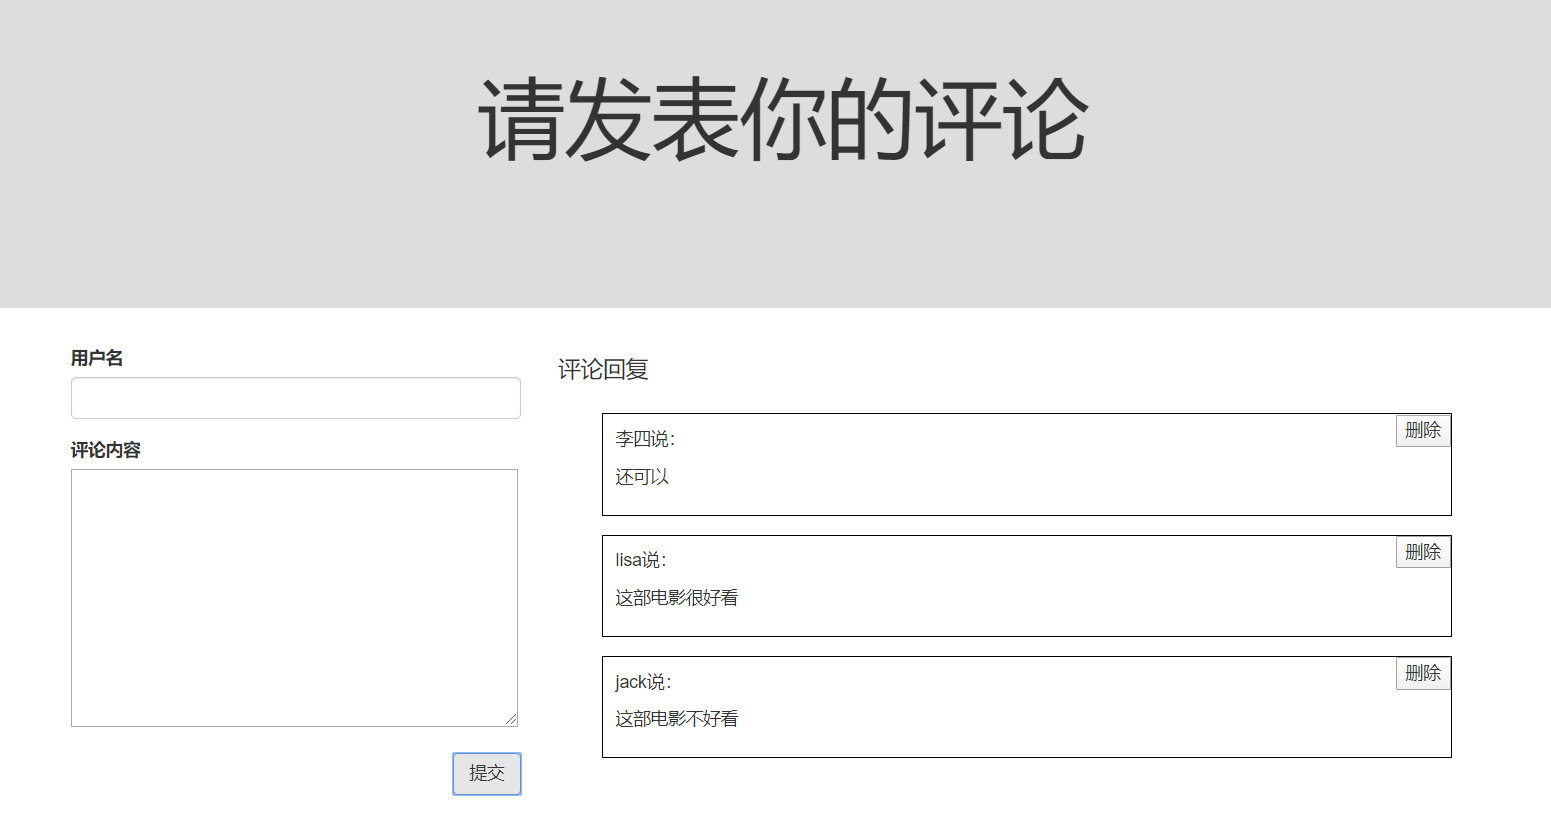
Comment_item 标签渲染后的结果是:

第四步:添加评论实现
从时间监听开始,点击提交按钮时绑定事件监听,收集表单数据,并且在根组件中更新状态,其中,收集表单数据,可以采用受控组件和非受控组件两种方式
方式①受控组件方式
comment_add.jsx
 1 import React, { Component } from 'react'
 2 import PropTypes from 'prop-types'
 3
 4 export default class Comment_add extends Component {
 5     static propTypes={
 6         addData:PropTypes.func.isRequired,
 7     }
 8
 9     state={
10             username:'',
11             content:'',
12     }
13
14     nameChange=(event)=>{
15         this.setState({
16             username:event.target.value
17         });
18
19     }
20     contentChange=(event)=>{
21         this.setState({
22             content:event.target.value
23         });
24     }
25
26     handleSubmit=()=>{
27         const {addData}=this.props;
28         const comment=this.state;
29
30         addData(comment);
31         //清空表单
32         this.setState({
33             username: '',
34             content: '',
35         })
36     }
37
38     render() {
39         const {username,content}=this.state;
40         return (
41             <div>
42                 <form>
43                     <div className="form-group">
44                         <label htmlFor="username">用户名</label><br/>
45                         <input type="text" id="username" className="form-control"  value={username} onChange={this.nameChange}/>
46                     </div>
47                     <div className="form-group">
48                         <label htmlFor="content">评论内容</label><br/>
49                         <textarea id="content" cols="47" rows="10" value={content} onChange={this.contentChange}></textarea>
50                     </div>
51                     <button type="button" className="btn btn-default pull-right" onClick={this.handleSubmit}>提交</button>
52                 </form>
53             </div>
54         )
55     }
56
57 }
方式②非受控组件方式
import React, { Component } from 'react'
import PropTypes from 'prop-types'

export default class Comment_add extends Component {
    static propTypes={
        addData:PropTypes.func.isRequired,
    }

    handleSubmit=()=>{
      const {addData}=this.props;
      let username=this.refs.name_input.value;
      let content=this.refs.content_textarea.value;
      let comment={
          username,
          content,
      }
      addData(comment);
      //清空输入框
      this.refs.name_input.value='';
      this.refs.content_textarea.value='';
    }

    render() {
        return (
            <div>
                <form>
                    <div className="form-group">
                        <label htmlFor="username">用户名</label><br/>
                        <input type="text" id="username" className="form-control" ref="name_input"/>
                    </div>
                    <div className="form-group">
                        <label htmlFor="content">评论内容</label><br/>
                        <textarea id="content" cols="47" rows="10" ref="content_textarea"></textarea>
                    </div>
                    <button type="button" className="btn btn-default pull-right" onClick={this.handleSubmit}>提交</button>
                </form>
            </div>
        )
    }

}
需要注意的是:提交button 的 type 是 button, 不是 submit,否则会出现添加一条数据之后立刻恢复初始状态的情况
第五步:删除指定评论实现
删除 comments 数据 考虑是根据数组的下标删除对应的数据,
删除 : splice (index,1)从下标开始删一个数据,即删除当前这个下标对应的数据
这里删除事件是在 comment_item 组件中的,而数据在 根组件中,需要先传给 comment_list 组件,再传给 comment_item 组件
删除之前可以使用 window.conform( ) 和用户确定是否要删除,
当所以评论全部删除之后,在commnet_list 渲染 comment_item 组件标签时,应该要显示一句“暂无评论,去左侧添加评论”的提示语句,该语句可以用一个变量控制显示和隐藏。
