1. 准备工作
1.1关闭firewalld防火墙和Selinux
#查看firwalld的状态
systemctl status firewalld
#停止firewalld
systemctl stop firewalld
#禁用firewalld
systemctl disable firewalld

#查看Selinux状态
getenforce
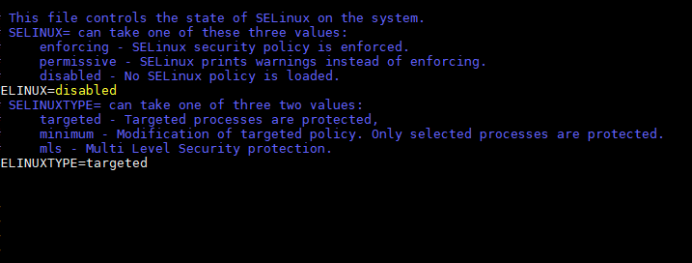
#关闭Selinux
vim /etc/selinux/config
SELINUX=disabled
1.2重启服务器、立即生效配置
reboot
2. 安装操作
2.1拷贝安装包iso到服务器&挂载
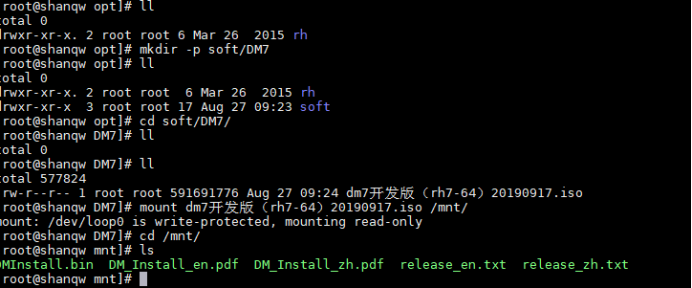
拷贝iso文件到/opt/soft/DM7:
cd /opt/soft/DM7
mount dm7开发版(rh7-64)20190917.iso /mnt/
2.2创建DM安装用户和安装用户组并初始化用户密码
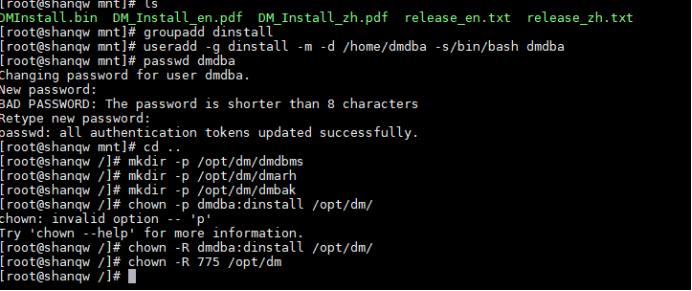
groupadd dinstall
useradd -g dinstall -m -d /home/dmdba -s /bin/bash dmdba
passwd dmdba

2.3创建目录
规划好存储dm数据库文件的目录,这里放在/opt/dm/目录下
mkdir -p /opt/dm/dmdbms
mkdir -p /opt/dm/dmarch
mkdir -p /opt/dm/dmbak
chown -R dmdba:dinstall /opt/dm/
chmod -R 775 /opt/dm/
2.4配置环境变量
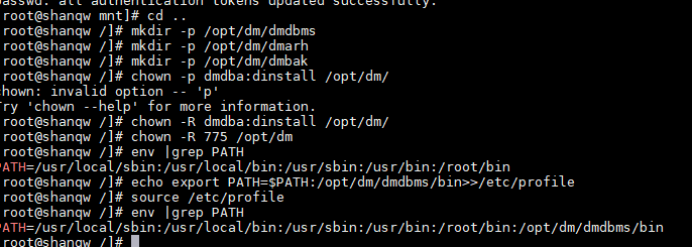
echo export PATH=$PATH:/opt/dm/dmdbms/bin >> /etc/profile
source /etc/profile
2.5拷贝安装文件
cp -r /mnt/* /opt/dm/
cd /opt/dm/

# DMInstall.bin 文件就是DM的安装程序。在运行安装程序前,需要赋予DMInstall.bin文件执行权限
chmod 755 ./DMInstall.bin

2.6命令行安装
cd /opt/dm/
./DMInstall.bin -i
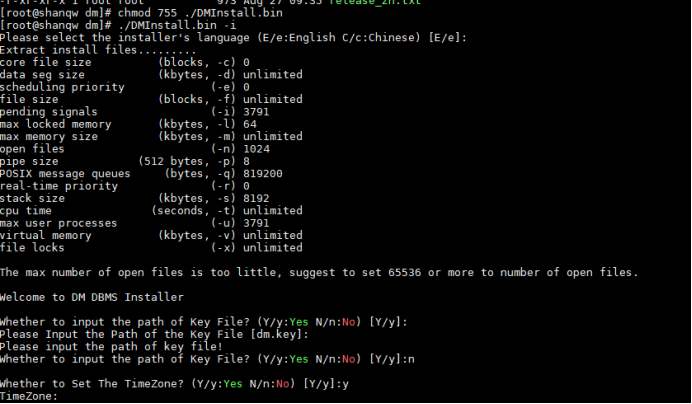
1)Please select the installer's language (E/e:English C/c:Chinese) [E/e]:
  选择语言,默认使用英语安装,直接回车
2)Whether to input the path of Key File? (Y/y:Yes N/n:No) [Y/y]:N
  验证Key文件:用户可以选择是否输入 Key 文件路径,这里选择N。
3)Whether to Set The TimeZone? (Y/y:Yes N/n:No) [Y/y]:y
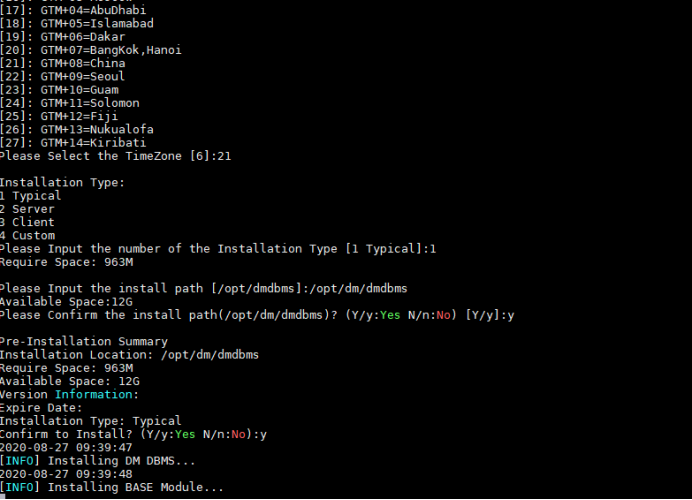
 Please Select the TimeZone [21]:21
 选择21([21]: GTM+08=China)
4)Please Input the number of the Installation Type [1 Typical]:1
5)Please Input the install path [/opt/dmdbms]:/opt/dm/dmdbms
6)Please Confirm the install path(/opt/dm/dmdbms)? (Y/y:Yes N/n:No) [Y/y]:y
7)Pre-Installation Summary
  Installation Location: /opt/dm/dmdbms
  Require Space: 963M
  Available Space: 88G
  Version Information:
  Expire Date:
  Installation Type: Typical
  Confirm to Install? (Y/y:Yes N/n:No):y
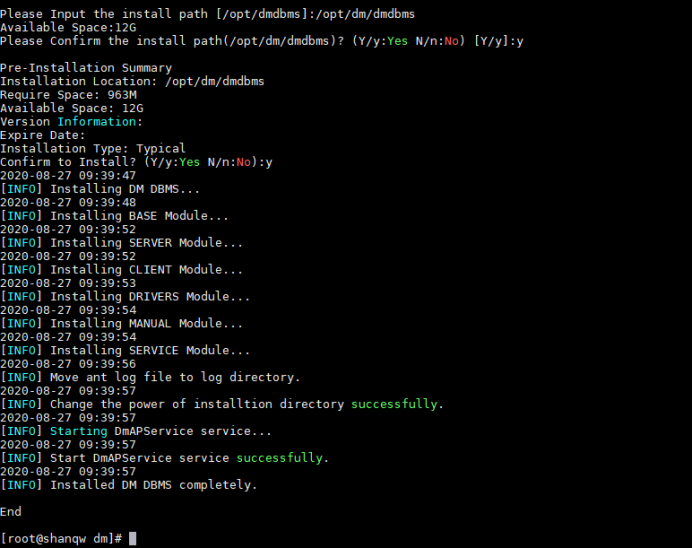
8)等待安装完毕。
9) 创建DM数据库实例
#查看帮助
cd /opt/dm/dmdbms/bin/
./dminit help
#带参数的方式执行dminit
./dminit PATH=/opt/dm/dmdbms/data DB_NAME=testdb INSTANCE_NAME=dmsrv

10)注册数据库服务
 [root@ root]# ./dm_service_installer.sh -t dmserver -i /opt/dm/dmdbms/data/testdb/dm.ini -p dmsrv

11)测试注册是否成功
service  DmServicedmsrv start
12)#查看端口监听状态(dminit初始化时默认PORT_NUM=5236)
netstat -an |grep 5236
13)#查看进程
[root@localhost bin]# ps aux|grep dmserver

14)#数据库实例创建完成,使用disql登录验证一下(#如果没有单独设置或修改过的话,默认SYSDBA用户密码相同。)
[root@localhost bin]# disql  SYSDBA/SYSDBA


至此,达梦数据库部署成功!