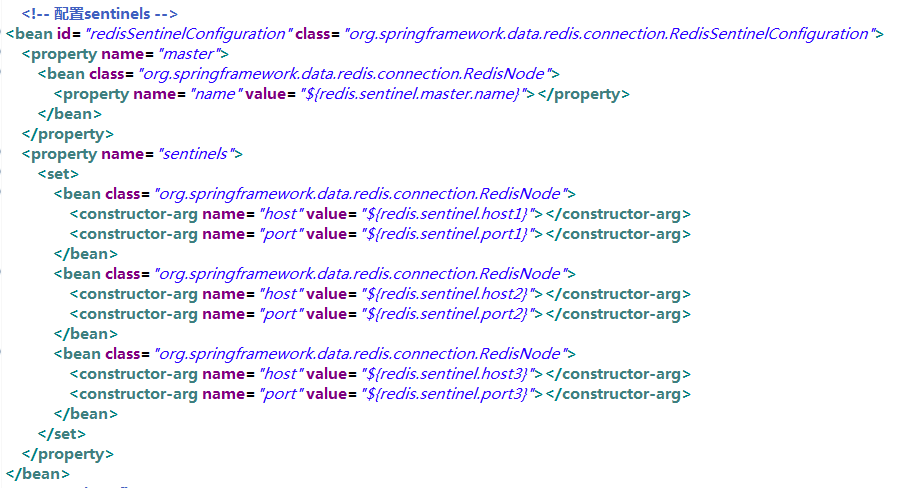
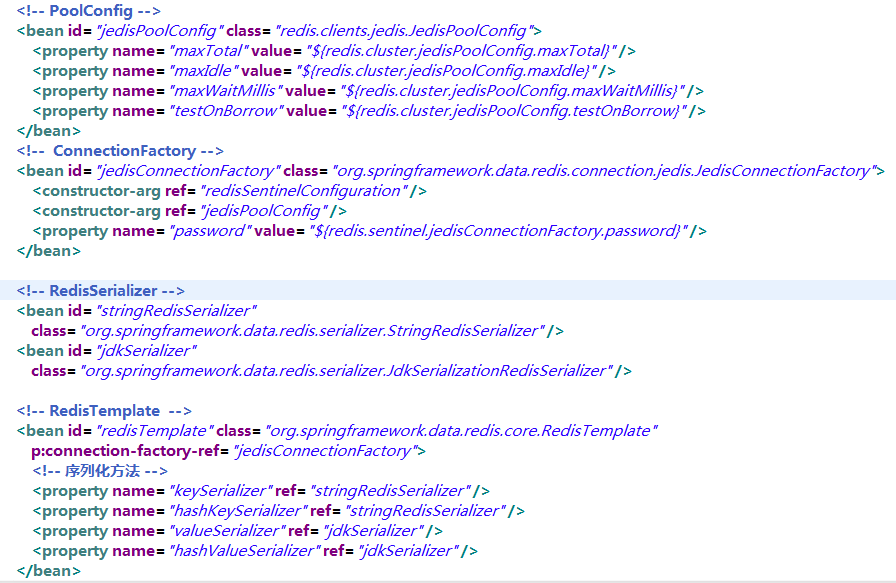
原文:https://www.sunjianhua.cn/archives/tomcat-high-availability.html
一、安装java环境
二、安装tomcat(apache-tomcat-7.0.54)
三、安装nginx(tengine-2.2.0)
四、安装redis
五、安装keepalived (keepalived-1.3.5)
a.下载
$ wget http://www.keepalived.org/software/keepalived-1.3.5.tar.gz  -P /usr/local/src/

b.编译安装
$ cd /usr/local/src/ && tar -zxvf keepalived-1.3.5.tar.gz && cd keepalived-1.3.5
$ ./configure --prefix=/usr/local/keepalived
$ make && make install
六、配置高可用集群
a.配置nginx

#在10.231服务器执行
$ vi /usr/local/nginx/conf/vhosts/tomcats.conf
upstream sunjianhua10231 {
        server 192.168.10.232:8080 fail_timeout=10s max_fails=10  weight=5;
        server 192.168.10.231:8080 fail_timeout=10s max_fails=10  weight=5;
   }
server {
        listen       99;
        server_name  192.168.10.231;
        charset utf-8;
        location / {
            proxy_pass http://sunjianhua10231/;
        }
        error_page  404              /404.html;
        error_page   500 502 503 504  /50x.html;
        location = /50x.html {
            root   html;
        }
}

#在10.232服务器执行
$ vi /usr/local/nginx/conf/vhosts/tomcats.conf
upstream sunjianhua10232 {
     server 192.168.10.232:8080 fail_timeout=10s max_fails=10  weight=5;
     server 192.168.10.231:8080 fail_timeout=10s max_fails=10  weight=5;
}
server {
        listen       99;
        server_name  192.168.10.232;
        charset utf-8;
        location / {
            proxy_pass http://sunjianhua10232/;
        }
        error_page  404              /404.html;
        error_page   500 502 503 504  /50x.html;
        location = /50x.html {
            root   html;
        }
}

b.配置keepalived

#此处操作两台服务器均执行
$ mkdir -p /etc/keepalived
$ vi /etc/keepalived/nginx_check.sh
#!/bin/bash
A=`ps -C nginx –no-header |wc -l`
if [ $A -eq 0 ];then
    /usr/local/nginx/sbin/nginx
    sleep 2
    if [ `ps -C nginx --no-header |wc -l` -eq 0 ];then
        killall keepalived
    fi
fi

$ cp /usr/local/keepalived/etc/keepalived/keepalived.conf /etc/keepalived/
$ cp keepalived/etc/init.d/keepalived /etc/init.d/
$ cp /usr/local/keepalived/etc/sysconfig/keepalived /etc/sysconfig/
$ ln -s /usr/local/keepalived/sbin/keepalived /sbin/
$ ln -s /usr/local/sbin/keepalived /usr/sbin/
$ chkconfig keepalived on
$ chmod +x /etc/keepalived/nginx_check.sh
#一个在10.231上 (设置为Master,rid10232为10.231服务器的hostname)
$ vi /etc/keepalived/keepalived.conf
! Configuration File for keepalived

global_defs {
   router_id rid10232
}

vrrp_script chk_nginx {
    script "/etc/keepalived/nginx_check.sh"
    interval 2
    weight -20
}

vrrp_instance VI_1 {
    state BACKUP
    interface eth0
    virtual_router_id 51
    mcast_src_ip 192.168.10.232
    priority 50


    advert_int 1
    authentication {
        auth_type PASS
        auth_pass fuckyou
    }

    track_script {
        chk_nginx
    }

    virtual_ipaddress {
        192.168.10.16
    }
}
#一个在10.232上 (设置为BACKUP,rid10232为10.231服务器的hostname)
$ vi /etc/keepalived/keepalived.conf
    ! Configuration File for keepalived

global_defs {
   router_id rid10232
}

vrrp_script chk_nginx {
    script "/etc/keepalived/nginx_check.sh"
    interval 2
    weight -20
}

vrrp_instance VI_1 {
    state MASTER
    interface eth0
    virtual_router_id 51
    mcast_src_ip 192.168.10.231
    priority 100


    advert_int 1
    authentication {
        auth_type PASS
        auth_pass fuckyou
    }

    track_script {
        chk_nginx
    }

    virtual_ipaddress {
        192.168.10.16
    }
}
七、keepalived+nginx高可用测试
启动两个tomcat
启动10.231中的tomcat:sh /usr/local/tomcat_web/bin/startup.sh
启动10.232中的tomcat:sh /usr/local/tomcat_web/bin/startup.sh
启动两个nginx
启动: /usr/local/nginx/sbin/nginx
关闭:/usr/local/nginx/sbin/nginx -s stop
重启:/usr/local/nginx/sbin/nginx -s reload
启动两个keepalived
启动:service keepalived start
关闭:service keepalived stop
重启:service keepalived restart
Ps:注意防火墙问题
访问vip:http://192.168.10.16:99
访问 nginx1:http://192.168.10.232:99
访问 nginx2:http://192.168.10.231:99
1.关闭nginx1 keepalived会将他重新启动
2.关闭192.168.10.231中的keepalived(service keepalived stop),该节点的网络接口中的vip
将会消失,此时vip已经漂移到了192.168.10.232,在通过vip访问nginx集群,访问到的也是192.168.10.232了
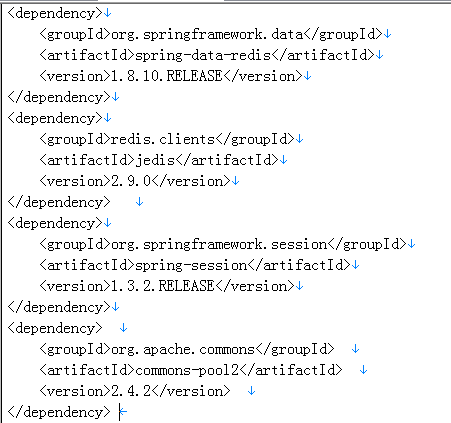
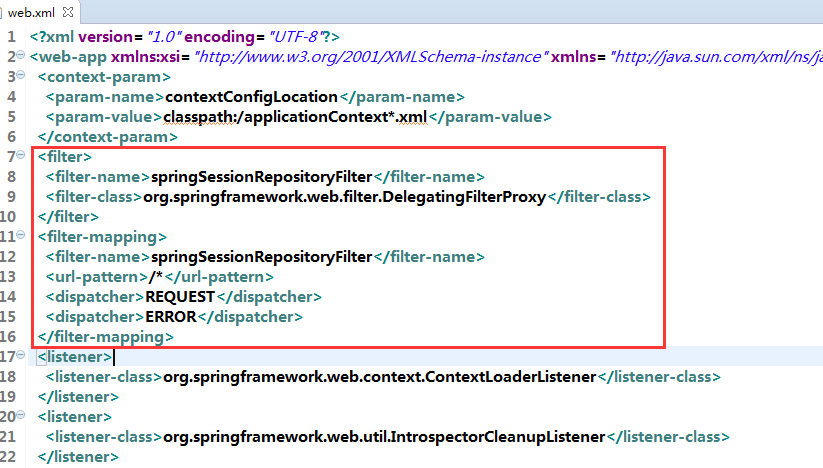
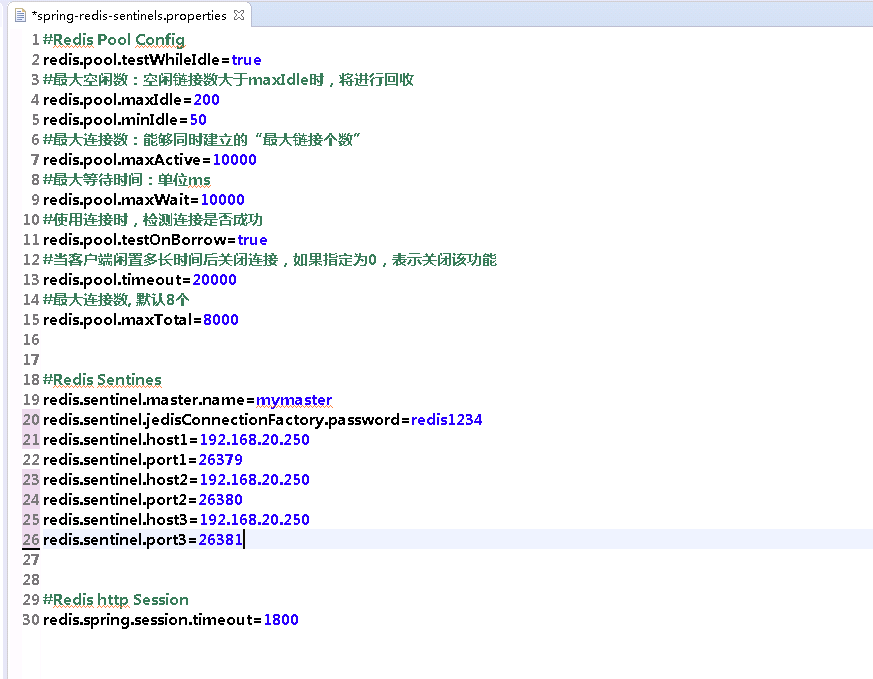
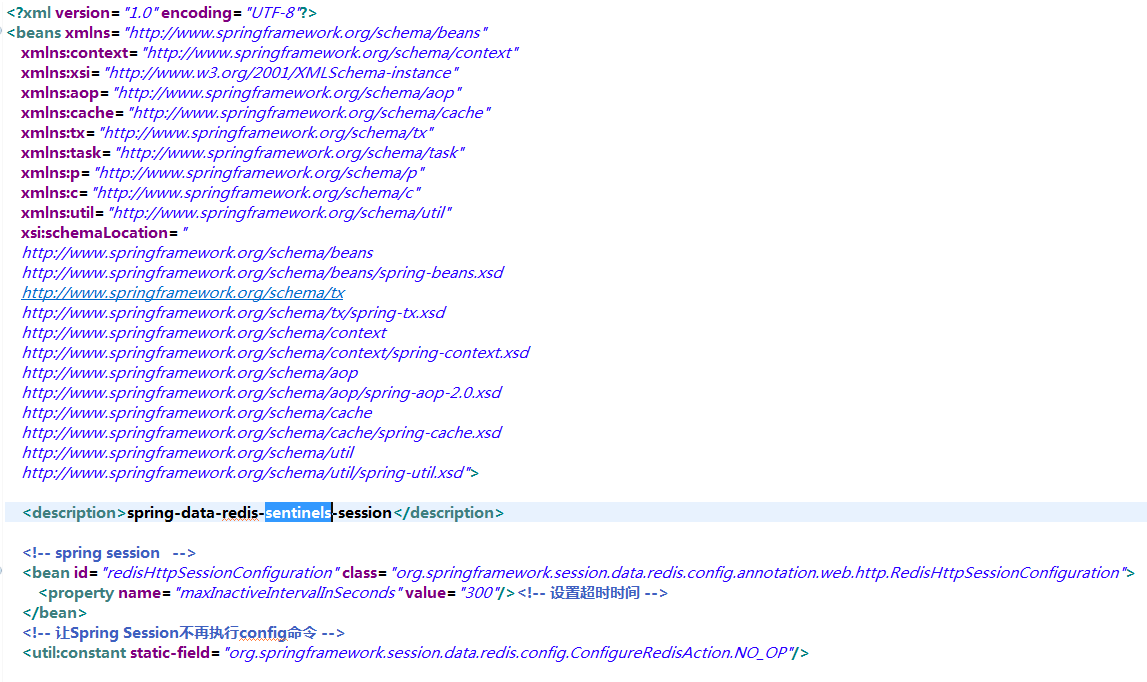
八、Session共享
1.方案一:容器扩展session共享
上传3个jar到/usr/local/tomcat_web/lib/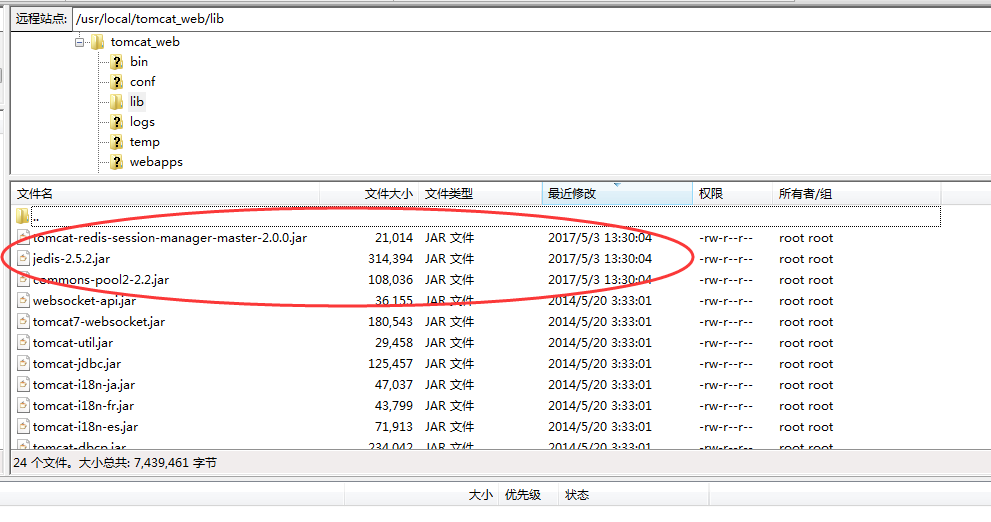
b.在/usr/local/tomcat_web/conf/context.xml中加入(注意ip,端口,密码)
<Valve className="com.orangefunction.tomcat.redissessions.RedisSessionHandlerValve" />
<Manager className="com.orangefunction.tomcat.redissessions.RedisSessionManager"
         host="192.168.20.250"   port="6379"    password="redis1234"
         database="0"            maxInactiveInterval="60"
/>
