在实际开发中,开发android软件的过程需要不断地进行测试。而使用Junit测试框架,侧是正规Android开发的必用技术,在Junit中可以得到组件,可以模拟发送事件和检测程序处理的正确性..........
第一步:首先在AndroidManifest.xml中加入下面代码:
- <?xml version="1.0" encoding="utf-8"?>
- <manifest xmlns:android="http://schemas.android.com/apk/res/android"
- package="hb.learn.junit"
- android:versionCode="1"
- android:versionName="1.0">
- <uses-sdk android:minSdkVersion="8" />
- <application android:icon="@drawable/icon" android:label="@string/app_name">
- <!-- 在本应用中导入需要使用的包,放在application里面activity外面 -->
- <uses-library android:name="android.test.runner" />
- <activity android:name=".JunitTestActivity"
- android:label="@string/app_name">
- <intent-filter>
- <action android:name="android.intent.action.MAIN" />
- <category android:name="android.intent.category.LAUNCHER" />
- </intent-filter>
- </activity>
- </application>
- <!-- 记住这个一要放在application外面,不然会出现配置错误 信息 -->
- <instrumentation android:name="android.test.InstrumentationTestRunner"
- android:targetPackage="hb.learn.junit" android:label="Tests for My App" />
- </manifest>
上面targetPackage指定的包要和应用的package相同。就是这个测试类所在的包名;
第二步:编写单元测试代码(选择要测试的方法,右键点击“Run As”--“Android Junit Test” ):
- import android.test.AndroidTestCase;
- import android.util.Log;
- public class XMLTest extends AndroidTestCase {
- public void testSomething() throws Throwable {
- Assert.assertTrue(1 + 1 == 3);
- }
- }
错误提示说明
在运行测试例子的过程中,也会遇到了不少的错误提示,总结如下:
单击“Android JUnit Test”运行后,出现“Android Launch”错误提示,如下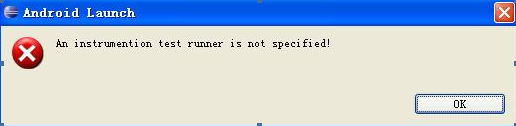
同时,在程序的console面板中会输出如下信息:
ERROR: Application does not specify a android.test.InstrumentationTestRunnerinstrumentation or does not declare uses-library android.test.runner。
出现错误的原因可能是:AndroidManifest.xml配置错误。那么在AndroidManifest.xml到底需要配置哪些内容呢,下面一一为大家说明:
1、在<application>增加引用android.test.runner的声明
- <!-- 在本应用中导入需要使用的包,放在application里面activity外面 -->
- <uses-library android:name="android.test.runner" />
2、然后在<manifest>中增加instrumentation的信息说明
- <!-- 记住这个一要放在application外面,不然会出现配置错误 信息 -->
- <instrumentation android:name="android.test.InstrumentationTestRunner"
- android:targetPackage="hb.learn.junit" android:label="Tests for My App" />
根据自己的程序,在AndroidManifest.xml文件中配置上面的信息。如果上面的信息配置正确,鼠标右键单击工程,选择Run AsRun configurations,在Android JUnit Test选项中选择工程,将会看到下面这个界面:
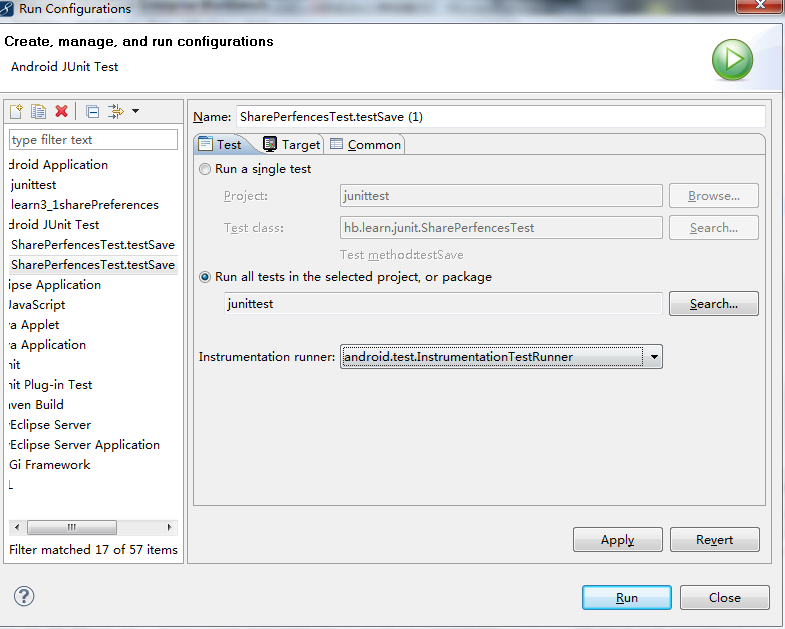
在Instrumentation runner后的列表框选项中,我们看到android.test.InstrmentationTestRunner,并处于当前选择状态。如果这个没 有选择框中没有任何选项,就说明AndroidManifest.xml配置有问题。