终于来到第五章了,这里将学习怎么调用谷歌地球的API,在HTML5中实现地理定位。
This is so freakin' exciting!!!!
终于来了。
前面几章还好有面向对象的经验,所以看起来并不是很痛苦,很快就看完了。javascript的函数有很多。
先学习怎么用,拿来主义是坐标。
好了,开始辉煌的第五章了。开始实现HTML位置感知!!!
-----------------------------02:15 A.M.-----------------------------------------
Google Maps API 是Google 提供的一个javascript 库,与需你访问所有google maps功能。
HTML5中地理定位API和Google Maps API是完全不同的API。
Google Maps 的API可以快捷一点实现用户的位置。
几乎所有的浏览器都支持位置定位。
好了,先用HTML5内部的。
上代码了。
myLocation.html
myLoc.css
myLoc.js
1. myLocation.html
 1 <!--
 2 To change this template, choose Tools | Templates
 3 and open the template in the editor.
 4 -->
 5 <!DOCTYPE html>
 6 <html>
 7     <head>
 8         <title></title>
 9         <meta http-equiv="Content-Type" content="text/html; charset=UTF-8">
10         <script src="myLoc.js"></script>
11         <link rel="stylesheet" href="myLoc.css">
12     </head>
13     <body>
14         <div id= "myLocation">
15             Your location will go here.
16         </div>
17     </body>
18 </html>
2.myLoc.js
 1 /*
 2  * To change this template, choose Tools | Templates
 3  * and open the template in the editor.
 4  */
 5 window.onload = getMyLocation;
 6
 7 function getMyLocation(){
 8     if(navigator.geolocation){
 9         navigator.geolocation.getCurrentPosition(displayLocation);
10     }else{
11         alert("Opps, no geolocation support!");
12     }
13 }
14
15 function displayLocation(position){
16     var latitude = position.coords.latitude;
17     var longitude = position.coords.longitude;
18     var div = document.getElementById("myLocation");
19     div.innerHTML = "You are at Latitude: "+ latitude + " ,Longitude: " + longitude;
20
21
22 }
3.myLoc.css
 1 /*
 2  * myLoc.css
 3  *
 4 */
 5
 6 body {
 7     font-family: Arial, Helvetica, sans-serif;
 8     margin: 10px;
 9 }
10 form, div#location, div#distance {
11     padding: 5px;
12 }
13
14 div#map {
15     margin: 5px;
16      400px;
17     height: 400px;
18     border: 1px solid black;
19 }
20
21
22 /*
23  * Use this CSS to make the map full screen
24  *
25
26 html, body, div#map {
27      100%;
28     height: 100%;
29     margin: 0px;
30 }
31
32 form {
33     position: absolute;
34     top: 40px;
35     right: 10px;
36     z-index: 2;
37 }
38
39 div#location, div#distance {
40     display: none;
41 }
42  */
浏览器显示效果如下:
第一次执行,需要统一分享地理位置。浏览器会通知你。
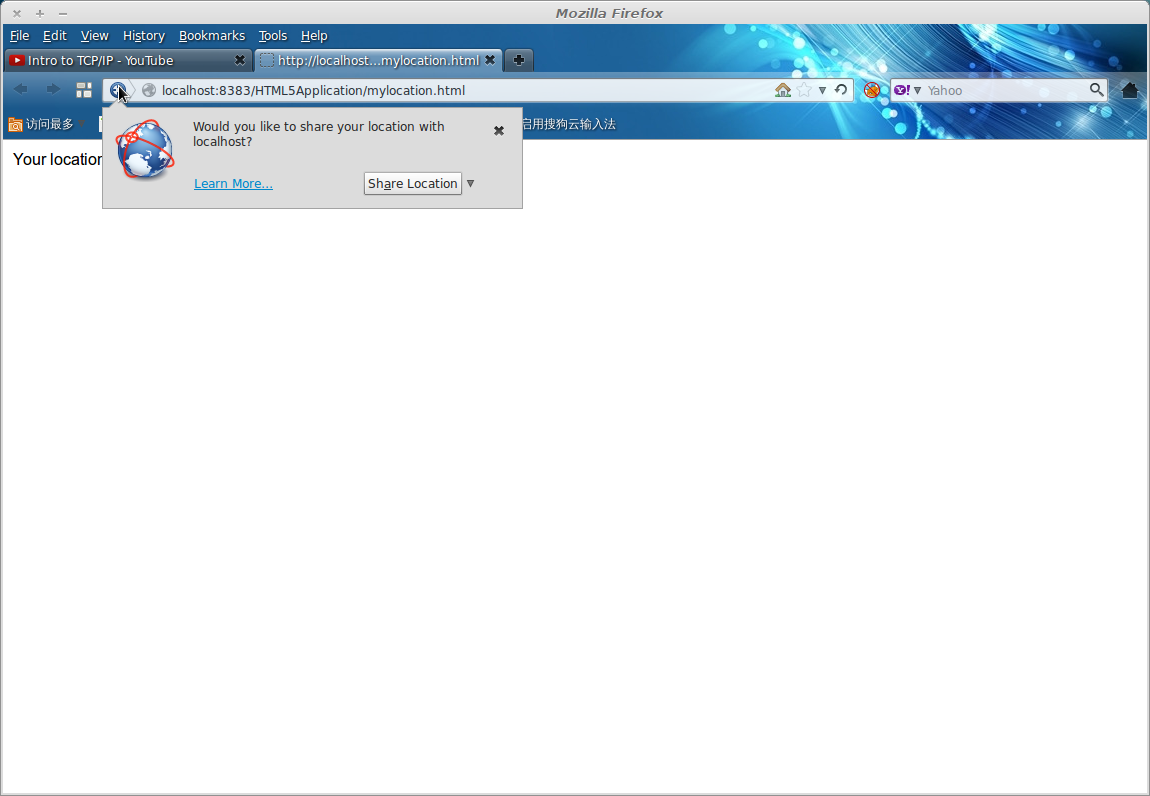
同意后,会显示你的地理位置
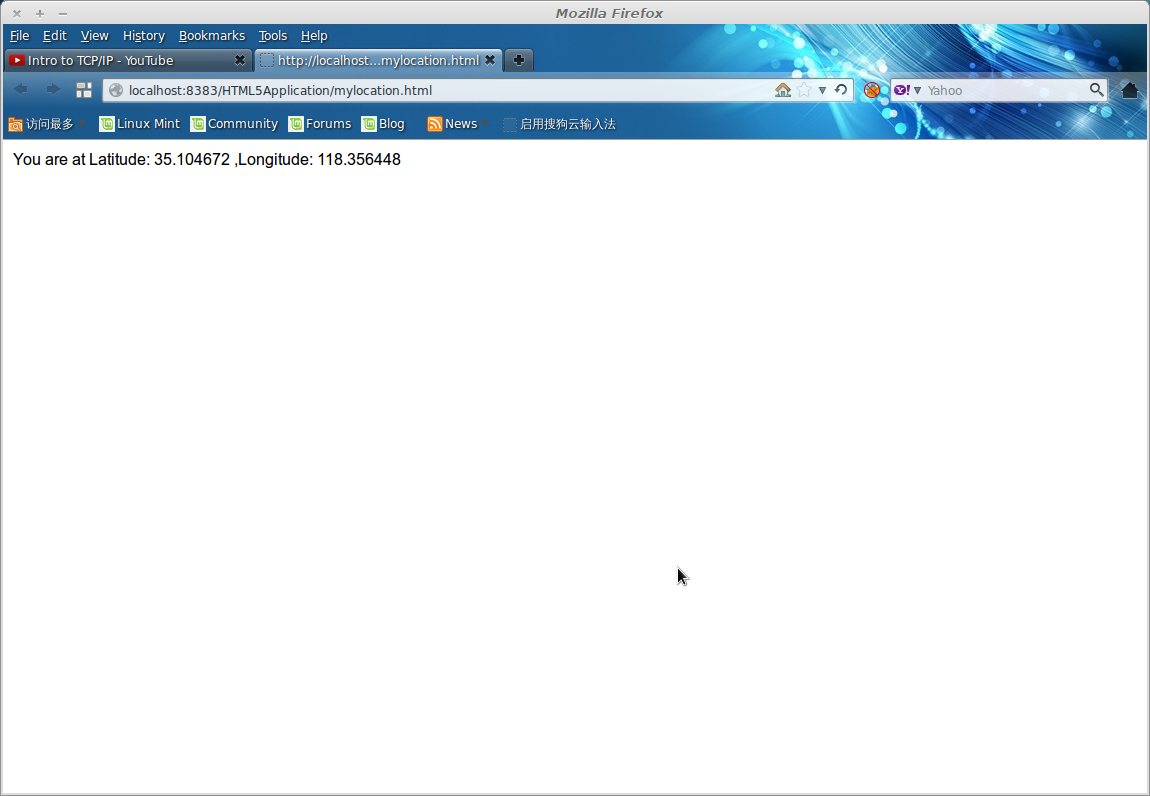
就是这样的。
HTML5里面的应用真的很好啊。哈哈~
还有很多关于诊断地理位置错误信息的内容在本书的Page 177.
有现成的代码可以使用。
—————————————————————————————03:33 A.M。-----------------------------------------------------------
下面是找出地理位置的秘密部分。
可以通过一些现成的代码,找到两个地点之间的距离。
这里我们仅需要更新一下
myLocation.html
myLoc.js (其内增加一些成品js函数)
myLocation.html
 1 <!--
 2 To change this template, choose Tools | Templates
 3 and open the template in the editor.
 4 -->
 5 <!DOCTYPE html>
 6 <html>
 7     <head>
 8         <title></title>
 9         <meta http-equiv="Content-Type" content="text/html; charset=UTF-8">
10         <script src="myLoc.js"></script>
11         <link rel="stylesheet" href="myLoc.css">
12     </head>
13     <body>
14         <div id= "myLocation">
15             Your location will go here.
16         </div>
17         <div id= "distance">
18             Distance from Silicon Valley will go here.
19         </div>
20     </body>
21 </html>
myLoc.js
 1 /* myLoc.js */
 2
 3 var ourCoords =  {
 4     latitude: 37.37,
 5     longitude: -122.04
 6 };
 7
 8 window.onload = getMyLocation;
 9
10 function getMyLocation() {
11     if (navigator.geolocation) {
12
13         navigator.geolocation.getCurrentPosition(
14             displayLocation,
15             displayError);
16     }
17     else {
18         alert("Oops, no geolocation support");
19     }
20 }
21
22 function displayLocation(position) {
23     var latitude = position.coords.latitude;
24     var longitude = position.coords.longitude;
25
26     var div = document.getElementById("myLocation");
27     div.innerHTML = "You are at Latitude: " + latitude + ", Longitude: " + longitude;
28
29     var km = computeDistance(position.coords, ourCoords);
30     var distance = document.getElementById("distance");
31     distance.innerHTML = "You are " + km + " km from Silicon Valley";
32
33 }
34
35
36 // --------------------- Ready Bake ------------------
37 //
38 // Uses the Spherical Law of Cosines to find the distance
39 // between two lat/long points
40 //
41 function computeDistance(startCoords, destCoords) {
42     var startLatRads = degreesToRadians(startCoords.latitude);
43     var startLongRads = degreesToRadians(startCoords.longitude);
44     var destLatRads = degreesToRadians(destCoords.latitude);
45     var destLongRads = degreesToRadians(destCoords.longitude);
46
47     var Radius = 6371; // radius of the Earth in km
48     var distance = Math.acos(Math.sin(startLatRads) * Math.sin(destLatRads) +
49                     Math.cos(startLatRads) * Math.cos(destLatRads) *
50                     Math.cos(startLongRads - destLongRads)) * Radius;
51
52     return distance;
53 }
54
55 function degreesToRadians(degrees) {
56     radians = (degrees * Math.PI)/180;
57     return radians;
58 }
59
60 // ------------------ End Ready Bake -----------------
61
62
63 function displayError(error) {
64     var errorTypes = {
65         0: "Unknown error",
66         1: "Permission denied",
67         2: "Position is not available",
68         3: "Request timeout"
69     };
70     var errorMessage = errorTypes[error.code];
71     if (error.code == 0 || error.code == 2) {
72         errorMessage = errorMessage + " " + error.message;
73     }
74     var div = document.getElementById("location");
75     div.innerHTML = errorMessage;
76 }
上面的myLoc.js里面增加了关于 HTML5定位错误的输出。详情在书本的Page177.
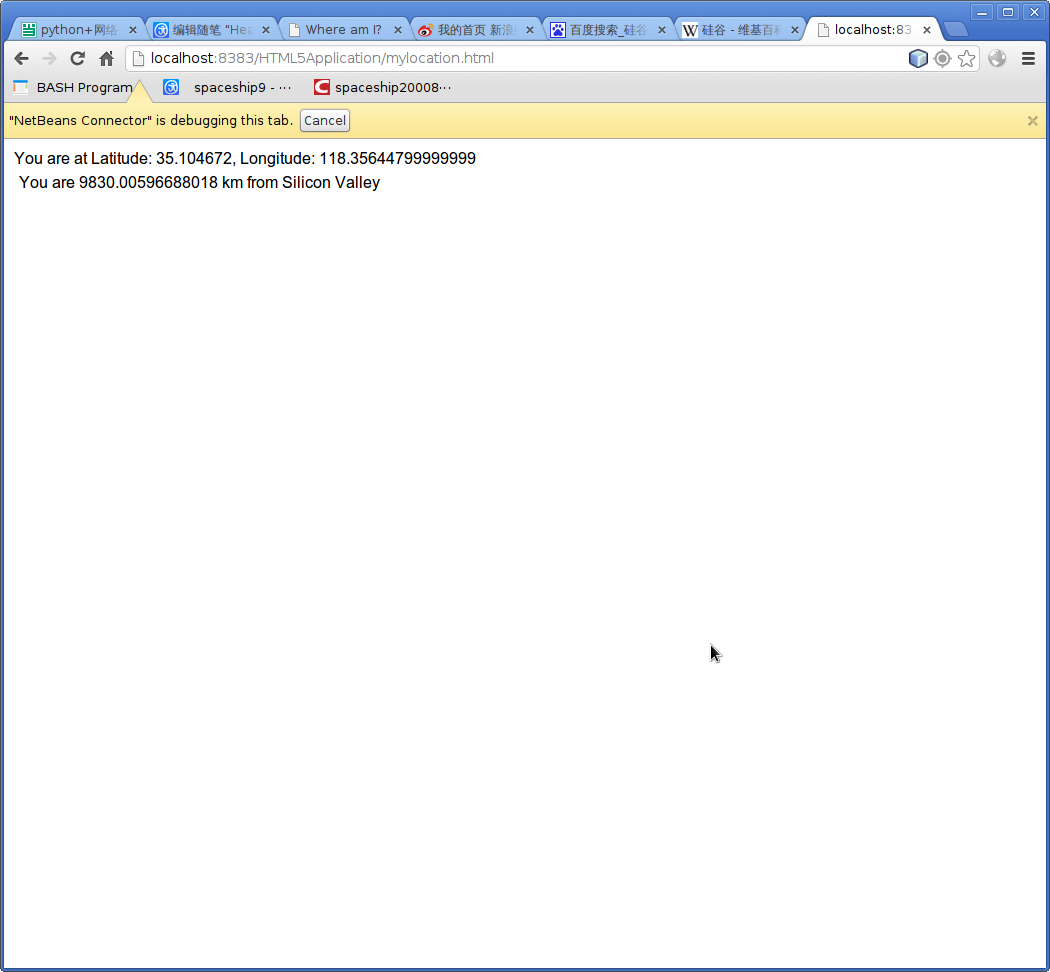
这个是测量自己位置到指定位置的一个 展示。
从这里到silicon valley,硅谷的距离是:
-----------------------------------------04:21 A.M. -------------------------------------------------------------
下面我们将加入Google Maps API,看到实际确定的地图!!!!
多么激动人心,终于到来了!!!
利用的google Maps API
一定要加入这个在<head></head>里面年
<script src="http://maps.google.com/maps/api/js?sensor=true"></script>
不要写错了。
下面修改一下myLocation.html文件
增加一个<div>标签,用来呈放地图
 1 <!--
 2 To change this template, choose Tools | Templates
 3 and open the template in the editor.
 4 -->
 5 <!DOCTYPE html>
 6 <html>
 7     <head>
 8         <title></title>
 9         <meta http-equiv="Content-Type" content="text/html; charset=UTF-8">
10         <script src="myLoc.js"></script>
11         <script src="http://maps.google.com/maps/api/js?sensor=true"></script>
12         <link rel="stylesheet" href="myLoc.css">
13     </head>
14     <body>
15         <div id= "myLocation">
16             Your location will go here.
17         </div>
18         <div id= "distance">
19             Distance from Silicon Valley will go here.
20         </div>
21         <div id="map">
22         </div>
23     </body>
24 </html>
修改后,加入showMap()函数的,
myLoc.js
是利用google 内部提供的方法,直接写在制定的<div>标签内的。
  1 /* myLoc.js */
  2
  3 var ourCoords =  {
  4     latitude: 37.37,
  5     longitude: -122.04
  6 };
  7
  8 window.onload = getMyLocation;
  9
 10 function getMyLocation() {
 11     if (navigator.geolocation) {
 12
 13         navigator.geolocation.getCurrentPosition(
 14             displayLocation,
 15             displayError);
 16     }
 17     else {
 18         alert("Oops, no geolocation support");
 19     }
 20 }
 21
 22 function displayLocation(position) {
 23     var latitude = position.coords.latitude;
 24     var longitude = position.coords.longitude;
 25
 26     var div = document.getElementById("myLocation");
 27     div.innerHTML = "You are at Latitude: " + latitude + ", Longitude: " + longitude;
 28
 29     var km = computeDistance(position.coords, ourCoords);
 30     var distance = document.getElementById("distance");
 31     distance.innerHTML = "You are " + km + " km from Silicon Valley";
 32
 33     showMap(position.coords);        //using google Maps API to show map in div
 34
 35 }
 36
 37
 38 // --------------------- Ready Bake ------------------
 39 //
 40 // Uses the Spherical Law of Cosines to find the distance
 41 // between two lat/long points
 42 //
 43 function computeDistance(startCoords, destCoords) {
 44     var startLatRads = degreesToRadians(startCoords.latitude);
 45     var startLongRads = degreesToRadians(startCoords.longitude);
 46     var destLatRads = degreesToRadians(destCoords.latitude);
 47     var destLongRads = degreesToRadians(destCoords.longitude);
 48
 49     var Radius = 6371; // radius of the Earth in km
 50     var distance = Math.acos(Math.sin(startLatRads) * Math.sin(destLatRads) +
 51                     Math.cos(startLatRads) * Math.cos(destLatRads) *
 52                     Math.cos(startLongRads - destLongRads)) * Radius;
 53
 54     return distance;
 55 }
 56
 57 function degreesToRadians(degrees) {
 58     radians = (degrees * Math.PI)/180;
 59     return radians;
 60 }
 61
 62 //function showMap(coords){
 63 //    var googleLatAndLon = new google.maps.LatLng(coords.latitude, coords.longitude);
 64 //    var mapOptions = {
 65 //        zoom: 10,
 66 //        center: googleLatAndLon,
 67 //        mapTypeID: google.maps.MapTypeId.ROADMAP
 68 //    };
 69 //    var mapDiv = document.getElementById("map");
 70 //    map = new google.maps.Map(mapDiv, mapOptions);    //using google methods to write into mapDiv instead of .innerHTML
 71 //}
 72
 73 function showMap(coords) {
 74     var googleLatAndLong = new google.maps.LatLng(coords.latitude, coords.longitude);
 75     var mapOptions = {
 76         zoom: 10,                     // 缩放比例,一般10左右就是一个城市的大小(0~21)范围。
 77         center: googleLatAndLong, //起始的位置
 78         mapTypeId: google.maps.MapTypeId.ROADMAP   //这里可以将ROADMAP变成HYBRID,就是卫星图了
 79     };
 80     var mapDiv = document.getElementById("map");
 81     map = new google.maps.Map(mapDiv, mapOptions);  //直接使用的谷歌地图内部的方法写到标签内,按照一定方法
 82 }
 83
 84
 85 // ------------------ End Ready Bake -----------------
 86
 87
 88 function displayError(error) {
 89     var errorTypes = {
 90         0: "Unknown error",
 91         1: "Permission denied",
 92         2: "Position is not available",
 93         3: "Request timeout"
 94     };
 95     var errorMessage = errorTypes[error.code];
 96     if (error.code == 0 || error.code == 2) {
 97         errorMessage = errorMessage + " " + error.message;
 98     }
 99     var div = document.getElementById("location");
100     div.innerHTML = errorMessage;
101 }
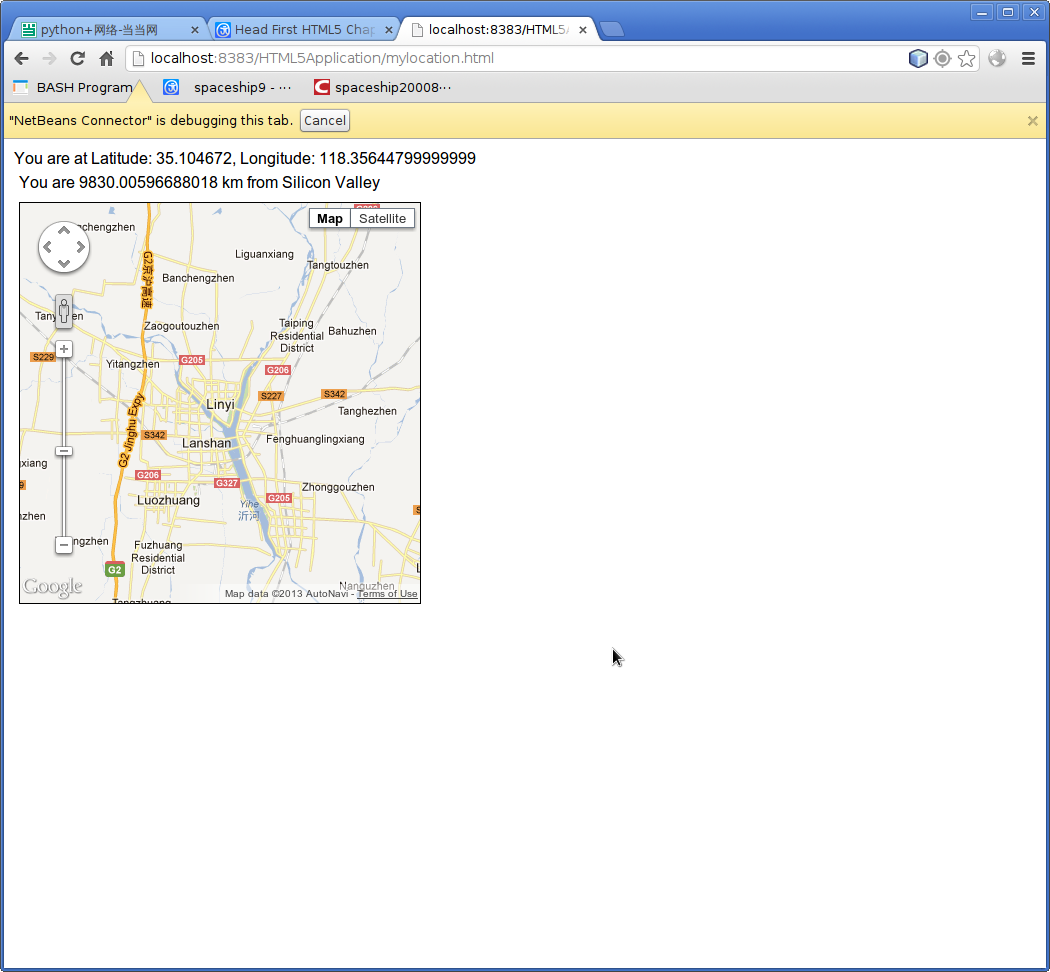
显示效果如下:
换成HYBRID后,我们直接看到的将是:
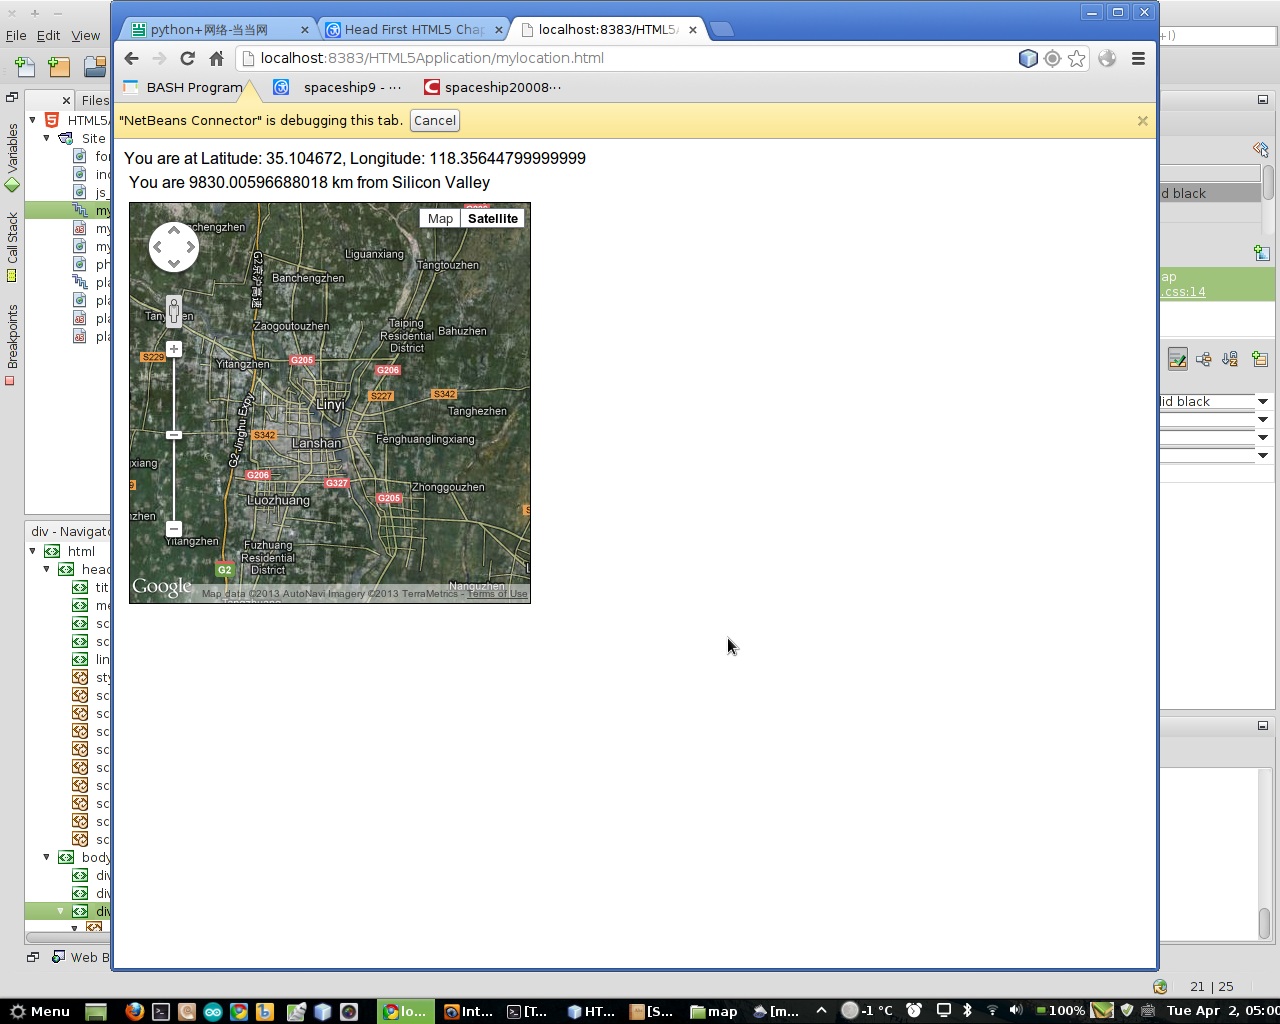
还算好用。
下面讲新写一篇博客,详细记述google Maps的一些功能。
:-)
已经在
Page 184
-----------------------------------05:09 A.M.--------------------------------------------------------------------