概要:
在Myeclipse下创建第一个Spring项目
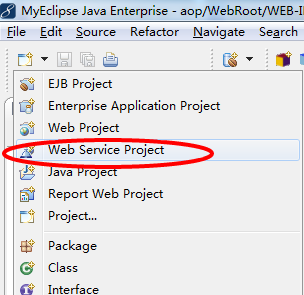
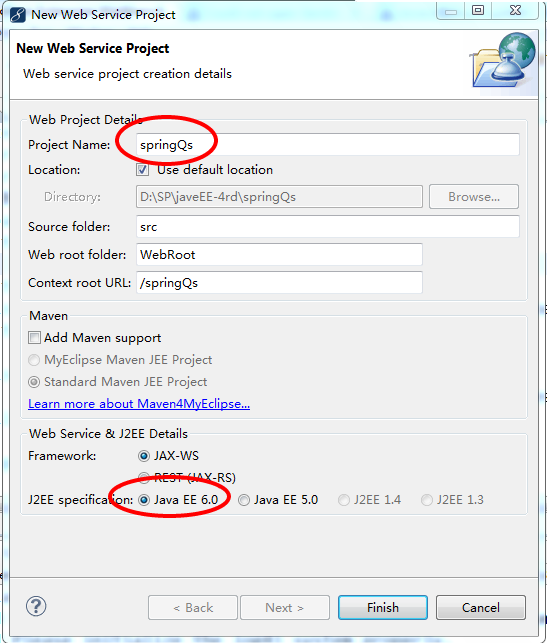
创建Web Project
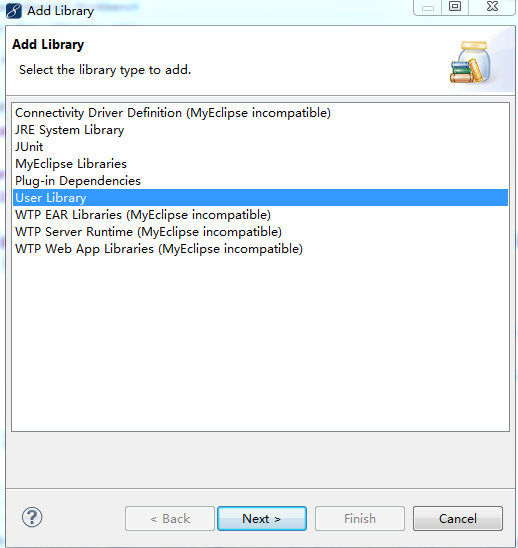
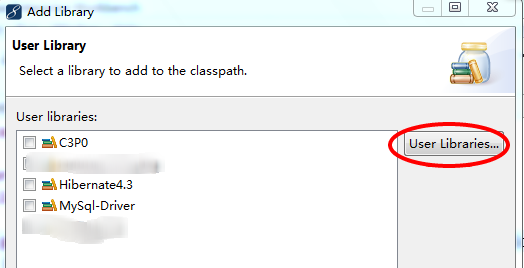
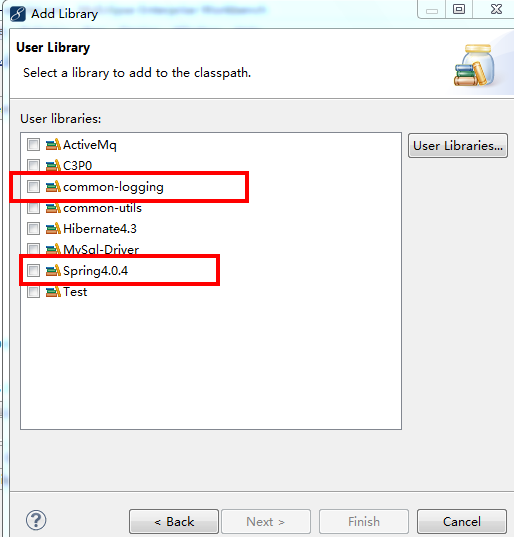
添加自定义library-jar包
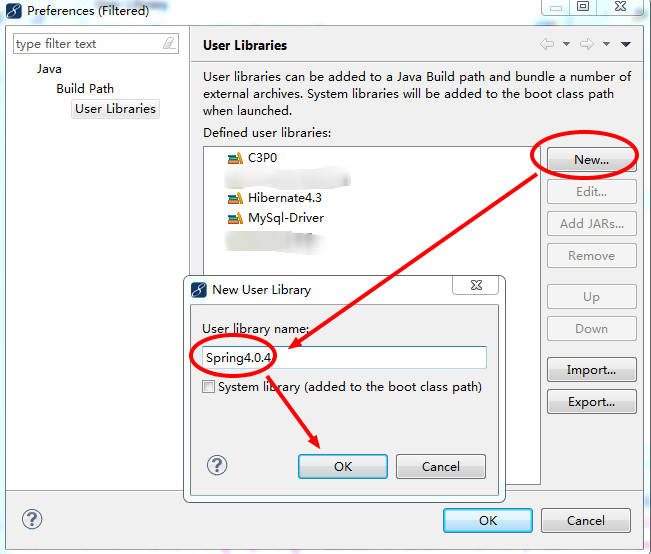
Spring项目需要添加jar包,这里我们创建2个library,分别为:
1. Spring4.0.4;
2. commom-logging;
Spring框架的21个jar和common-logging-xx.jar是必须的;
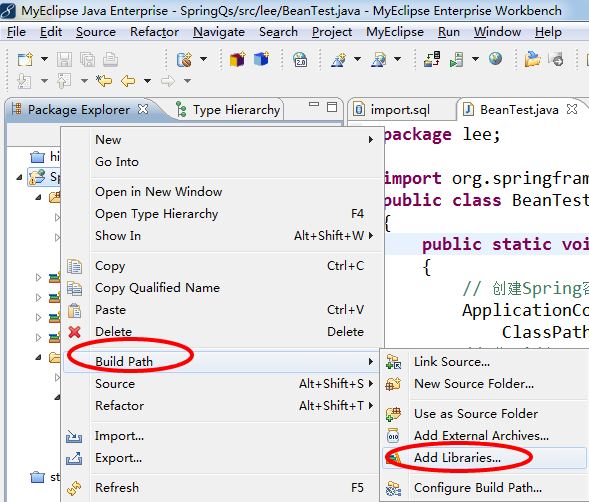
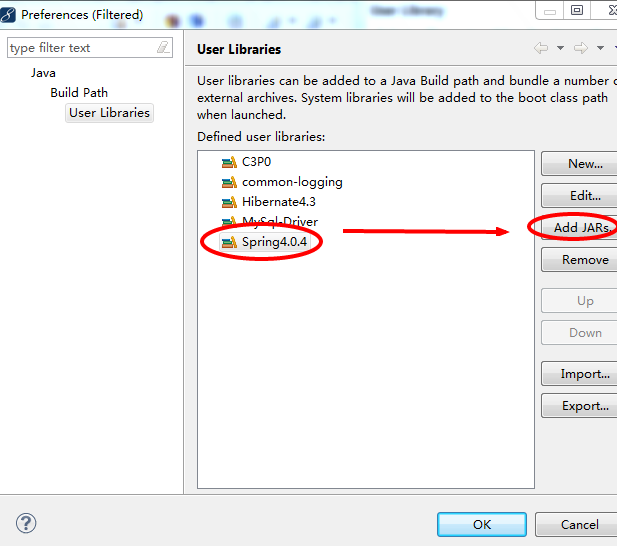


同理,common-logging也是同样进行添加;
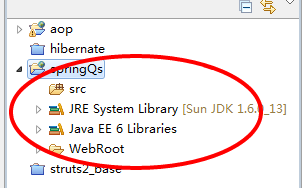
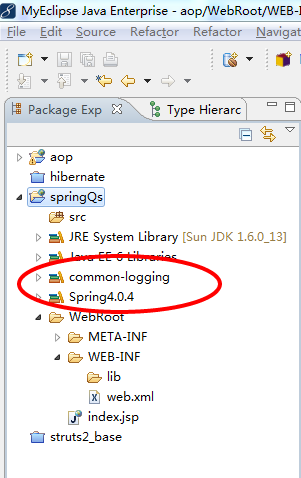
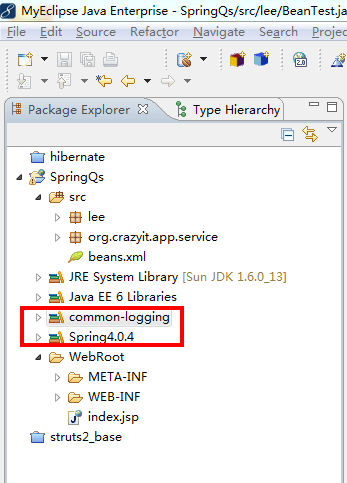
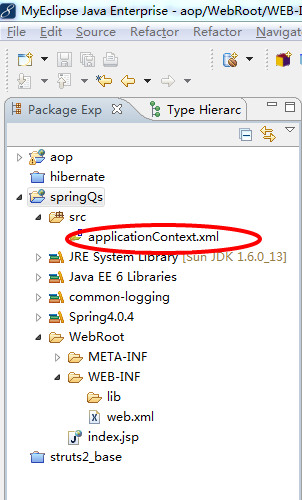
创建完成后,如下图所示:
添加成功后,将出现如下所示:
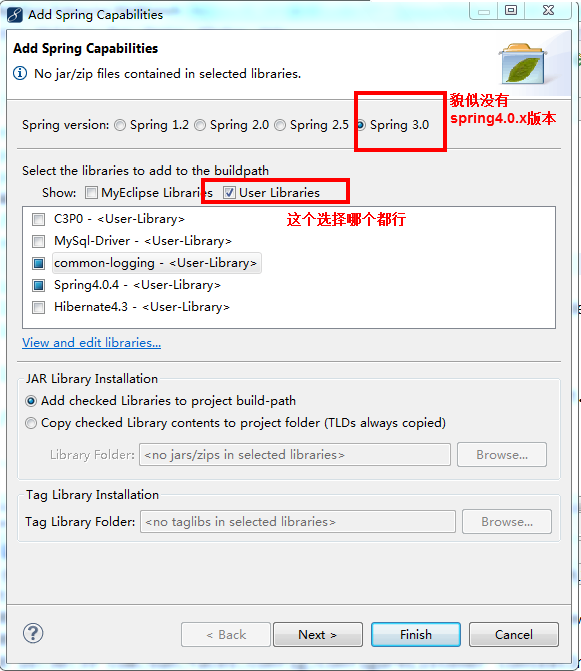
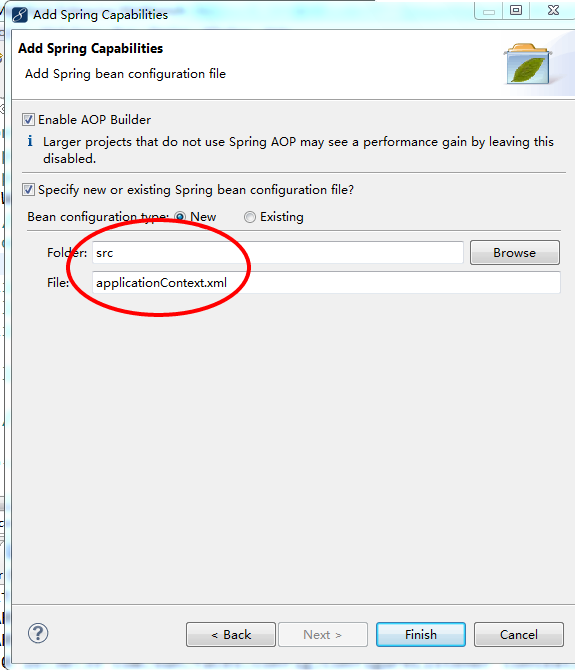
添加Spring支持


web.xml 如下
<?xml version="1.0" encoding="UTF-8"?><web-app version="3.0"xmlns="http://java.sun.com/xml/ns/javaee"xmlns:xsi="http://www.w3.org/2001/XMLSchema-instance"xsi:schemaLocation="http://java.sun.com/xml/ns/javaeehttp://java.sun.com/xml/ns/javaee/web-app_3_0.xsd"><display-name></display-name><welcome-file-list><welcome-file>index.jsp</welcome-file></welcome-file-list><!-- Spring 文件路径 --><context-param><param-name>contextConfigLocation</param-name><param-value>/WEB-INF/classes/applicationContext.xml</param-value></context-param><!-- spring上下文监听器 --><listener><listener-class>org.springframework.web.context.ContextLoaderListener</listener-class></listener><listener><listener-class>org.springframework.web.context.request.RequestContextListener</listener-class></listener></web-app>
applicationContext.xml 如下
<?xml version="1.0" encoding="UTF-8"?><beansxmlns="http://www.springframework.org/schema/beans"xmlns:xsi="http://www.w3.org/2001/XMLSchema-instance"xmlns:p="http://www.springframework.org/schema/p"xsi:schemaLocation="http://www.springframework.org/schema/beans http://www.springframework.org/schema/beans/spring-beans-3.0.xsd">- </beans>
至此,Spring环境搭建完成。
说明:
1. 在实际项目中,Spring上下文可能并不是命名为applicationContext.xml ,其上下文路也可能并不是默认路径,此时就需要在web.xml中进行配置。
2.如果需要发布使用了Spring框架的Java Web项目,还需要将Spring框架的jar包(21个Jar包)
和common-logging-1.1.3.jar添加到web 应用的WEB-INF路径下
(注:如果不添加到web-inf目录下,程序可以正常运行,但发布不行)
